Preparation
What you’ll need:
- A computer running Windows or macOS
- Your raw footage
- Filmora Video Editor (latest version)
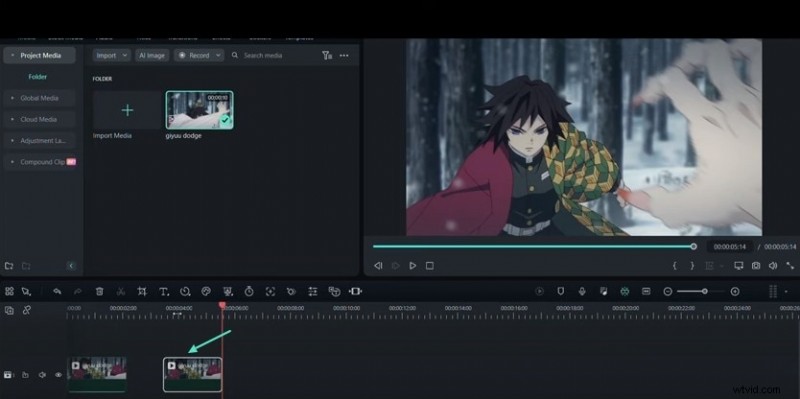
Step 1: Import and Review the Original Clip
Visualize the footage at its natural speed
Launch Filmora, drag your clip into the timeline, and play it normally. This gives you a baseline to compare when you apply slow‑motion effects.

Step 2: Duplicate the Clip
Create a copy for experimentation
Right‑click the clip and choose “Duplicate.” This allows you to test different speed settings without altering the original.
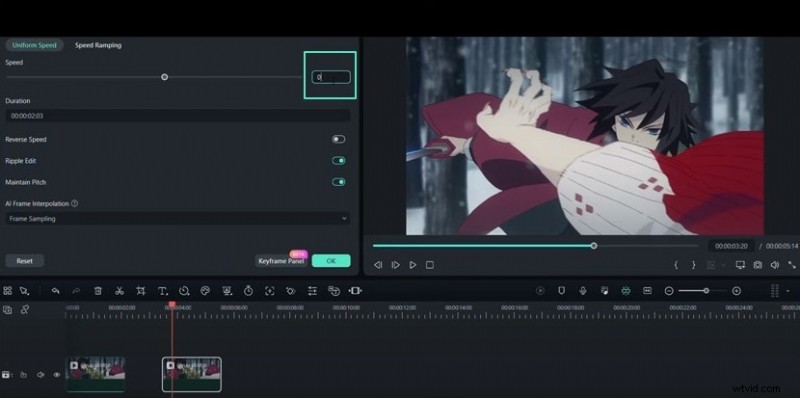
Step 3: Apply a Basic Slow‑Motion Effect
Set a uniform speed reduction
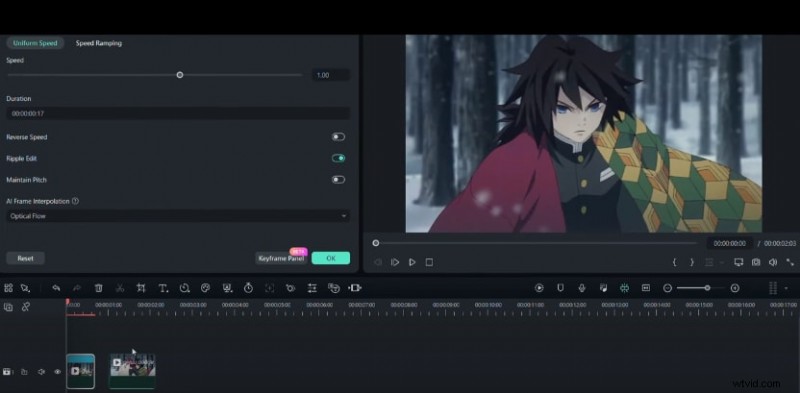
Select the duplicated clip, go to the “Uniform Speed” tab, and change the speed from 1× to 0.5×. You’ll now see an average slow‑motion playback.
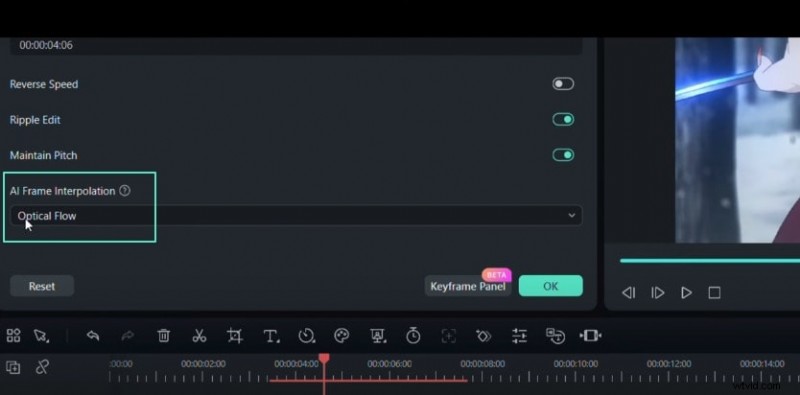
Step 4: Enable AI Frame Interpolation
Use Optical Flow for fluid motion
Navigate to the “AI Frame Interpolation” section and switch the “Frame Sampling” option to “Optical Flow.” This technique generates intermediate frames, smoothing the motion dramatically.
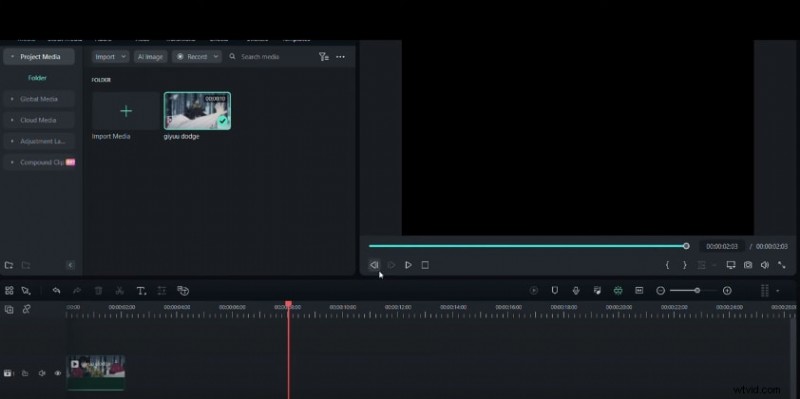
Step 5: Remove the Duplicate
Focus on the refined clip
Since the duplicate was only for testing, delete it and keep the original clip for the final effect.
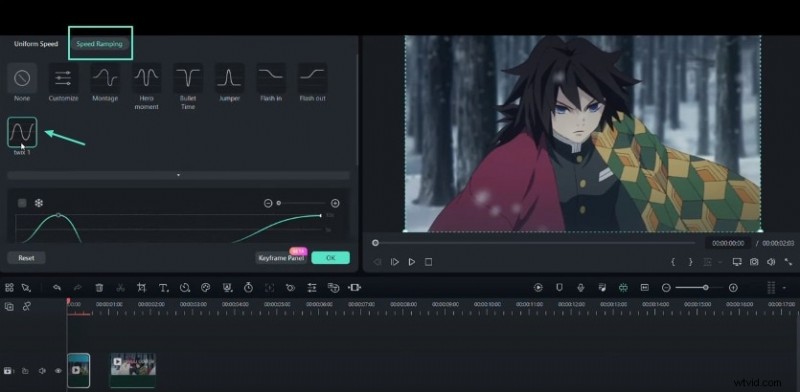
Step 6: Prepare for Speed Ramping
Split the clip where the change will occur
Place the playhead at the desired split point, right‑click, and choose “Split.” Open the first segment’s settings, then go to “Speed Ramping” and select the “twx1” preset.
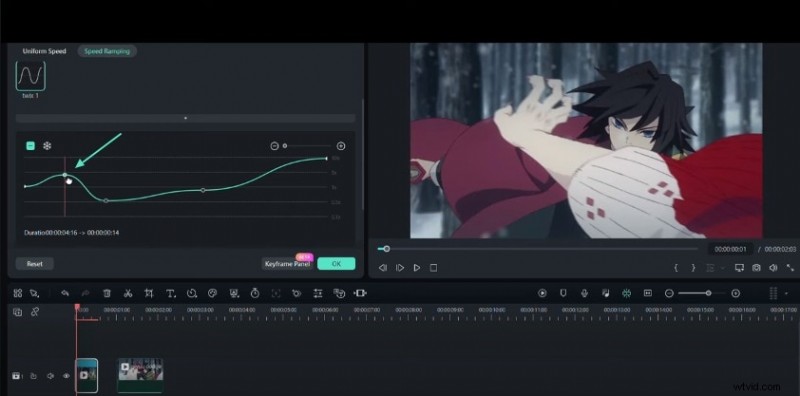
Step 7: Fine‑Tune the Speed Curve
Adjust the ramp line for precision
Drag the speed line downward to slow down or upward to speed up. The curve will dictate how the motion changes across the clip.
Step 8: Final Review
Validate the smooth slow‑motion
Play the timeline end‑to‑end. If the motion feels fluid and natural, you’ve successfully applied a smooth slow‑motion effect using Filmora’s AI tools.
Summary
Key takeaways:
- Filmora’s AI Frame Interpolation (Optical Flow) turns a standard slow‑motion into a silky, cinematic experience.
- Speed ramping lets you craft dynamic pacing, making your footage more engaging.
- With just a few clicks, you can transform ordinary clips into visually striking slow‑motion sequences.