Preparation
Before you begin, make sure you have the following:
- A Windows or macOS computer
- Source footage ready for editing
- Filmora video editor installed (download from the official website)
Step 1 – Launch Filmora
Open Filmora on your computer. If you haven’t installed it yet, download it from the official site.
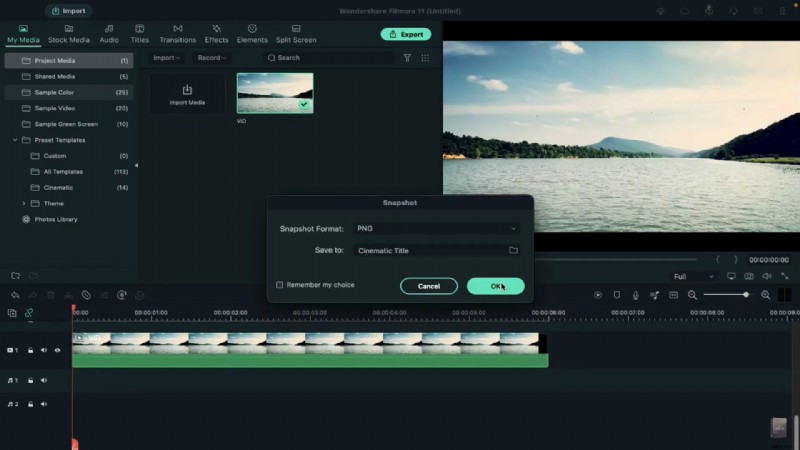
Step 2 – Import Your Video
Add the clip you want to enhance with explosions to the timeline (Track 1). Click on the video to take a snapshot.
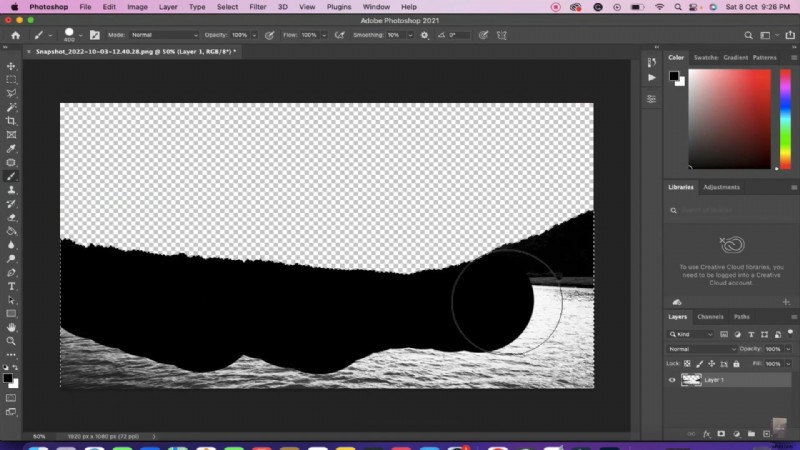
Step 3 – Create a Mask in Photoshop
Open the snapshot in Adobe Photoshop. Use the Lasso Tool to outline the area that will contain the explosion. Remove the rest of the image, fill the selected area with black, and save the file.
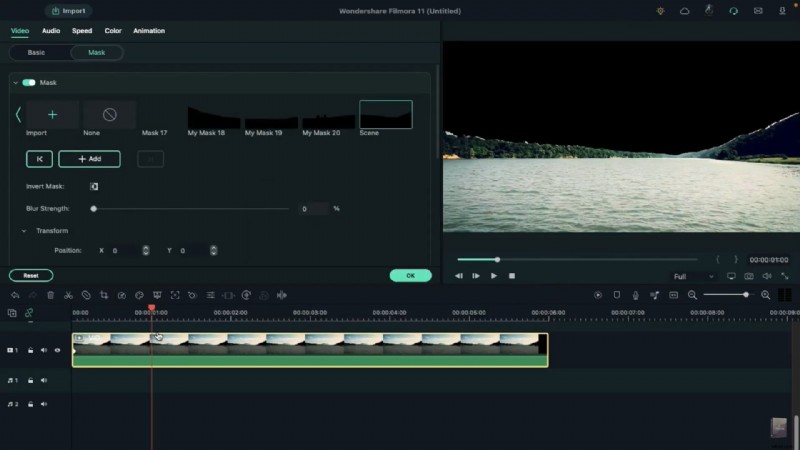
Step 4 – Apply the Mask in Filmora
Back in Filmora, select the video and navigate to the Video tab. Import the Photoshop mask via the Mask option. Add a keyframe at the clip’s start, then at 1 s set Horizontal to 103 and at 3 s set it to 106. Duplicate the clip onto Track 4, enable Invert Mask, and trim both clips to 5 s and 10 frames.
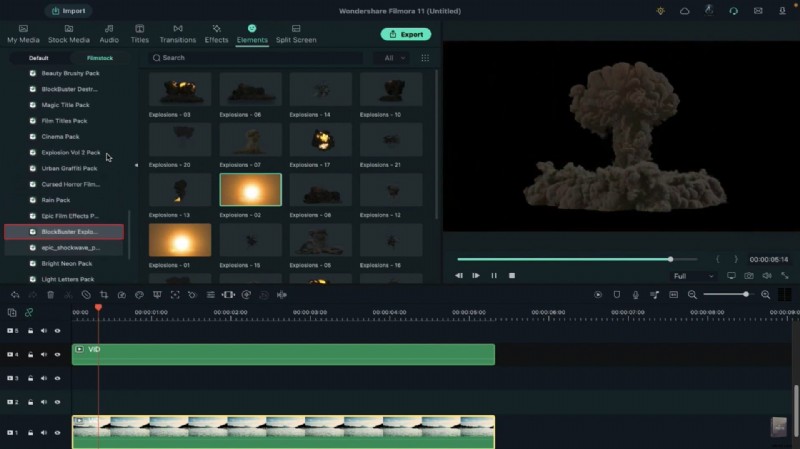
Step 5 – Insert Explosion Assets
From Filmstock’s Elements tab, download the “Blockbuster Explosion Pack” and “Explosion Volume 2 Pack.” Place your primary explosion on Track 3 at frame 10, keeping it the same length as the video. Adjust its position and apply a preset from the Advanced Color panel. Add a secondary explosion on Track 2 at 1 s, trimming and positioning it similarly.
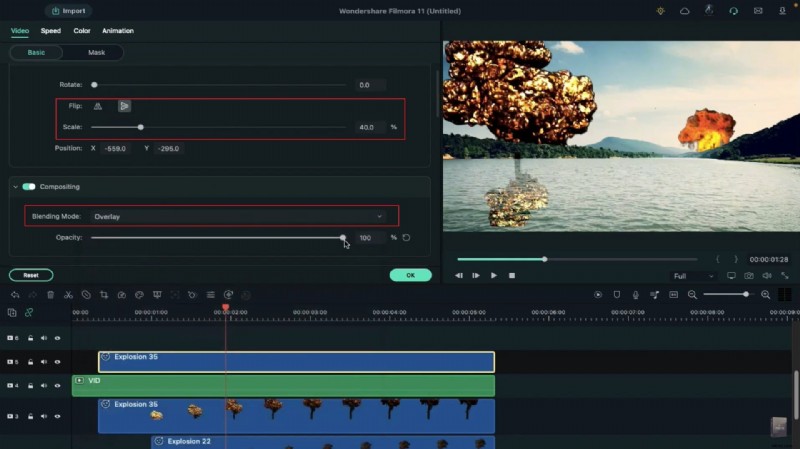
Step 6 – Add Reflections
Copy the clip from Track 3 and paste it onto Track 5 at frame 10. Flip it vertically, reduce its scale, align its position with the original explosion, set the blending mode to Overlay, and lower its opacity to 55. Duplicate the clip from Track 2 onto Track 6, right‑click, and paste the same effects to maintain consistency.
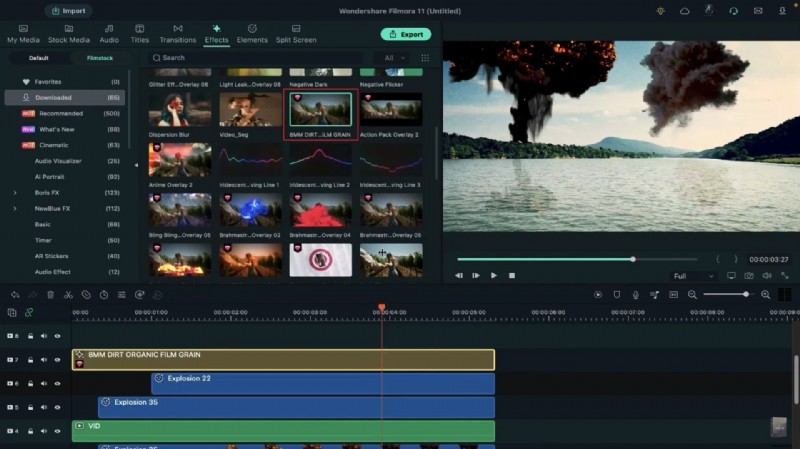
Step 7 – Apply Film‑Grade Effects
To unify the visual style, apply the 8mm Dirt Organic Film Grain effect on Track 7 and the Dark Film effect on Track 8. Add the Extreme Shake effect on Track 9 at frame 15 for 2 s, then double‑click to set its frequency to 10.
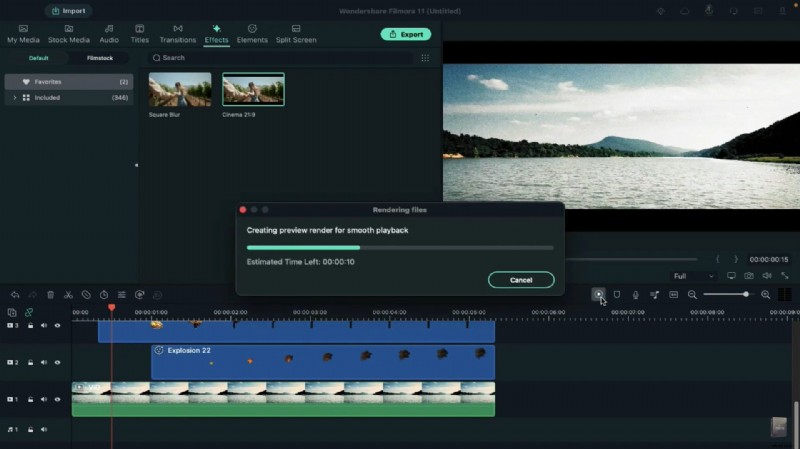
Step 8 – Final Touches
Place a cinematic bar overlay on Track 10. Use the Render Preview to check smooth playback. Once satisfied, export the finished video.
Key Takeaways
- Filmora’s mask tool simplifies adding complex VFX.
- Matching lighting and color presets ensures a cohesive look.
- Reflections and shake effects add realism to explosions.