Overview
Elevate your video titles with a dramatic text crack effect. This guide walks you through each stage of the process in Filmora, from initial setup to the final render, complete with visual cues.
What You Need
- Windows or macOS computer
- Your source video footage
- Filmora video editor (latest version)
Step 1: Install Filmora
Download the installer from the official Filmora website and follow the on‑screen instructions to install the application.
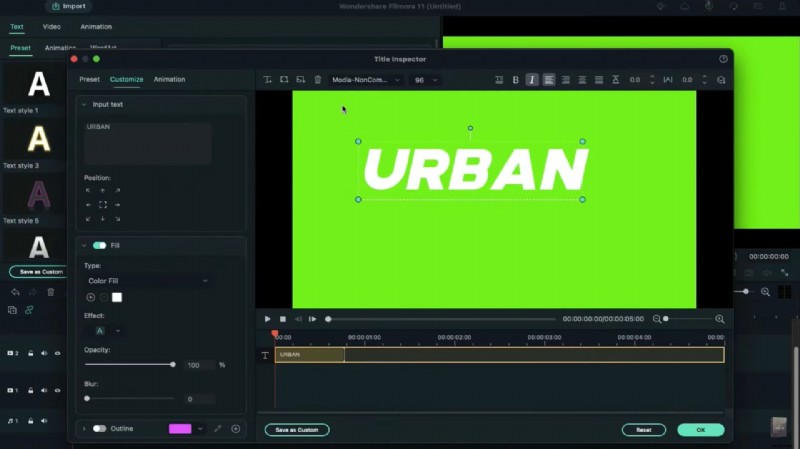
Step 2: Add the Base Text
1. Drag the green color from Sample Color onto the timeline. 2. Insert a Default Title and set the font to a bold typeface with a size of 96. 3. Type your desired text, switch to italics, and click Advanced to fine‑tune the position. Add a second, lower‑level text layer and confirm.
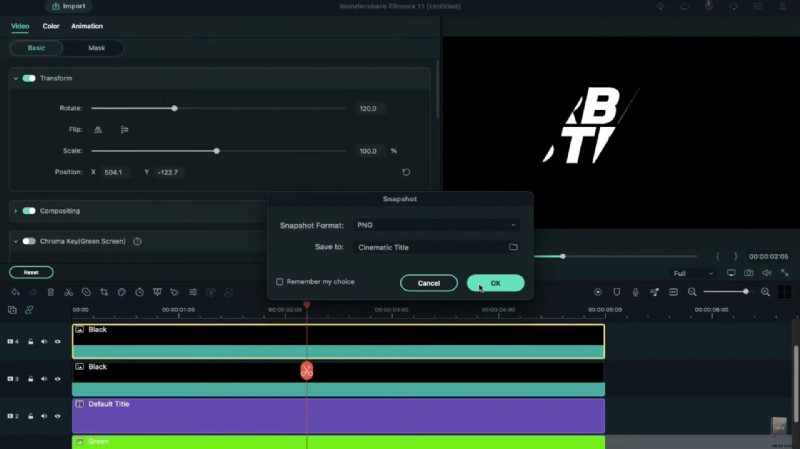
Step 3: Create Masks with Black Color
1. Drop a black clip from Sample Color onto the timeline. 2. In the Video tab, rotate it 120° and slide it left of the title. 3. Add a second black clip, rotate 120°, and position it so it covers the title except for a small section. 4. These black clips will act as masks; the green clip will serve as a tracker.
Hide the green clip, take a snapshot of the current view, then unhide the green clip and shift the black masks to expose another portion of the title. Repeat until every segment of the title is captured. Adjust the black clip’s rotation to create uneven, realistic fracture lines.
Step 4: Prepare Snapshot Clips
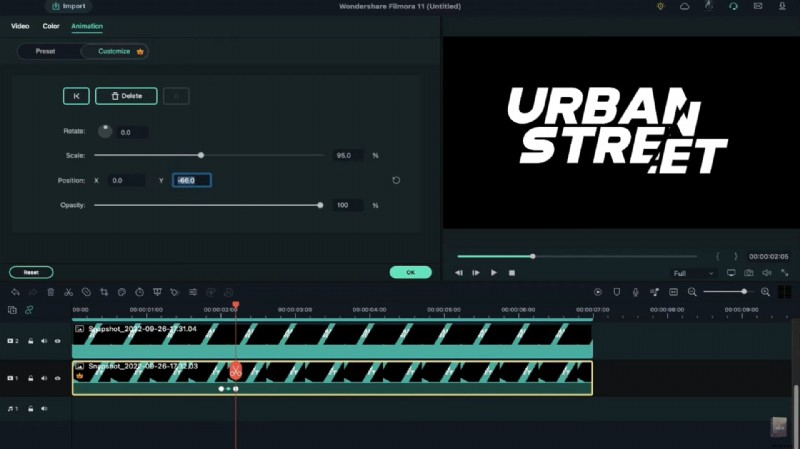
Delete the temporary black and green clips. Place the final two snapshots on the timeline and set their blending mode to Screen. Add the remaining snapshots and trim each to 7 seconds.
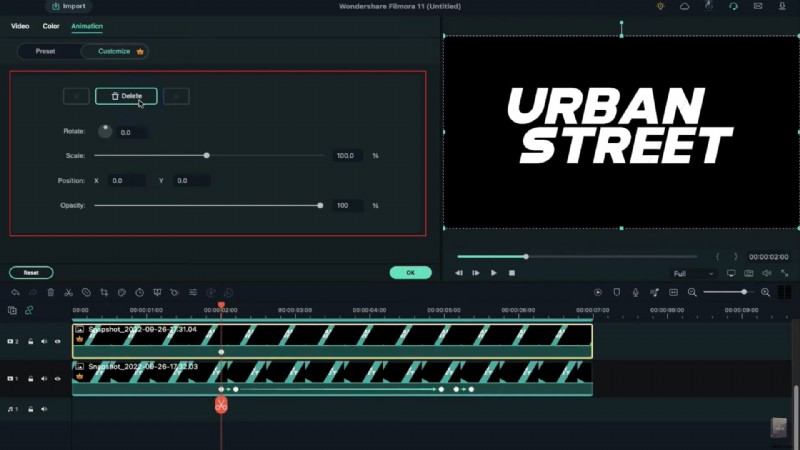
For track one, insert a blank keyframe at 2 seconds, then advance 5 frames (≈0.17 s). Adjust the scale to 95% and the Y‑axis to –66. At 4 seconds 24 frames, change the rotation to –5° and the Y‑axis to –177. Add another blank keyframe after 5 frames, then reset the scale, rotation, and position.
Step 5: Animate the Second Layer
On track two, repeat the keyframe process: a blank keyframe at 2 seconds, then 5 frames later, set the scale to 105%. At 4 seconds 24 frames, set the Y‑axis to –31 and rotation to 5°. After another 5 frames, add a blank keyframe, then reset the parameters after 5 more frames.
Step 6: Add Shadows and Vignette
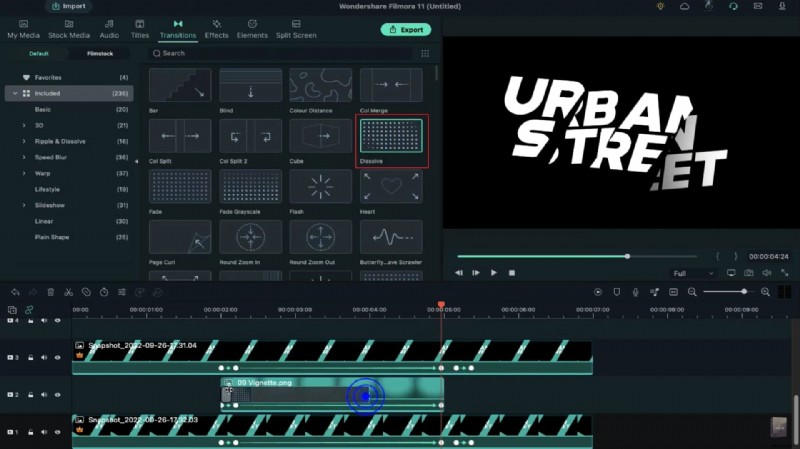
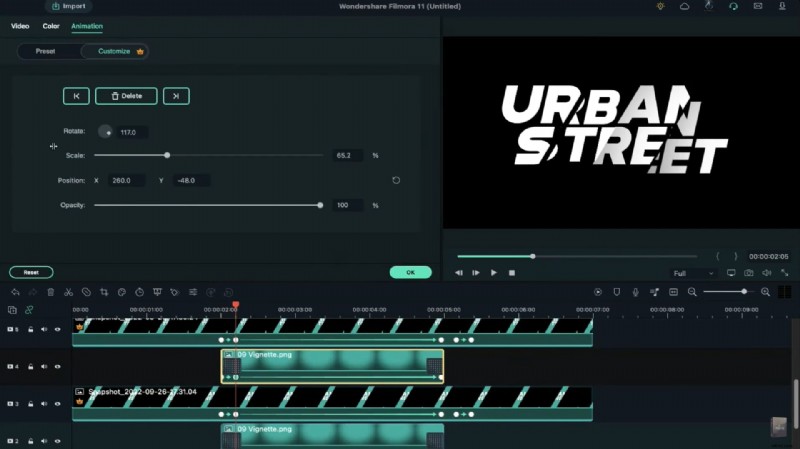
Create a one‑frame gap for each snapshot track. Import Vignette.png from Shared Media, place it on track two at the 2‑second mark, and open the Video tab. Scale the vignette to 65%, adjust its position to simulate a shadow, and rotate it to overlay the last snapshot.
Set the vignette’s initial opacity to 0%, then add a Dissolve transition at both its start and end. Copy the vignette clip to all gap tracks and align each with its corresponding snapshot.
Step 7: Final Rendering
With all snapshots, animations, and vignette layers in place, render the project. Preview the cracked text effect and adjust any keyframes or mask positions as needed before final export.
Summary
- Utilize green‑screen techniques to isolate text.
- Apply black masks to simulate realistic cracks.
- Leverage keyframes for dynamic animation.
- Use screen blending and vignette layers for depth.