The $40 Light That Saved My Film
Three hours into shooting Blood Buddies, our main light failed. No backup, no rental budget, and an actor two hours away. I pulled a $40 construction work light from Home Depot, clamped it to a C‑stand, bounced it off a white wall with foam board, and kept filming. That improvised setup taught me more about light than any lecture ever did. Expensive gear won’t make you a better filmmaker—understanding light does.
The Problem Most Beginners Face With Film Lighting
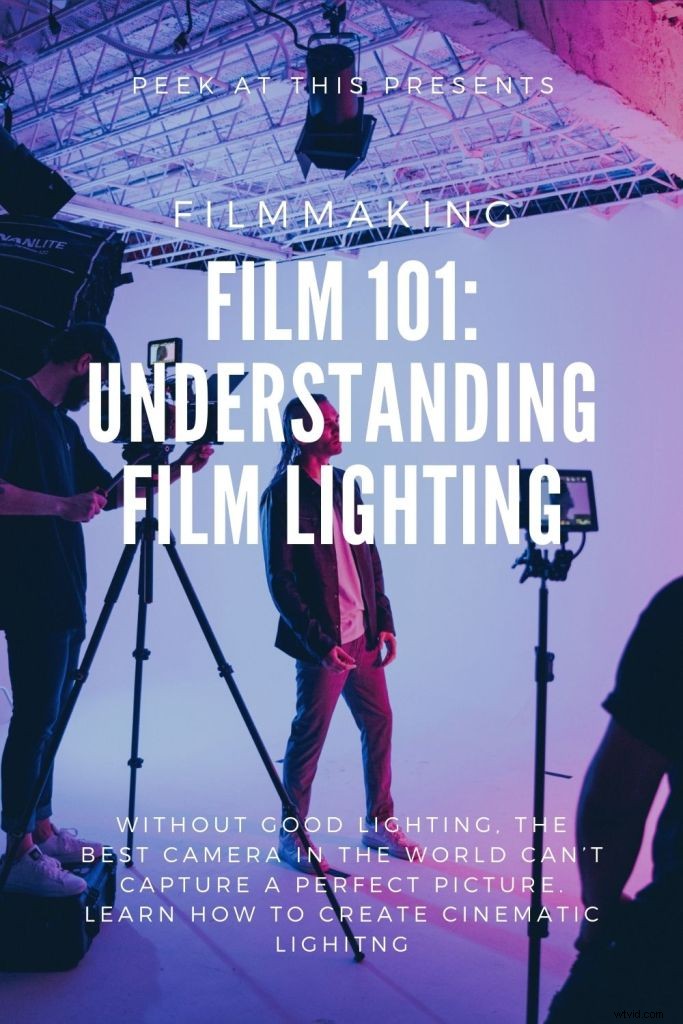
You’ve seen hundreds of well‑lit films, yet your own footage often looks flat, washed out, or flat‑lined. Actors blend into the background, shadows fall oddly, and the result screams uncertainty. That’s almost always a lighting issue, yet tutorials usually pile on jargon—key light, fill light, Kelvin scale—without explaining why it matters or how to apply it.
The Root Cause: Nobody Teaches You How Light Actually Works
Film school focuses on gear; YouTube assumes you already know the basics. The gap leaves beginners treating lighting like turning on a lamp. Cinematic lighting is about shaping darkness as much as brightness, creating dimension, mood, and narrative. Mastering four core principles—exposure, contrast, texture, and mood—will put you ahead of most amateurs.
The Solution: Learn the Core Techniques That Actually Matter
Let’s discuss what professionals do on set, not what you should buy.
Three‑Point Lighting: Your Foundation
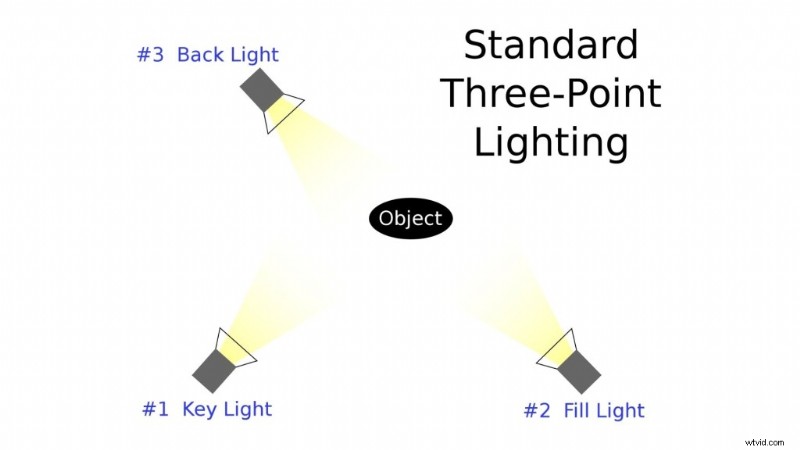
Three‑point lighting uses three lights to give depth and separate the subject from the background.
- Key Light: Brightest, 30–45° off‑to‑one‑side, slightly above eye level. Creates dimension.
- Fill Light: Opposite side, 50–75% of key intensity. Controls contrast.
- Backlight: Behind and above the subject, creating a rim that separates from the backdrop.
Don’t eliminate shadows—control them.
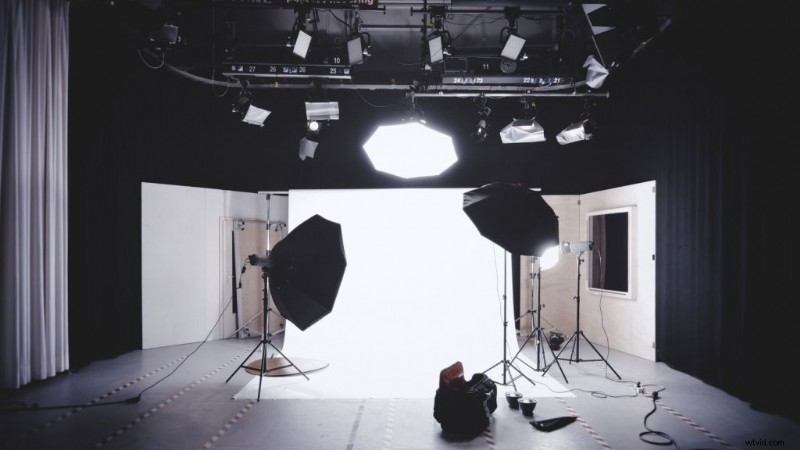
Understanding Light Quality: Hard vs Soft
Hard light comes from small, focused sources—bare bulbs or direct sun—producing sharp shadows and revealing texture. Soft light comes from large, diffused sources—overcast sky, bounced light—wrapping subjects gently for a polished look. Adjust hardness by enlarging the source, bouncing, or using diffusers; even a bedsheet can work.
Color Temperature: Why Your Footage Looks Orange or Blue
Different lights emit distinct colors measured in Kelvin (K). Matching color temperatures keeps scenes coherent.
- Candlelight: ~1,800 K (warm orange)
- Tungsten: ~3,200 K (orange)
- Fluorescent: ~4,000 K (greenish)
- Daylight: ~5,600 K (neutral white)
- Overcast sky: ~6,500 K (cool blue)
Use bi‑color LED panels (e.g., $40 Neewer) to adjust on‑the‑fly. Set camera white balance to match the dominant light or shoot RAW for post‑grade flexibility.

Implementing The Solution: Techniques for Every Budget Level
Zero Budget: Natural Light Mastery
Work with the sun and available windows.
- Golden hour: soft, directional light with warm tones.
- Window key light: diffused sunlight; use foam board or foil‑covered cardboard for fill.
- Negative fill: black fabric or curtains to deepen shadows for drama.
Scout locations with apps like Sun Seeker.
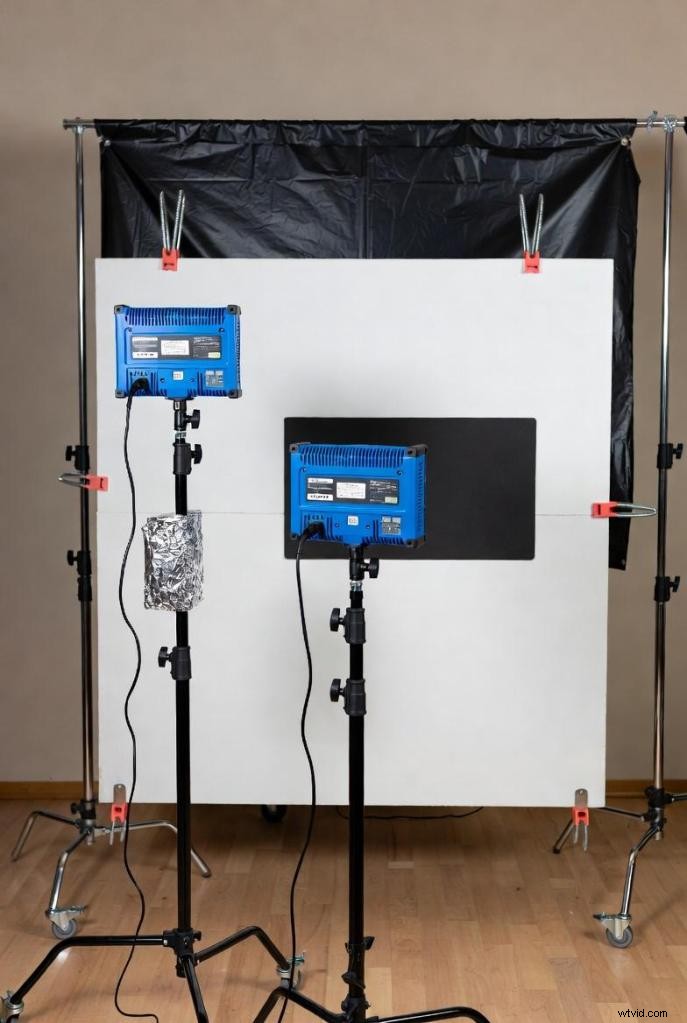
Low Budget ($200–500): Essential DIY Kit
Purchase essentials to build a functional setup:
- Two bi‑color LED panels (60–100 W) – ~$150
- Two light stands – ~$40
- White foam core boards (3–4 sheets) – ~$20
- Black cinefoil – ~$15
- Spring clamps – ~$10
- Diffusion fabric or parchment paper – ~$15
Use cheap work lights with wax or parchment for diffusion; white poster board for bounce; black poster board for flags.
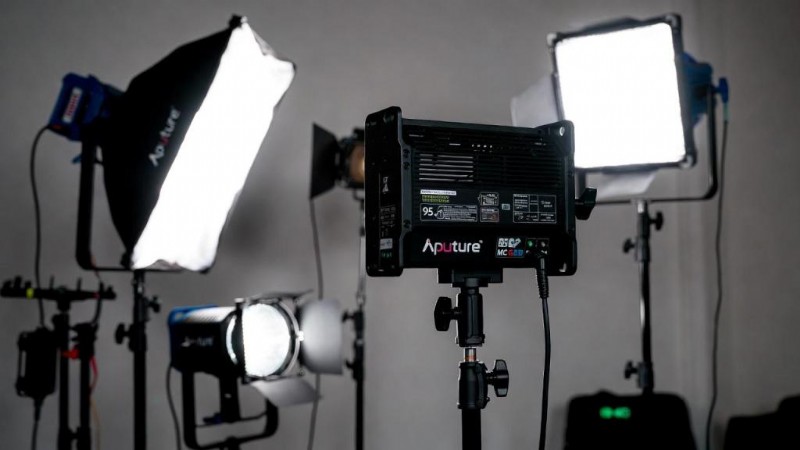
Mid Budget ($500–1,500): Stepping Up Quality
Invest in lights with CRI/TLCI above 95 for color accuracy. For film, TLCI matters most—ratings above 90 reduce post‑color correction. Mid‑range options from Aputure and GVM (e.g., Aputure MC RGB ~ $90) add versatility.
Also consider a 5‑in‑1 reflector, dedicated diffusion, a small fresnel for focused light, and gels for creative effects.
Real‑World Setups That Work
Typical interview: key LED at 45° right side, fill LED at 50% intensity left side, backlight behind, optional background light.
Moody dramatic scene: hard side key, minimal fill, strong backlight, practical in frame.
Natural light: window key, white bounce board fill, black fabric negative fill, optional LED lift.

Advanced Techniques: High‑Key and Low‑Key Lighting
High‑key: bright, low contrast (1:1 to 2:1 ratio). Use soft lights, fill shadows, illuminate background. Ideal for comedies, commercials, upbeat scenes.
Low‑key: dark, high contrast (8:1+ ratio). Hard directional light, minimal fill, dark backgrounds. Perfect for noir, horror, thrillers.
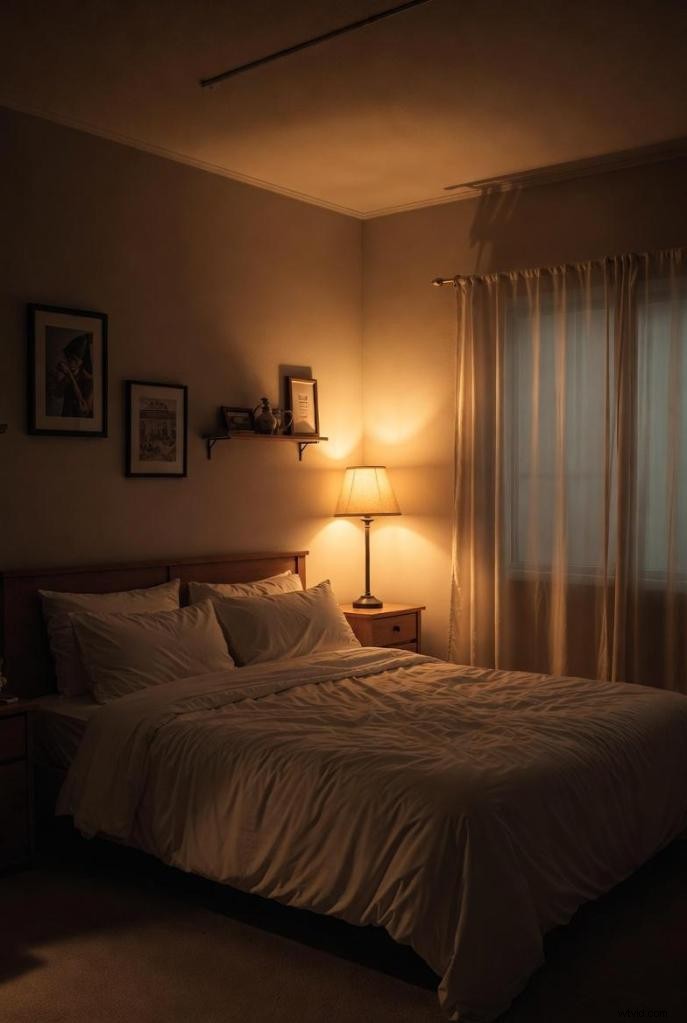
Motivated Lighting: Making It Feel Real
Every visible light (practical) should have a logical source. Hide a brighter LED to match the practical’s direction and color, creating invisible control while preserving realism.
Practical Lights: Using What’s Already There
Practicals add realism but rarely light a scene. Add hidden LEDs matching the practical’s color and angle. In Married & Isolated, every lamp in frame was backed by a hidden LED.
Bounce and Diffusion: The Secret Weapons
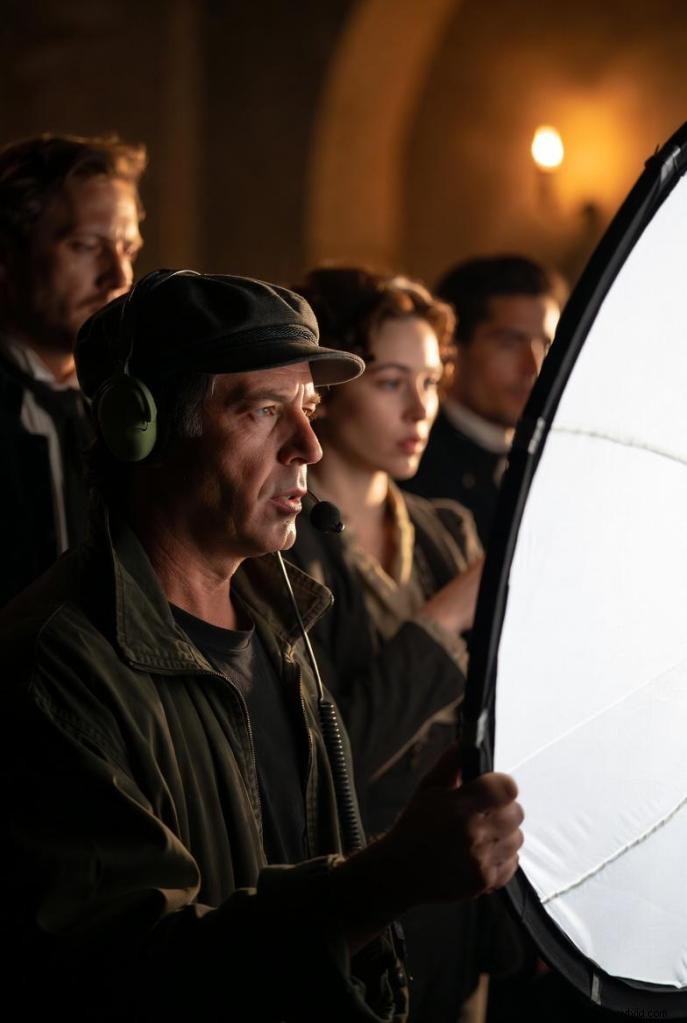
Bounce: direct light at a white surface for softer, broader output—free and effective.
Diffusion: place translucent material between light and subject (shower curtain, parchment, professional diffuser) to soften shadows.
In Closing Walls, a single work light bounced off a white ceiling to illuminate an entire room.
Cinematic Lighting Techniques: Beyond the Basics
Rembrandt Lighting: Classic Drama
Key light at 45°, slightly above eye level. Creates a triangle of light on the shadowed cheek. Use for character depth, noir, dramatic portraits.
Pro tip: add gentle fill or reflector for a subtler version.
Chiaroscuro: Light as Storytelling
High contrast, single hard light source, no fill. Embrace deep shadows to focus attention and evoke tension. Effective in horror and noir.
Breaking Down a Master’s Work: Blade Runner 2049
Roger Deakins used 256 ARRI 300‑watt Fresnels in concentric circles for the Wallace Office scene, creating dynamic light. In the water reflection scene, eight 10K Fresnel lamps lit caustic patterns. The Las Vegas sequence used a custom Tiffen filter pack with Lee gels for an orange haze. Lessons for indie filmmakers: use moving lights, bounce off unconventional surfaces, create in‑camera looks, and let practicals motivate hidden lighting.
Who’s Actually In Charge of Lighting?
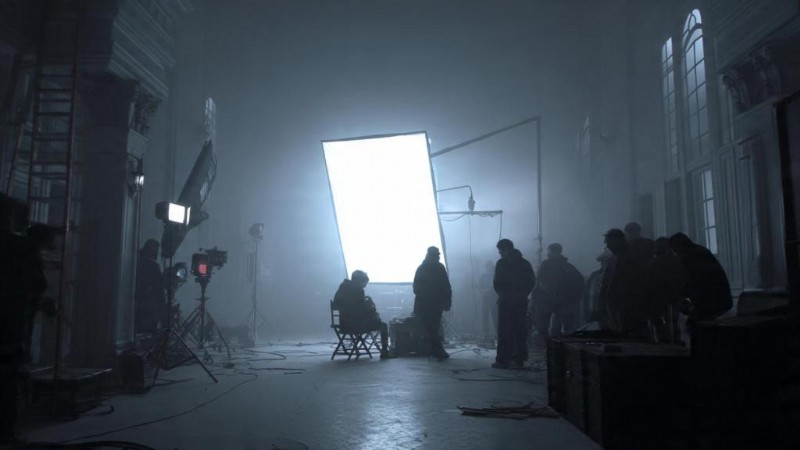
Director: sets creative vision and mood.
Director of Photography (DP): translates vision into a lighting plan.
Gaffer: executes the DP’s plan, managing crew and light adjustments. On small projects, you may wear all three hats.
Common Mistakes Beginners Make
Overlighting—more lights don’t equal better quality.
Flat lighting—placing key light too close to the camera removes shadows.
Ignoring the background—don’t forget to light or flag it.
Mismatched color temperatures—mixing 3,200 K with 5,600 K creates unwanted casts.
No contrast—eliminating shadows flattens the image.
Skipping tests—always shoot test frames on a real monitor.
Equipment You Actually Need (And What to Skip)
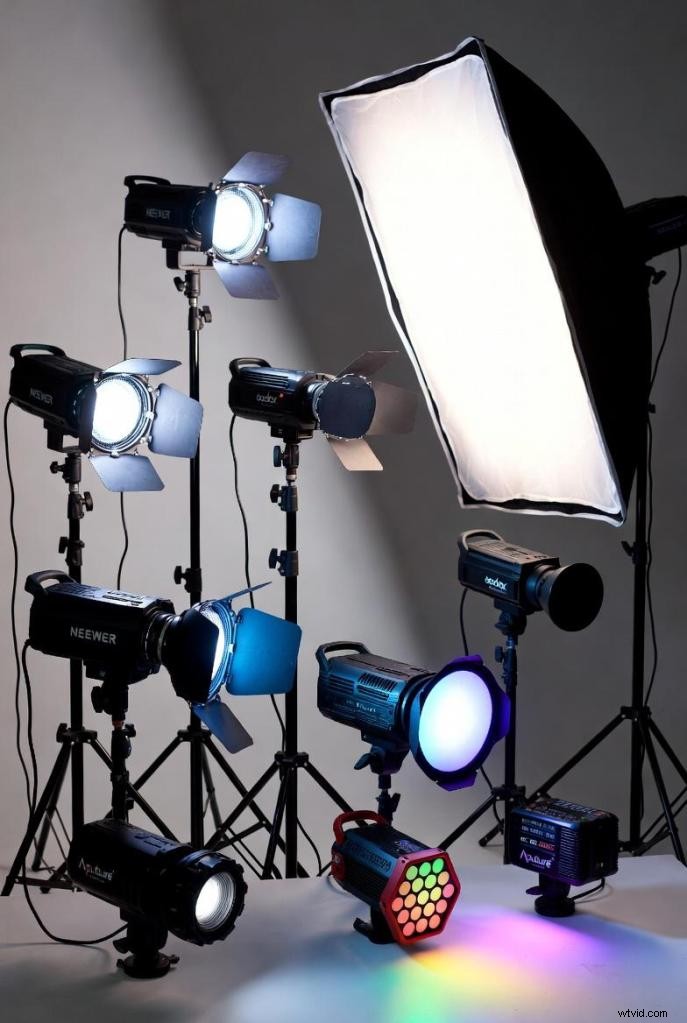
Essential gear:
- 2–3 lights (cheap ones work)
- Light stands
- Reflectors (or foam boards)
- Diffusion material (shower curtain works)
- Black fabric for negative fill
- Clamps and gaffer tape
What to postpone:
- Expensive fresnels (start with LEDs)
- Too many gels (bi‑color LEDs cover most needs)
- Complex rigging (keep it simple)
- Every modifier (learn bounce and diffusion first)
The Aputure MC (~$90) is versatile and portable. Neewer and Godox offer budget panels under $100 that teach fundamentals.
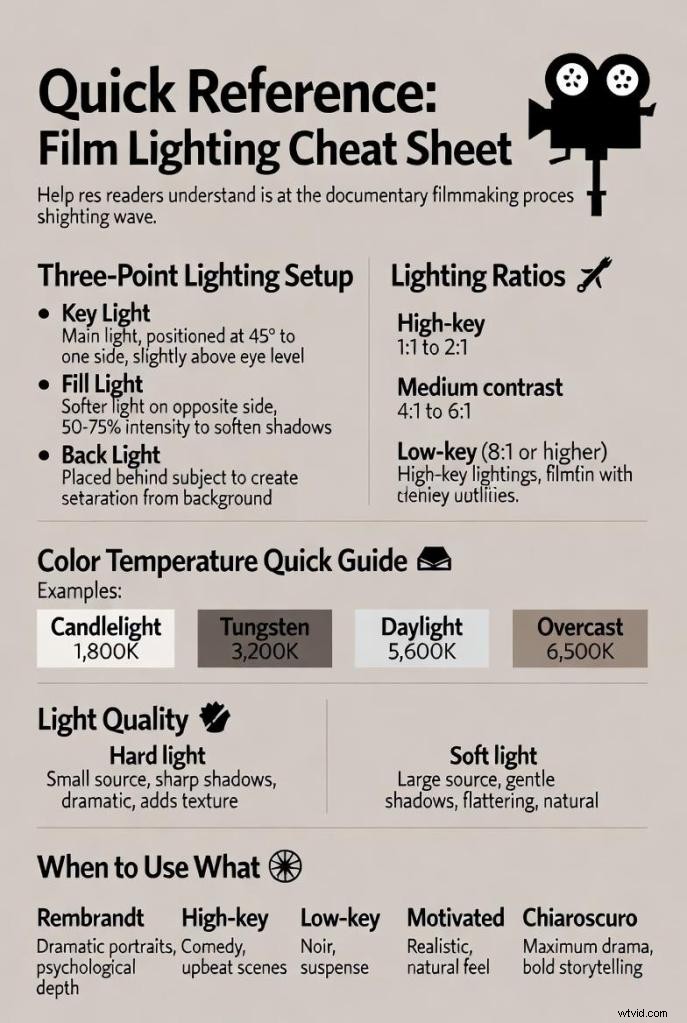
Quick Reference: Film Lighting Cheat Sheet
Three‑Point Setup:
- Key: 45° side, slightly above eye level.
- Fill: Opposite side, 50–75% intensity.
- Back: Behind subject, rim light.
Lighting Ratios:
- High‑key: 1:1–2:1
- Medium contrast: 4:1–6:1
- Low‑key: 8:1+
Color Temperature:
- Candlelight: 1,800 K
- Tungsten: 3,200 K
- Daylight: 5,600 K
- Overcast: 6,500 K
Light Quality:
- Hard: small source, sharp shadows.
- Soft: large source, gentle shadows.
When to Use:
- Rembrandt: dramatic portraits.
- High‑key: comedy, commercials.
- Low‑key: noir, thriller.
- Motivated: realistic scenes.
- Chiaroscuro: maximum drama.
Practical Examples from Real Shoots
• Blood Buddies – DIY horror: hard side light, negative fill, practical lamps.
• Going Home – natural light: golden hour key, window fill, black curtains.
• Married & Isolated – pandemic: practical lamps with hidden LEDs, bounced light.
• The Camping Discovery – outdoor: midday reflectors, night practical campfire with orange‑gelled LEDs.
Troubleshooting Common Issues
• Harsh facial shadows: diffuse or bounce key, add fill.
• Subject blends: add backlight or background light.
• Flat footage: key light too close—move it.
• Color casts: match temperatures or gel lights.
• Low light: open aperture, raise ISO, add lights, or change location.
• Flicker: sync frame rate with power frequency or use flicker‑free LEDs.
Wrap‑Up: Light Shapes Everything
Good lighting takes time and practice. Your first attempts will look rough—that’s normal. Practice fast: shoot, review, adjust, and repeat. Over time, you’ll instinctively spot key, fill, and mood. Even cheap cameras can look cinematic with proper light. Start now—grab a light, point it, and experiment. The gap between amateur and professional footage? Lighting.