The Working Filmmaker’s Blueprint for Professional Mobile Cinema
Direct Answer
Professional iPhone filmmaking hinges on four pillars: controlled lighting, clean audio, intentional composition, and disciplined editing. Modern iPhones deliver 10‑bit ProRes with extensive dynamic range, but footage often falters when sound is untreated, lighting is flat, motion is uncontrolled, or cuts feel rushed. Prioritize the environment before tweaking settings.
The Hook
It was 3:40 am on a rain‑slick street in Victoria, and our shoot was unraveling. I was armed with an iPhone 15 Pro, a rig I’d built from scratch, a pricey B‑cam that cost more than our props, and a director of photography who began questioning whether the phone was the right tool for the scene.
I had gaffer tape glued to my knuckles from a C‑stand that had tried to fold onto my hand. The catering coffee had gone cold, and the lead actor stood under a PA’s umbrella, looking like she’d rather be elsewhere. We filmed with the phone, and it made the final cut. The B‑cam footage—expensive, contested, and ultimately discarded—did not.
That midnight debate wasn’t about gear; it was about fear. Fear of looking amateur, fear that the equipment would fall short, fear that the finished product would be exposed. The gear never stopped the story; the workflow did. This guide lays out the filmmaking systems, lighting techniques, audio workflows, and production habits that make iPhone footage feel cinematic, distilled from projects where stakes were high: 48‑hour festival films, union‑set productions, rain‑soaked documentaries on Victoria Harbour, and countless hotel room shoots that relied on a single lamp and a jacket for negative fill.
Affiliate Disclosure: Some gear mentions include affiliate links. I’ll explain what each item truly does, who should skip it, and what I wish I’d bought instead. No hype.
Why Your iPhone Footage Doesn’t Look Cinematic
Most filmmakers blame the camera itself, but the iPhone is a capable tool. Since the 12 Pro, iPhone video can achieve genuinely cinematic results. The iPhone 16 Pro records 10‑bit ProRes with Apple Log, a professional color science pipeline that rivals cinema‑camera costs. Its sensor offers real dynamic range and stabilization that surpasses many mid‑range cinema cameras from five years ago.
Yet many productions still look unmistakably smartphone‑like. The common advice—24 fps, LOG profile, buy a gimbal—misses the real issues:
- Flat lighting. Ambient light alone rarely produces the contrast that defines cinematic images. Mandate directional lighting and let shadows do the work.
- Bad audio. Poor dialogue or ambient noise immediately signals low budget. Audiences tolerate visual imperfections longer than they tolerate clipping or reverb.
- Unmotivated movement. Smooth footage is not automatically cinematic. Purposeful motion that reveals story beats is what matters.
- Over‑edited cuts. Over‑cutting, excessive transitions, and constant scoring can feel frantic. Silence, when used intentionally, lets emotions settle.
No single setting fixes these problems; the solution lies in a disciplined workflow.
No affiliate links—this is a troubleshooting guide for filmmakers.
The Real Problem vs. The Real Fix
| Problem | Beginner Solution | Professional Solution |
|---|---|---|
| Bad audio | External directional mic | Wireless lav + dedicated room tone recording |
| Flat lighting | Window light, kill overhead | Negative fill + motivated practicals |
| Shaky footage | Environmental support (walls, surfaces) | Disciplined handheld technique + motivated movement |
| Washed‑out image | Shoot standard profile | Controlled exposure + Apple Log only if grading |
| Overcut edit | Hold shots three seconds longer | Sound‑driven cuts, rhythm over speed |
“Negative fill” means using black material to absorb light and increase contrast. “Motivated practicals” are lights that appear to come from natural sources in the scene (lamps, windows, etc.).
The Unpopular Opinion
The single biggest limiting factor in iPhone footage is the tolerance for bad sound and the reluctance to control light. Both require time and patience, not a credit card. Gear can be swapped instantly; mastering light takes observation and practice.
While working as a set dresser on Maid, I observed G&E teams making quick lighting decisions: a gaffer redirecting a lamp in two minutes, a key grip flagging half a window with black wrap to create depth. Those micro‑decisions can transform a scene without a lighting truck. I started applying them to my own shoots. For Going Home, we spent twenty minutes recording and watching harbour ambience before filming; the result was the best‑looking phone footage I’ve captured.
Part One: Beginner Foundations
If you’re new to smartphone filmmaking, start here. If you have production experience, skip to Part Two.
The Three Things That Actually Matter First
Before accessing any settings or buying gear, focus on these three fundamentals:
- Stability – Handheld shake originates in the hips, not the hands. Walk softly, lock elbows, and use environmental anchors like tables or walls for natural stabilization. No equipment required.
- Audio – The built‑in mic is only a reference. A basic directional mic dramatically improves dialogue. Record 30 seconds of room tone at every location; it will be essential in the edit.
- Light – Seek directional light. Side light creates depth and mood; flat overhead light makes subjects look documented. Use windows, lamps, and negative fill to sculpt the scene.
Basic Camera Settings for Beginners
Open the camera app and set these once. Leave them untouched during shoots.
- Frame rate: 24 fps – the cinematic cadence audiences recognize.
- Resolution: 4K – provides post‑framing flexibility.
- White balance: Lock manually to avoid mixed temperatures.
- Focus: Lock manually; auto‑focus hunting ruins takes.
- Exposure: Lock on the subject’s face.
That’s the beginner settings conversation. The rest comes later.
Part Two: Camera Settings and Codecs
ProRes: What It Actually Is and Who Actually Needs It
ProRes is a high‑bitrate codec that preserves more color data than HEVC, giving smoother gradients and greater grading latitude. It’s storage‑intensive: a one‑hour ProRes 4K file approximates 50 GB. In a 48‑hour festival project, storage mismanagement nearly crippled our workflow. Plan for ProRes only if you need grading flexibility, have an SSD backup solution, and can manage the storage.
Use ProRes if:
- You color grade seriously.
- You shoot narrative projects where editorial flexibility matters.
- You have a fast SSD backup and someone tracks storage.
Skip ProRes if:
- Your workflow is primarily social content.
- You’re traveling and storage is limited.
- You don’t grade; HEVC with good lighting beats ungradeable ProRes.
Apple Log: The Setting That Requires Homework
Apple Log is a flat, low‑contrast profile that captures more highlight and shadow detail. It looks washed out if you don’t grade it. Shoot Log only if you know how to grade; otherwise stick with the standard profile.
No affiliate links—this is a camera settings reference guide.
The Full Settings Reference
| Setting | What to Use | The Why |
|---|---|---|
| Frame Rate | 24 fps for drama/narrative | Cinematic motion cadence |
| Frame Rate | 60 fps for slow motion only | Not for everything |
| Resolution | 4K | Post flexibility, reframing room |
| Codec | ProRes (narrative, if storage allows) | Real grading latitude |
| Codec | HEVC (social, travel, fast workflow) | Storage‑efficient, still excellent |
| Color Profile | Standard (until you grade confidently) | Avoid the Log trap |
| Color Profile | Apple Log (if you grade seriously) | Maximum dynamic range capture |
| Shutter Speed | 1/48s at 24fps | 180‑degree rule, natural motion blur |
| White Balance | Locked manually | Consistency across the scene |
| Focus | Manual lock | Prevent hunting during takes |
“The Log trap” = shooting in a flat color profile without knowing how to grade it properly. Standard color profile is safer for beginners and still looks great.
Camera Apps Worth Using
The native iPhone camera is sufficient for many workflows, but third‑party apps give more manual control, especially for narrative work.
- Blackmagic Camera – Free, well‑designed, integrates with DaVinci Resolve.
- FiLMiC Pro – Advanced manual control; subscription may be worth it for narrative work.
- Kino – Fast, low setup overhead; ideal for run‑and‑gun shooting.
Part Three: Lighting
The Only Principle You Need
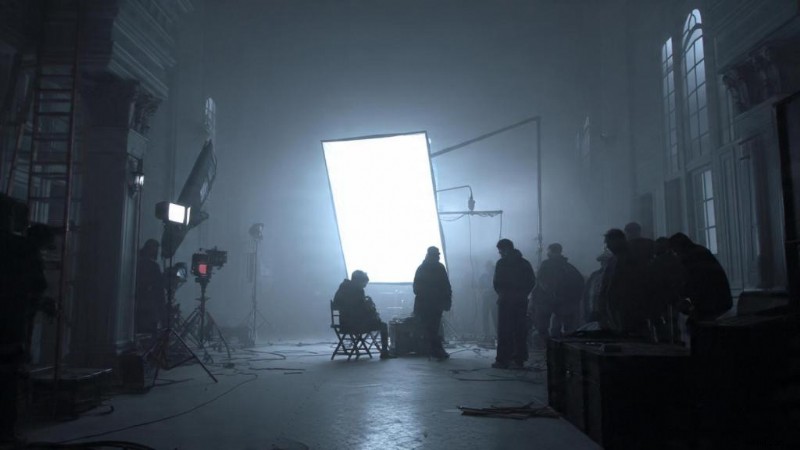
Light must have direction. Everything else—three‑point setups, color matching, bouncing, flagging—serves that one purpose. Flat, undirected light flatters the subject; directional light creates depth, texture, and mood.
How to Find the Light You Already Have
Walk into a location and spend two minutes identifying directional sources before you set up. Windows are underused: under overcast, they provide soft, diffused light that beats most softboxes. Position subjects so the window light hits from the side; kill overhead fluorescents, and add negative fill (black jacket, foam board) opposite the window to boost contrast.
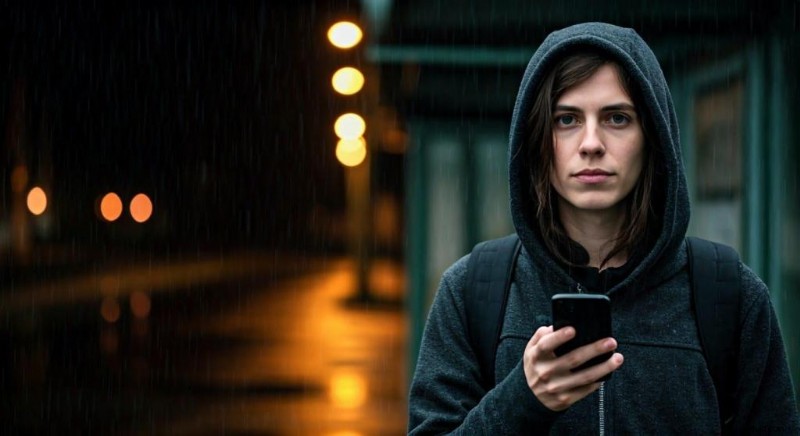
Practical lamps are naturally motivated lights; they tell the audience where they are. For the motel scene in Going Home, we used a single lamp, rain visible through the window, and a black jacket as negative fill. The setup took four minutes and produced one of the best‑looking scenes.
The Three Lighting Principles That Actually Matter
- Direction – Light from somewhere. Overhead equals hospital; side light equals cinema.
- Contrast – Cinematic images have shadow. Don’t fill every corner; let darkness deepen.
- Separation – Visually separate subject from background using practical depth, background light, or color contrast.
When to Shoot Outside
The best free lighting occurs twice a day: blue hour and golden hour. Blue hour offers soft, directional ambient light; golden hour adds warmth and drama. Overcast midday provides a large, softbox‑like light that can be directional if positioned correctly. Avoid direct midday overhead sun; it creates harsh shadows and blown highlights.
Portable Lighting Worth Knowing About
For a single additional light, a small LED panel with adjustable color temperature (tungsten to daylight) offers flexibility. The Nanlite Pavotube II is a portable LED tube that travels without a truck and produces soft, practical glow. Compact LED panels with diffusion covers serve interviews and indoor setups.
Part Four: Audio
The Real Production Value Conversation
Clean audio is the linchpin of production value. Audiences tolerate visual imperfections longer than they tolerate clipping, reverb, or inconsistent levels. A rough image with pristine sound feels like a real film; clean image with bad sound feels like a rehearsal.
The Built‑In Mic Is a Reference Tool
Use the phone mic only for sync reference and location notes. Even an inexpensive directional mic ($70–$100) yields dramatically cleaner dialogue than the built‑in mic in most environments.
The Field Recording Discipline
Record 30 seconds of ambient sound at every location before filming. This non‑negotiable practice saves countless hours in post. In Noelle’s Package, a single take of a key dialogue line was buried by a passing truck because we had no room tone; we had to ADR and rebuild the soundscape. Room tone is the foundation for smoothing cuts and preventing jarring silences.
Protecting Dialogue
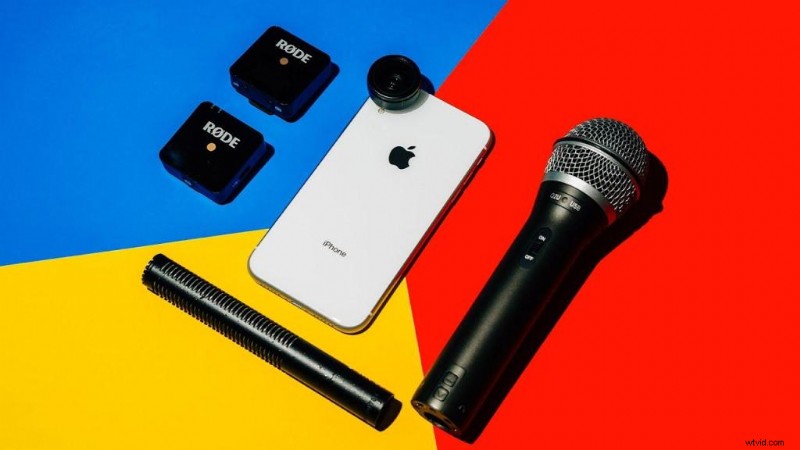
Position a lavalier close to the subject without entering frame. Wireless lavs—DJI Mic 2 is currently the most practical option for mobile filmmakers—provide clean, untethered dialogue.
Record at a level where peaks hit around –12 dB to maintain headroom. Clipping is irreversible.
Audio Gear That's Worth It
| Tool | Best For | Skip It If |
|---|---|---|
| Rode VideoMic Me‑C | Fast deployment, better mobile audio | Heavy wind conditions |
| DJI Mic 2 | Clean wireless dialogue for documentary & narrative | Budget constraints; cheaper options exist |
| Zoom H1n | Separate audio recording, room tone, ambience | Need everything on one device |
Prices are approximate. The Zoom H1n is excellent for recording 30–60 seconds of ambient sound at each location.
Part Five: Movement and Stabilization
The Only Movement Rule
Move the camera only when the story demands it. Motivated movement—revealing information, following emotion, transitioning through space—is cinematic. Static, confident frames read as intention; uncontrolled motion reads as restlessness.
Body Mechanics Before Equipment
Handheld shake originates in the hips and core. Bend knees, walk heel‑to‑toe, lock elbows, and use torso rotation for horizontal movement. These techniques provide immediate stability and a naturalistic feel. In Noelle’s Package, we chose handheld over gimbal in low‑light scenes; the result was an observational quality that matched the narrative.
When a Gimbal Actually Helps
Gimbals solve specific problems: walking shots, tracking shots, long movement‑heavy sequences. They produce smooth footage, not automatically cinematic footage. DJI Osmo Mobile 8 (~$159) works well for solo operators; plan for setup time. Skip it if you haven’t honed handheld technique—smooth bad framing is still bad framing.
Environmental Stabilization
Before resorting to a tripod or gimbal, explore environmental anchors—tables, walls, backpacks, door frames, window ledges. Bracing the phone against a solid surface offers faster, organic stability and allows unique camera angles.
Part Six: Composition
What “Cinematic” Actually Means
Cinematic means the frame tells the audience what to look at and why. Every compositional choice serves that purpose: rule of thirds, leading lines, layered depth, negative space—tools for directing attention.
The One Question to Ask Before Every Shot
“What is the audience supposed to look at first?” If you can’t answer, the frame is too messy. Simplify until the answer is clear.
Common Beginner Compositions and Why They Fail
- Subject dead center, background uncomplicated. Symmetry without intent looks like surveillance. Offset the subject and add foreground elements to create layers.
- Background too busy. The eye wanders. Eliminate competition by moving the camera, the subject, or adjusting depth of field.
- No depth separation. Subject and background at the same visual plane, brightness, and color temperature cause the subject to blend. Use light, color contrast, or physical depth to push them forward.
Depth Layering
Adding a blurred foreground element instantly gives the frame a three‑dimensional feel and signals to the viewer that they’re looking through something into the scene.
Part Seven: Editing
The Problem With Most Smartphone Edits
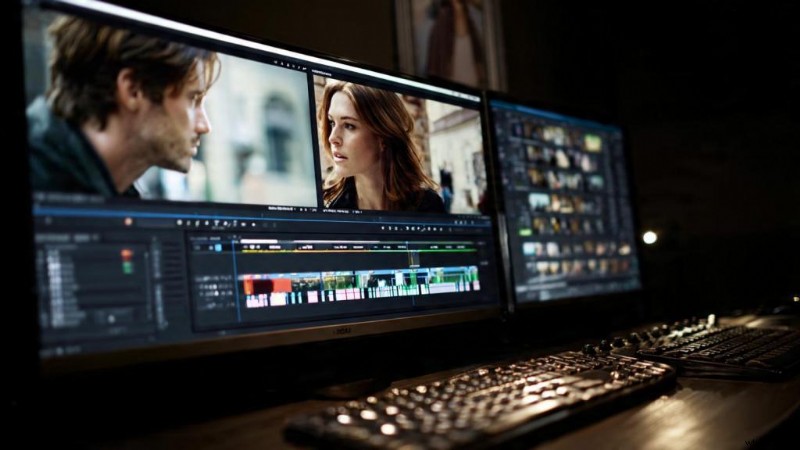
Over‑cutting, excessive transitions, and constant sound effects can feel frantic. Silence, when used intentionally, lets the audience absorb emotion.
Hold Your Shots
Holding shots longer than you feel comfortable signals confidence and gives the audience time to inhabit the frame.
Let Sound Drive Cuts
Good sound design can hide edits. When ambient sound transitions smoothly across a cut, the edit becomes almost invisible. Build the edit from the sound up when possible.
Affiliate links below. I earn a small commission at no extra cost to you.
Editing Apps That Work
| App | Best For | Downside |
|---|---|---|
| LumaFusion | Professional timeline editing on iPad/iPhone | Learning curve |
| DaVinci Resolve iPad | Advanced color grading, professional workflow | Heavy on hardware |
| CapCut | Fast social content, quick turnaround | Limited for advanced narrative work |
Build a workflow and stay in it. Switching apps constantly taxes small productions more than the software itself.
Part Eight: The Complete Gear Breakdown
The gear conversation is often misplaced. Instead of obsessing over the latest purchase, identify what actually slowed your previous project.
Beginner Kit: What to Buy First
External Microphone – Rode VideoMic Me‑C (~$80). It plugs directly into USB‑C and dramatically cleans interior dialogue. Skip it in heavy wind.
Power Bank – Anker 10K (~$35). Your phone will die at the worst moment; buy two.
Basic Tripod – $30–$50. A solid tripod is underrated and fast to deploy.
Intermediate Kit: When You're Ready for More
Beastgrip Pro (~$99). Modular rig system for anamorphic lenses, follow‑focus, external monitors. Skip if you need to travel light.
DJI Mic 2 (~$329). Wireless audio benchmark; compact receiver and decent battery life.
SanDisk Extreme Portable SSD (~$80–$130). Fast on‑set backup; essential if shooting ProRes.
DJI Osmo Mobile 6 (~$159). Useful for specific shot types; not a substitute for disciplined movement.
Pro Kit: When You're Doing This Seriously
iPhone 16 Pro (~$999+). Best mobile platform: ProRes, dynamic range, advanced stabilization, Apple Log. Battery anxiety is real; bring a dedicated power solution.
SmallRig Mobile Cage/Rig (~$150–$300). Transforms the phone into a camera‑like rig with cold shoe mounts and standard rigging points.
Nanlite Pavotube II (~$149+). Portable LED light with practical glow; consider weight if shooting solo.
Prices are approximate. Prioritize solutions to problems you actually encounter.
Ready to Elevate Your iPhone Filmmaking?
Explore our top recommendations by clicking the button below.
Learn More
The Verdict
The iPhone is capable of cinematic footage for years. Failure stems from untreated sound, flat lighting, uncontrolled movement, and edits that don’t trust the audience to sit with a moment. Fix those elements, and your footage will follow.
Frequently Asked Questions
Can an iPhone really produce cinematic video?
Yes. Modern iPhones record 10‑bit ProRes with Apple Log and real dynamic range. The issue lies in sound and lighting, not the sensor.
What frame rate looks most cinematic?
24 fps. The motion blur cadence feels cinematic. 60 fps is suited for slow motion, not narrative drama.
Do I need a gimbal?
No. Understand why you’re moving the camera. Gimbals are tools for specific shot types, not a substitute for compositional thinking.
Should I shoot in Apple Log?
Only if you grade. Ungraded Log looks worse than standard. If grading is still developing, shoot standard and focus on lighting.
Is ProRes worth the storage?
For narrative projects where editorial flexibility matters, yes. For social content or fast‑turnaround workflows, likely not. Plan storage before recording.
What's the highest‑return purchase for a beginner?
An external microphone. It’s the single highest‑return beginner purchase.
What editing app should I use?
Use the one you’ll stick with. LumaFusion for serious mobile editing, DaVinci Resolve for iPad grading, CapCut for quick social content. Build a workflow and stop switching.
How important is color grading?
Color grading helps, but lighting matters more. You can’t grade out a flatly lit room.
Glossary
Dynamic Range: The camera’s ability to retain detail in both bright highlights and dark shadows simultaneously.
ProRes: A professional high‑bitrate codec that preserves more color data than standard compressed formats.
10‑Bit Video: Higher color depth producing smoother gradients and better grading flexibility.
Apple Log: Apple’s flat, low‑contrast color profile designed for advanced grading. Requires grading to look correct.
LUT: Look‑up table used to transform tonal and color values.
180‑Degree Rule (Shutter): At 24 fps, a 1/48 s shutter produces natural motion blur.
Room Tone: Ambient sound recorded without dialogue; used to smooth cuts and fill gaps.
Negative Fill: Dark surface opposite a light source to absorb light and increase shadow contrast.
Motivated Movement: Camera movement driven by narrative purpose.
Eager to learn more? Sign up for our weekly newsletter and receive a free ebook on the Top 10 Tips For Filming With A Smartphone.
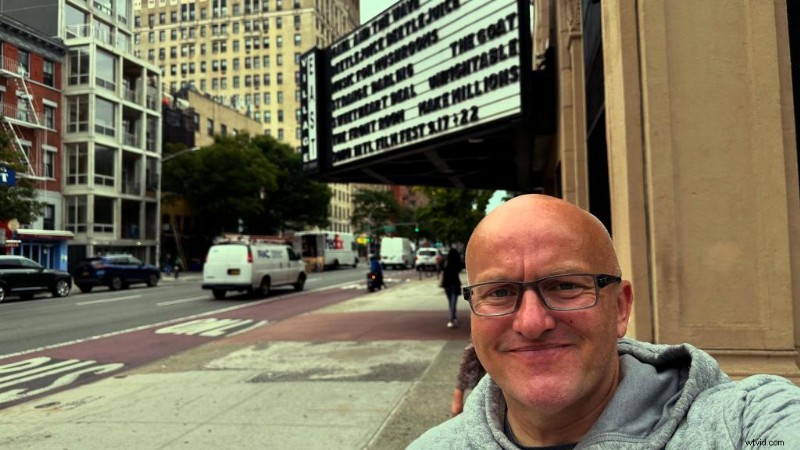
Director/Producer Trent Peek poses for a selfie in front of the theatre that is showing his film, Going Home.