Travel Videography Pitfalls—and How I Learned to Fix Them
During a three‑day shoot in Iceland, my primary camera failed without warning. Because I believed “real filmmakers travel light,” I had no backup body. I spent the next four days filming on a GoPro while mentally calculating how much rental gear in Reykjavik would cost.
That trip taught me more about what not to do than any film school class ever could.
After a decade of working on film and television projects—and making nearly every mistake possible—I’ve learned that the difference between amateur and professional travel videography isn’t talent or expensive gear. It’s knowing which mistakes will actually destroy your footage and which ones you can work around.
Below are the ten biggest pitfalls and the solutions that saved me hours, money, and, most importantly, footage.
Why These Mistakes Persist
Three core drivers keep travel videographers on the wrong path:
- Overconfidence. Local shooting feels safe, but travel conditions change everything.
- Under‑preparation. The spontaneous vibe of travel can make meticulous planning feel counter‑intuitive.
- Resource constraints. Packing light, saving money, or moving fast often leads to skipping backups, cutting corners on permits, or rushing pre‑production.
I’ve fallen into each trap multiple times.
Prevention Through Smart Planning (Not Over‑Planning)
Full‑scale scheduling kills the creative spontaneity that makes travel footage unique. The key is building systems that protect against predictable failures while leaving room for discovery.
Think of it this way: prepare for what will go wrong so you can focus on what might go right.
Below are the ten mistakes that routinely ruin footage and the precise ways to stop them.
1. Skipping a Shot List (Even a Loose One)
I once returned from a trip with 200 GB of footage, only to discover that I’d captured seventeen identical establishing shots and nothing of the story’s heart.
Why it kills your footage: Without a plan, you shoot aimlessly, waste time, and miss essential moments.
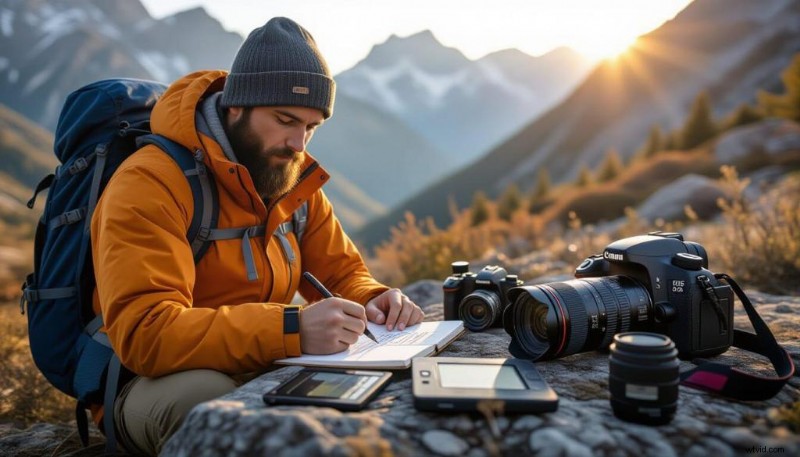
The fix: Draft a simple shot list before departure. It’s not a storyboard—just 10–15 essential shots you need. Include:
- Establishing shots of locations
- Key moments or activities
- Character moments (if filming people)
- Detail shots that reveal local culture
- Transitions between scenes
I keep mine in my phone’s notes app. It takes 20 minutes to write but saves hours of wandering aimlessly.
Pro tip: Leave blank spaces for spontaneous discoveries. In Kauai (see my Kauai guide), half my best footage came from unplanned moments—only because I’d already captured the core shots.

2. Ignoring Location Research (and Paying the Price)
Last year I arrived at a “public” beach in California only to find it was private property. I lost three hours of shooting and nearly destroyed the footage.
Why it kills your footage: You may discover:
- The location is closed
- Lighting is poor at that time of day
- You lack necessary permits
- The “hidden gem” is overcrowded
- Unpredictable weather makes filming impossible
The fix: Conduct a 30‑minute research session for each site:
- Google Maps satellite view to assess parking, angles, and alternatives.
- Search Instagram location tags to gauge the best time of day.
- Read recent reviews for current conditions or closures.
- Check local film commission sites for permit requirements.
- Join local photography/videography Facebook groups and ask for tips.
For international trips, I use Atlas Obscura to find lesser‑known spots that aren’t overrun.
Bonus: This research often uncovers better nearby locations you hadn’t considered.
3. Traveling Without Backup Gear (A Costly Lesson)
The Iceland incident cost me four days of subpar footage, roughly $3,000 in lost stock sales, and an extra week to salvage a client deliverable.
Why it kills your footage: Equipment can fail—batteries die, cards corrupt, lenses break. It’s a “when,” not a “if.”
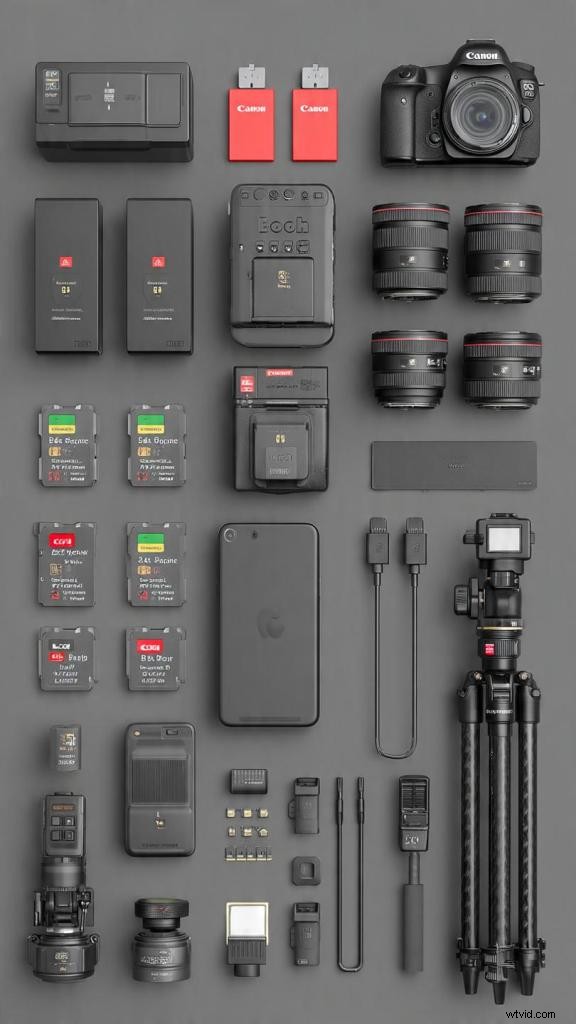
The realistic fix: You don’t need duplicate everything, just the critical pieces:
- One backup camera body (doesn’t have to match your primary).
- Double the batteries you anticipate needing.
- Two memory cards (never fill past 80%).
- Extra audio recorder or lav mic.
- Multiple charging cables and adapters.
My kit:
- Sony A7III (primary), Sony A7sII (backup)
- 10 batteries total
- 8 SD cards (128 GB each)
- Zoom H5 audio recorder
- 30 000 mAh power bank
If a backup camera is beyond your budget, rent one for key trips or use a high‑quality phone (modern iPhone or Samsung) as a backup. It’s more usable than you think.
Pro tip: Store backup gear in separate bags. If one bag is lost or stolen, you still have a working setup.
4. Shooting Without Enough B‑Roll (Editor’s Nightmare)
Without B‑roll, editors are forced into jump cuts or long, boring shots—both amateur.
Why it kills your footage: B‑roll covers awkward pauses, builds rhythm, shows context, enables transitions, and adds visual interest to narration.
The fix: Use the 3:1 ratio rule. For every minute of primary footage, shoot three minutes of B‑roll.
What to capture:
- Wide shots (establish location)
- Medium shots (show activity)
- Close‑ups (texture, detail)
- Movement (people, traffic, nature)
- Details (hands, faces, objects, signs)
- Multiple angles of the same subject (at least three)
After the main shot, I force myself to get five additional angles before moving on. It adds ten minutes of work but saves hours in post.
5. Ignoring Audio Until It’s Too Late
Viewers tolerate mediocre video but abandon footage with poor audio within seconds.
In Paris, beautiful visuals were ruined by wind noise drowning out dialogue.
Why it kills your footage: Bad audio makes footage unusable for dialogue, narration, or stock sales and looks amateur even if visuals are great.
The fix:
For dialogue and interviews:
- Use a shotgun mic or lav mic—phone/camera audio isn’t enough.
- Monitor audio with headphones during recording.
- Record room tone (30 s of silence) for each location.
- Stay within 6 ft of the subject.
For ambient and B‑roll:
- Record environmental sounds separately.
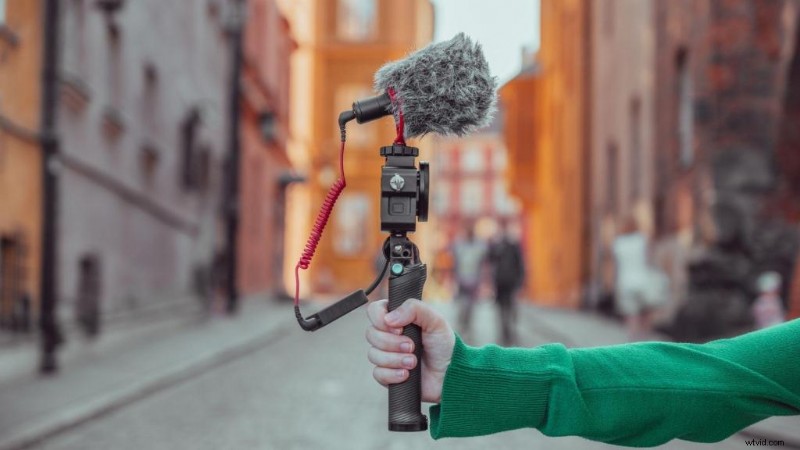
- Always use a deadcat or windscreen outdoors.
- Capture 30‑second ambient clips at each spot.
- Record specific sounds (footsteps, doors, traffic, nature).
My kit: Rode VideoMic Pro+ on camera plus Rode Wireless GO II for interviews. Total investment: ~$500—game‑changing quality.
Pro tip: Record more audio than you think you need—2–3 minutes of ambient sound at every location costs nothing but can save projects.
Learn more about audio in my vlogging lighting and setup guide.
6. Filming First, Asking Permission Later
Two years ago I filmed an entire day in a Hong Kong shopping district, only to have security delete all footage because I lacked a permit.
Eight hours of work vanished.
Why it kills your footage: Unpermitted filming can lead to forced deletion, fines, confiscated equipment, legal trouble, and wasted days.
The fix:
Before you travel:
- Research local filming laws for each location.
- Contact property owners for private sites.
- Apply for permits (2–4 weeks in advance for government sites).
- Download permit PDFs to your phone—don’t rely on internet.
- Research “freedom of panorama” laws for each country.
While shooting:
- If a site looks official, military, or private, ask first.
- Government buildings almost always require permits.
- Private businesses need owner permission even if you’re outside.
- Drone laws vary—check each country’s regulations.
For permit info, consult local film commission sites, the Worldwide Production Agencies Directory, and local photography/videography forums.
Gray area: Public streets and spaces are usually fine for personal/documentary use without permits, but “usually” isn’t a legal strategy.
Pro tip: If you’re shooting for commercial use (stock footage, client work, branded content), get permits. The risk isn’t worth it.
7. Going Fully Handheld When You Shouldn’t
Stock agencies reject 70% of footage with noticeable camera shake. My Southeast Asia trip was a wake‑up call.
Why it kills your footage: Unstabilized handheld footage looks amateur, is hard to watch, unusable for professional projects, and limits versatility.
The fix: Use the right stabilization for each shot type:
- Static shots → Tripod or stable surface.
- Slow movement → Gimbal or slider.
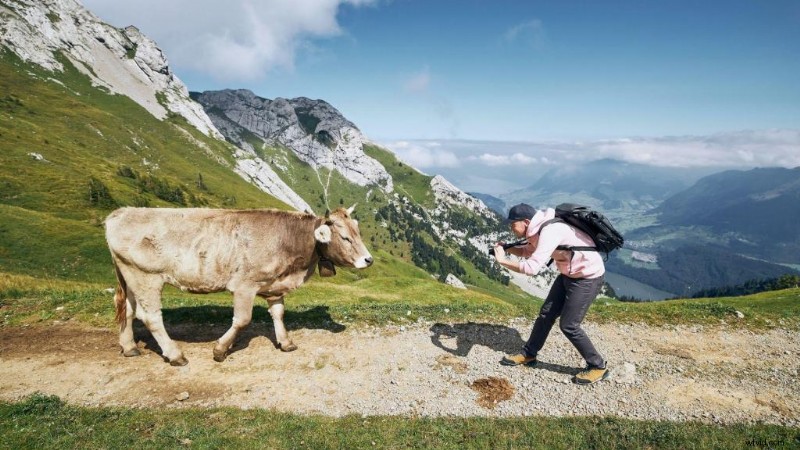
- Walking/running → Gimbal (mandatory).
- Quick pans/handheld feel → Handheld is fine (intentional shake).
- Tight shots → Handheld works (shake less noticeable).
I travel with a DJI RS3 Mini gimbal and a compact Manfrotto BeFree tripod—total weight ~3.5 lbs.
For ultra‑light travel, I bring just a GoPro with built‑in stabilization and shoot tighter handheld on my Sony bodies.
Compromises if you refuse a gimbal:
- Shoot wider focal lengths.
- Enable in‑camera stabilization.
- Use higher shutter speeds.
- Brace against walls/objects.
- Apply stabilization in post (Premiere’s Warp Stabilizer degrades quality).
Check out my full gear setup for travel filming here.
8. Treating Backup Like an Optional Task
This mistake nearly ended my career.
While filming in Iceland, I dumped footage to a single external hard drive each night. One drop destroyed the drive, and I lost five days of footage.
Why it kills your footage: Data loss is catastrophic—cards can corrupt without warning, and theft or damage is common when traveling.
The fix: The 3‑2‑1 Backup Rule
At minimum:
- Three total copies of your footage.
- Two different storage types.
- One copy stored separately (cloud or different location).
My backup workflow:
- Primary: Footage stays on camera cards (don’t format until you’re home).
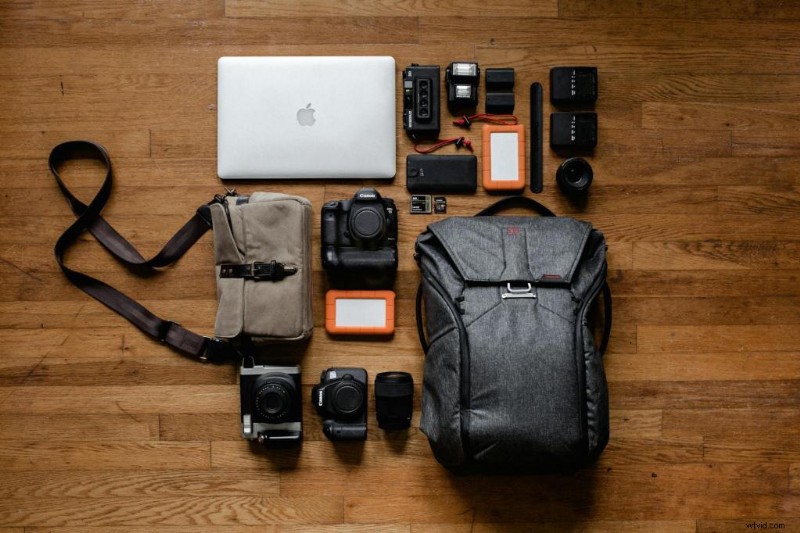
- Backup 1: Copy to portable SSD (Samsung T7) each night.
- Backup 2: Copy to second portable HDD (different bag).
- Backup 3: Upload to cloud when Wi‑Fi is available.
Gear: 2x Samsung T7 2 TB SSDs, 1x Seagate 5 TB portable HDD, extra SD cards (never format in the field).
Time investment: 30–45 minutes each night—small price for peace of mind.
On a budget: At minimum, keep footage on cards and copy to one external drive. Format cards only after verifying backups at home.
Pro tip: Number your cards and drives (1, 2, 3, etc.) to track backups easily.
9. Ignoring Weather (Then Losing Entire Shoot Days)
In Scotland’s Highlands, the forecast said “partly cloudy,” but rain lasted six straight days. I only captured four usable hours.
My mistake wasn’t the weather itself—it was not planning for it.
Why it kills your footage: Weather can:
- Make locations inaccessible.
- Damage equipment.
- Flatten light and dull footage.
- Waste money on unusable days.
- Force rushed, poor‑quality shots.
The fix:
Before you go:
- Check historical weather patterns (not just the forecast).
- Build buffer days into your schedule.
- Identify indoor alternatives for each location.
- Pack weather protection gear.
- Know which shots require specific weather.
Weather protection kit:
- Rain covers for cameras (even a shower cap works).
- Microfiber cloths (dry lenses).
- Zip‑lock bags (emergency protection).
- Umbrella (for you, not just gear).
- Lens cleaning supplies.
Pro tip: Bad weather can add mood and drama. Don’t automatically write off a day—adjust your shot list instead.
When weather is critical: If you need specific conditions (sunset, clear skies), build in 2–3 backup days. If you nail it on day one, you have buffer time for other shots.
The Kauai guide I wrote dives deeper into weather planning for specific locations.
10. Treating Editing Like an Afterthought
Most travel footage dies in post‑production.
Common pitfalls:
- Rushing through editing to “just get it done.”
- Using auto color correction.
- Skipping audio mixing.
- Exporting with wrong settings.
- Never color grading properly.
Why it kills your footage: Poor editing erodes great footage, produces amateur color grading, distracts with inconsistent audio, and reduces quality.
The fix: Adopt a structured workflow:
- Rough cut first (structure only).
- Add B‑roll (build rhythm).
- Mix audio (levels, EQ, noise reduction).
- Color grade (consistency, then style).
- Add music/sound design (mood, pacing).
- Final polish (transitions, effects, titles).
- Export in correct format for platform and use case.
Time allocation: 1 hour of raw footage = 3–4 hours of editing (minimum). Don’t rush.
Software I use: Premiere Pro (editing), DaVinci Resolve (color), Audition (audio).
Color grading tips:
- Start with exposure and white balance.
- Match shots within the same scene.
- Apply creative looks after correction.
- Use LUTs sparingly.
Audio mixing basics:
- Dialogue at –12 dB to –6 dB.
- Music at –20 dB to –18 dB (under dialogue).
- Ambient at –24 dB to –18 dB.
- Subtle EQ to reduce harsh frequencies.
For more detailed post‑production workflows, check out my filmmaking tips on the site.

Implementing These Fixes: Your Pre‑Trip Checklist
Here’s what I actually do before every trip:
2 Weeks Before
- Create shot list.
- Research locations (permits, lighting, restrictions).
- Check weather historical patterns.
- Apply for any necessary permits.
1 Week Before
- Test all gear (batteries, cards, audio).
- Organize backup storage (label drives, clear space).
- Pack weather protection gear.
- Download offline maps and permit PDFs.
Night Before
- Charge all batteries.
- Format all memory cards.
- Pack backup gear in separate bags.
- Verify backup storage is ready.
Each Shooting Day
- Check weather and adjust shot list.
- Monitor audio with headphones during recording.
- Shoot 3:1 B‑roll ratio.
- Backup footage to two separate drives at night.
After You Return
- Verify all backups before formatting cards.
- Create archive copies.
- Start editing within 1 week (while it’s fresh).

The Bottom Line
None of these mistakes will ruin your career. I’ve made every single one and I’m still working.
Each mistake you avoid improves footage quality, streamlines workflow, and elevates professionalism.
The real secret? Most fixes require minimal time and money. You don’t need expensive gear or years of experience—you just need to know what truly matters.
Start with three core fixes:
- Shoot enough B‑roll (3:1 ratio).
- Back up your footage nightly (two separate drives).
- Monitor audio while recording (not after).
Master those three, and you’ll outpace 80% of travel videographers.
Now go shoot something—and bring backup batteries.
Want to Learn More About Photography?
Become a better photographer with the MasterClass Annual Membership. Gain access to exclusive video lessons taught by photography masters, including Jimmy Chin, Annie Leibovitz, Tyler Mitchell, and more.