Filming in bright sunlight isn’t always ideal. Let’s look at how these sunlight modifiers can raise the quality of your shot.
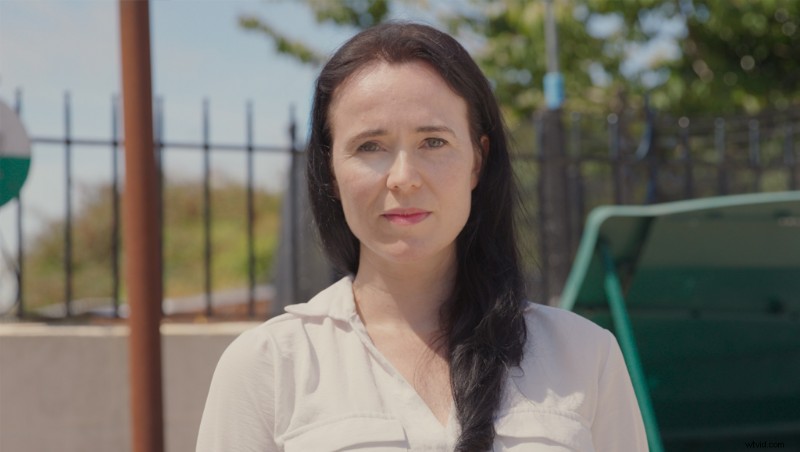
If you’re entirely new to filmmaking, you may not know that filming in bright sunlight isn’t always ideal. This is somewhat poignant considering there’s nothing worse than a rainy day when you wanted to be out filmmaking. While a bright, sunny day is ideal for filmmaking, the aspect of filming in the unmodified midday-to-afternoon can be detrimental when filming people. As the sun is directly above us, and also at its brightest, it’ll often produce harsh light with hard shadows, which isn’t particularly attractive.
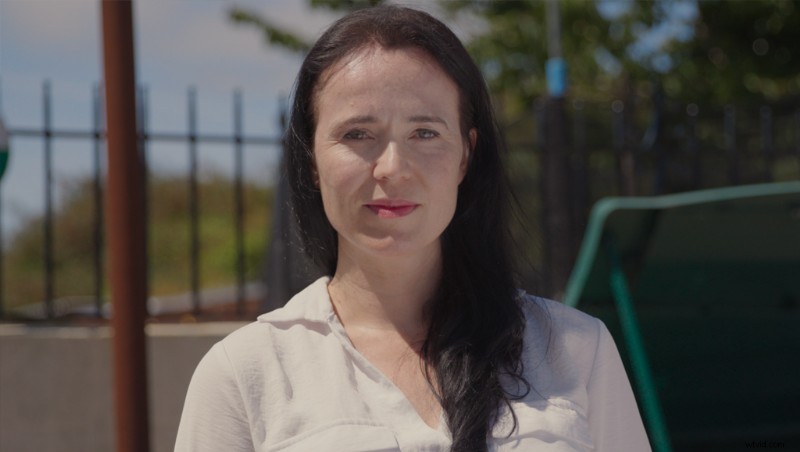
From the example below, we can see the shadow moving across the actor’s face doesn’t look visually pleasing, and to some extent, quite distracting.
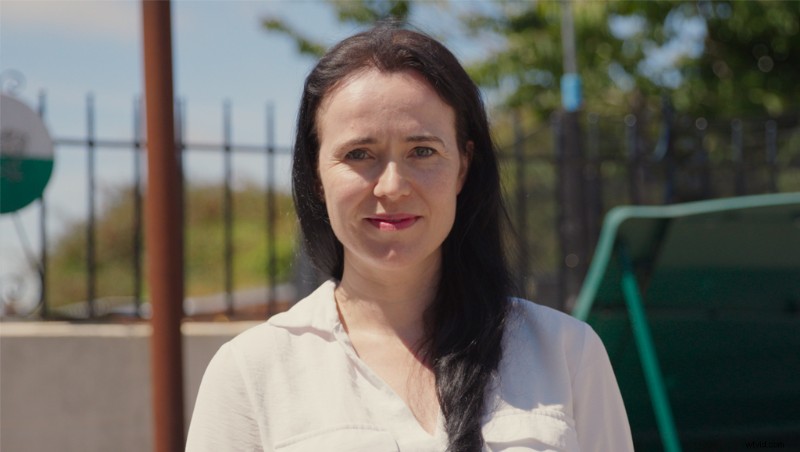
Additionally, as my actor on set pointed out, it’s also uncomfortable regarding both heat and bright light beaming onto the talent.
So, let’s look at a few methods in how we can move away from these harsh shadows.
Use a Flag
When you’re out and the sun is beating down on you, what’s the one thing you look to do? Find shade, right?
Well, we can also do that for our subject by using a flag. This tool blocks light on location. However, it can also cast shadows, provide negative fill, or negate lens flares when you don’t have a matte box.
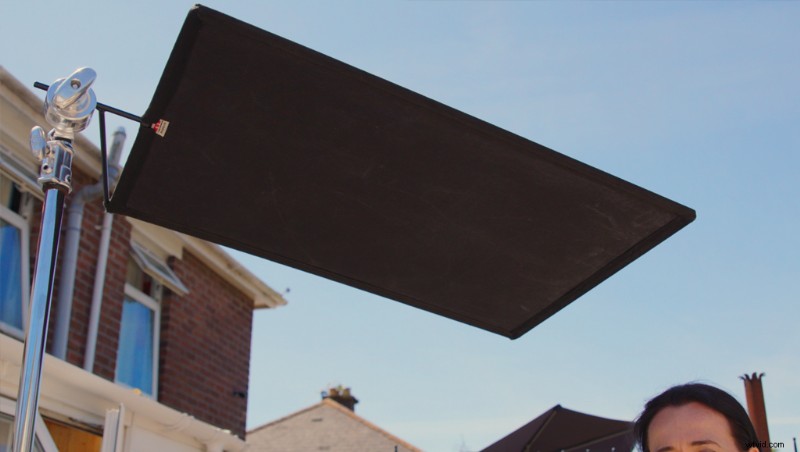
In the video, I’m using a 24 x 36 inch-sized flag. This is relatively small, but it’s handy for low-budget filmmakers and those who tend to operate as solo filmmakers. To use the flag, you attach it to a C-stand, and (of course) position it above the talent until it completely blocks the sunlight. If I’ve jumped too far ahead and you’re unsure what a C-stand is, don’t worry, we’ve got you covered:
There’s one thing to note about using a flag: Because we have now completely blocked the sunlight, the exposure of the actor will be different from your initial reading.
As a result, you’ll need to adjust the exposure to brighten the image, as it’s likely your talent will now be slightly underexposed. However, if your camera doesn’t have dynamic range, you’ll find that the exterior—which is still being exposed by the sunlight—becomes too bright.
To accommodate this, you can take a meter reading of the exterior, take a second meter of the talent, then expose halfway between both readings. Even if your camera doesn’t have the best dynamic range, you should lower the highlights and lift the shadows to get a balanced image.
Diffusion Scrim
Next, we’re going to look at doing the somewhat opposite. Instead of blocking the sunlight, we’re going to use the sunlight to our advantage and create soft light. By placing diffusion material between the sunlight and our talent, the diffusion material will scatter and spread the sunlight, creating a more flattering light with softer shadows.
We recently published Hard Light vs. Soft Light: Knowing How to Light Your Scene, which goes into detail on the differences between hard light and soft light. So, make sure to check out that article if you’re unsure about the difference.
I’m using 42 x 42 inch scrim. So, again, like the flag, this is a relatively minor variation of what you typically see on professional sets. Still, given its size, it’s a lot easier for the no-to-low budget filmmaker to carry.
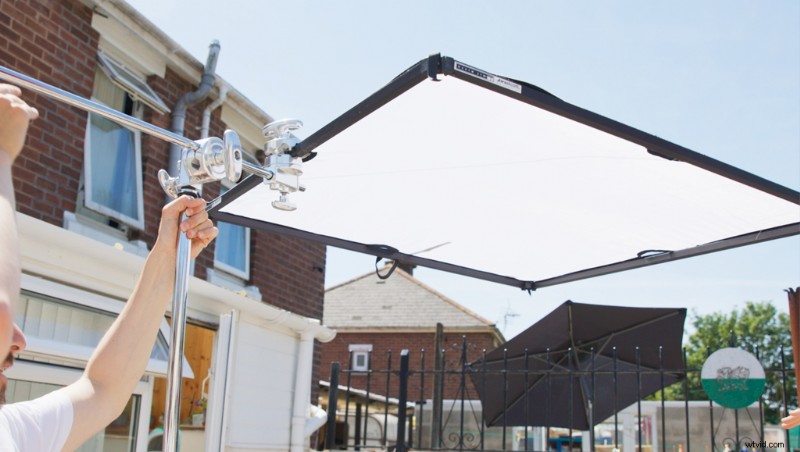
Like the flag, you want to position the diffusion material directly in the path of the sunlight. While a flag has one job (to block light) and is constructed from an opaque material, scrims are entirely different. You’ll see some scrims that look like nets (as they’re often called). However, they’re actually created from wire, and they reduce the intensity of the light. The density of the wire meshing affects how much the scrim reduces the light.
You can also get scrims created from translucent woven material, which will additionally diffuse hard light into soft light. Given that they also alter the character of the light, film pros typically call these silks to avoid confusion. Again, the density of the material will vary how much light it reduces.
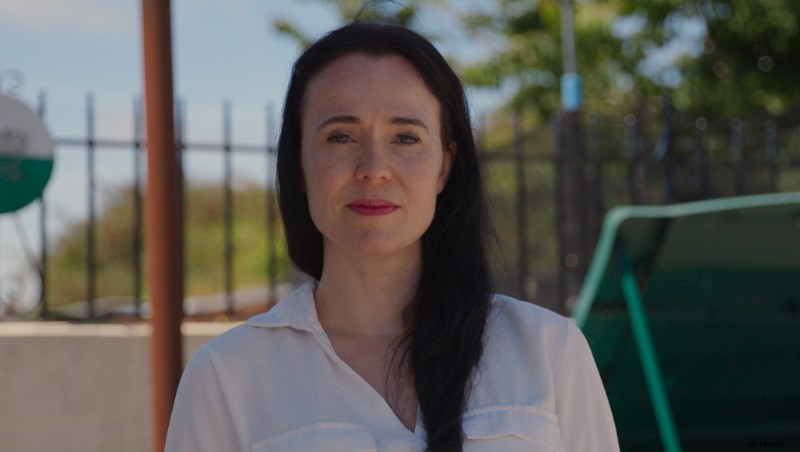
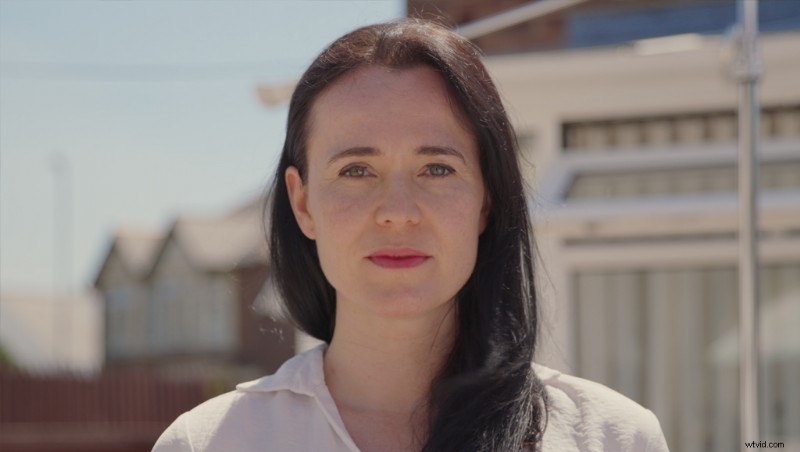
Now, the scrim I have has ¾ stop diffusion. We can see it’s not strong enough to diffuse the intense sunlight fully. The sunlight is so bright that it’s still projecting shadows onto the talent. It would’ve been preferable to have at least one to two stops diffusion. However, we can see there’s significantly less contrast to the image when comparing the before and after.
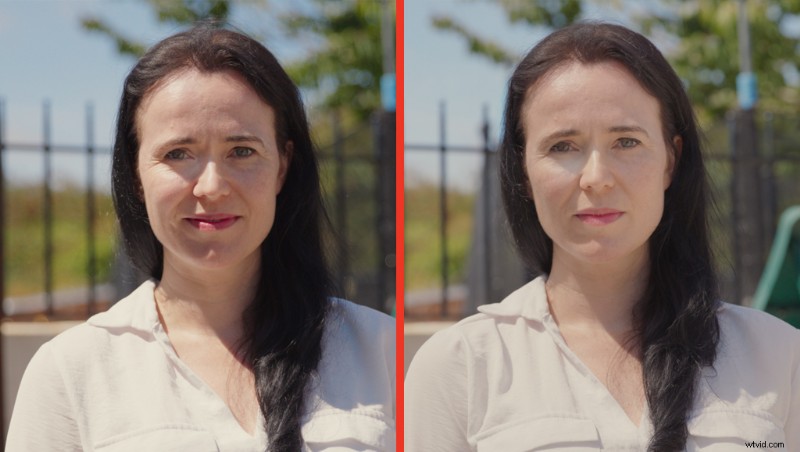
For a narrative project where you’re aiming for a raw feeling, you may want a ¾ stop silk as it still softens the light, yet shows natural shadows. However, you’ll want consistent softness across the face for an interview. Therefore, choose a stronger silk.
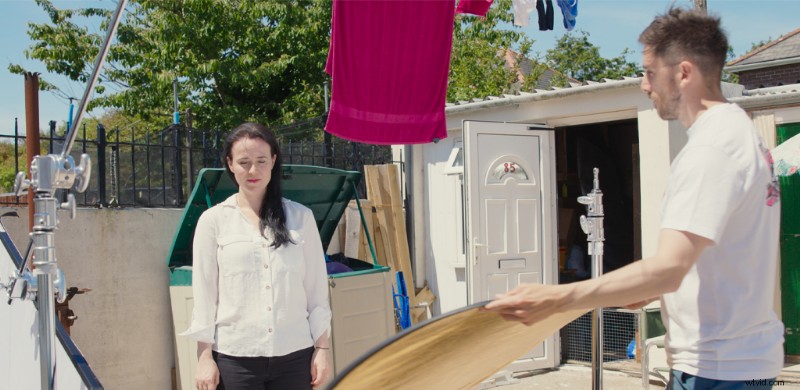
Reflector
Finally, we’re going to look at the least inexpensive and most common tool, the 5-in-1 reflector. I was somewhat reluctant to include this because it seems obvious. However, if you’re new to filmmaking, then perhaps it isn’t. You can pick these up for around £20/$20 and, as noted by the name, they reflect light. However, how we use them is a little different.
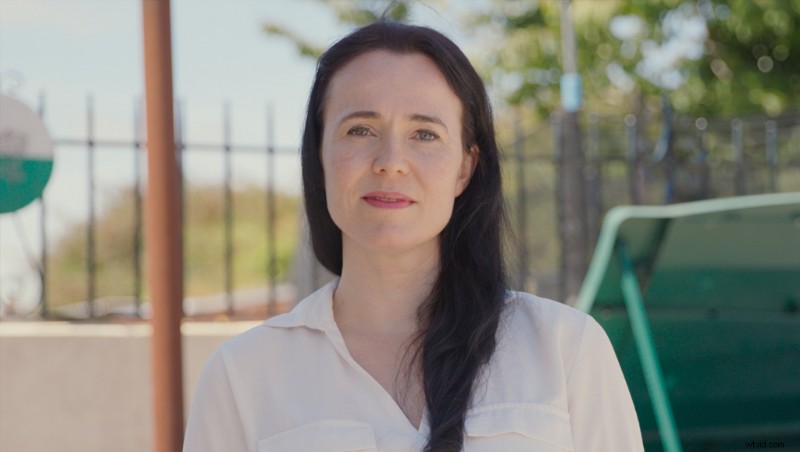
Instead of blocking or deflecting the sunlight, we’re going to use the sun to add light back into the scene. In my example, the shadows appear on the left-hand side of the actor’s face (our right). Therefore, you’ll need to place the reflector beneath the left-hand side of the actor so the light reflects into the darkened area of the actor’s face. This will raise the shadows and give equal exposure to the front.
However, we’re (of course) still under the bright sunlight. As a result, the image remains overly saturated, promoting areas of strong contrast. Therefore, we can do something that isn’t typically recommended—reposition our camera so the talent’s back is against the sun.
On a bright, sunny day, this isn’t usually recommended because it requires you to expose the actor, leaving the sky extremely overexposed. Alternatively, you could expose the sky and let your actor become a silhouette.
However the reflector allows us to do something different. We can expose more towards the sky, then use the bright illumination from the sun to bounce light to the actor’s face. Because the reflector scatters light like the diffusion sheet, the result is a beautiful, soft light.
So, there we have it. If you’re new to filmmaking and you’ve been experiencing too much contrast in your footage involving people, and weren’t too sure how to nullify it, now you know!
For more tips on lighting, check out these articles:
- Ideas for Dealing with Bright Sunlight on a No-to-Low Budget
- Hard Light vs. Soft Light: Knowing How to Light Your Scene
- Video Tutorial: Learn How to Create Sun Stars with This Quick Tip
- Tips for Keeping Your Camera Cool on a Hot Summer’s Day
- Lighting Modifiers: Aputure Light Dome Vs. Aputure Lantern
Cover image via Quality Stock Arts.