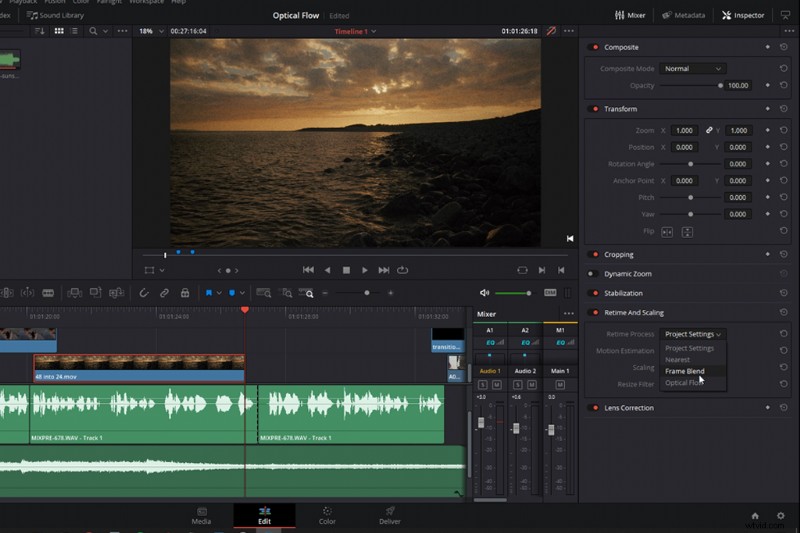
Get better slow motion when filming at 24fps by using optical flow. Check out our tutorial to see some optical flow examples in real videos.
Typically, if you want to film in slow motion, you have to use a higher frame rate than the project default. For example, if your project frame rate is 24fps, you will have to film at a frame rate of 48 or 60 to achieve a slight degree of slow motion. But today, we’ll explore how you can still get slow motion when filming at 24fps with optical flow.
Modern software gets us slow motion shots through frame interpolation. It allows us to take a 24fps shot, apply a time remapping method, and have the footage appear as if it was shot at a higher frame rate, then decreased to 24fps.
However, as with most digital manipulation forms, whether saving highlights, removing background hiss, or frame interpolation, there’s only so far you can push something before the media breaks down.
Frame interpolation is nothing new. It’s been around for a while and it’s often used to restore archival footage that wasn’t shot at today’s standard frame rate. It’s also used in timelines to match media at different frame rates. More recently, these features have been added directly to NLEs, as opposed to being individual software or plug-ins, allowing filmmakers to make their 24fps footage fluidly slower than usual. However, optical flow is just one of a few frame interpolation methods available. Let’s take a look.
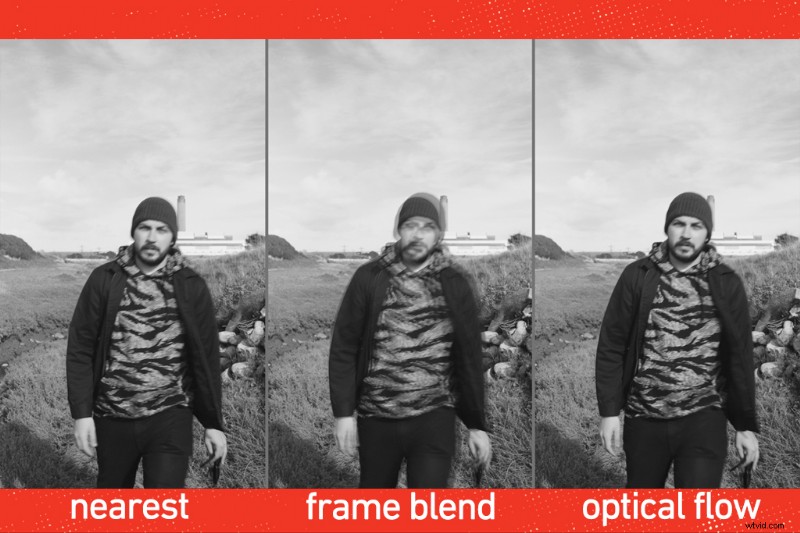
Frame Interpolation Methods
1. Nearest
Nearest is the default method. Your NLE will duplicate the adjacent frames to make the footage playback slower. However, with duplicated frames, the appearance of the slow-motion will be staggered.
2. Frame Blend
Frame blend is similar in that it duplicates frames, but it blend the duplicated and original frames with cross dissolves to smooth out the jitteriness.
3. Optical Flow
Optical flow, which is what we’re looking at today, uses motion estimation to generate new frames from the source. Essentially, the software interpolates the missing frame by analyzing and comparing pixel data from the surrounding frames, creating what would appear in-between.
In most circumstances, if you intend for your shot to be displayed in slow motion, it’s best to film at a higher frame rate. But that’s not always possible. Perhaps your camera doesn’t shoot with a high FPS, or maybe it does but only at 1080p. Or perhaps you want your shot to enter slow-motion from a 24fps sequence, but your camera can’t do speed ramping. Therefore, you need to film at 24fps 4K.
Analyzing Optical Flow
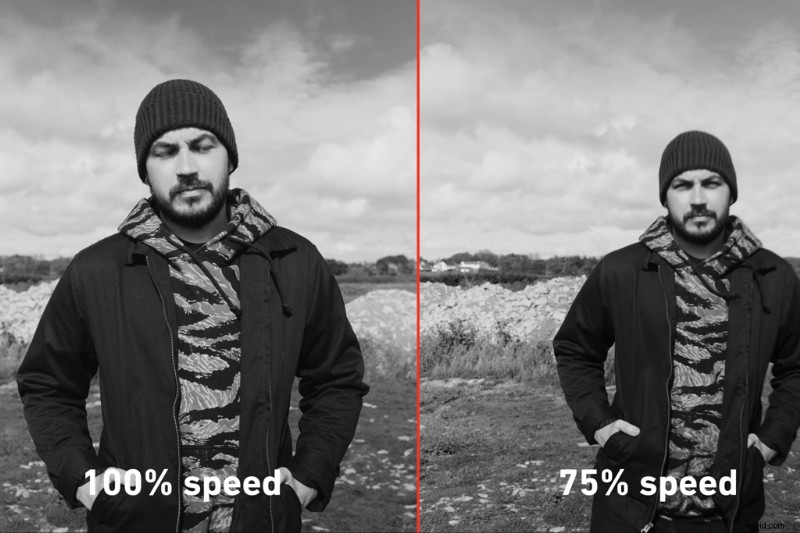
First, we’ll have our model walk towards the camera with a relatively static background, and we’re going to decrease the speed by 25 percent. At this point, we should click pause and take a reality check — using optical flow isn’t going to turn 24fps footage and make it appear as if it was shot with a Phantom camera. At most, you’re going to get a gentle decrease of slow motion, and depending on the subject of your video, you may introduce artifacts and ghosting into your image.
The results, seen in the video, are decent, with little-to-no ghosting artifacts.
But, what if we introduce some simple cross-frame movement? We can instantly see that ghastly ghosting.
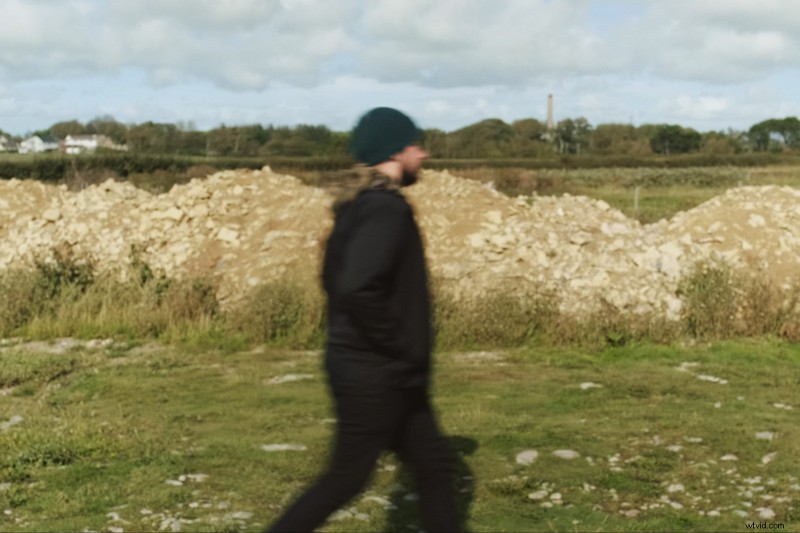
However, as noted in the video, the ghosting is minuscule when I actually move with the subject. Why are we getting less ghosting with a moving shot when a static image should, in theory, be better due to less change of overall pixel information entering the scene?
Well, optical flow interpolation works a lot better with media that contains little-to-no motion blur and with subjects moving in front of a mostly static background. The problem is at 24fps; there’s always motion blur with a subject moving across the frame — static background or not. However, when I move with the subject and keep them center, it somewhat negates that. Using that basis, if we have the model do the same thing, but on a background that moves sporadically (in our case, the ocean waves), will this make the interpolation even worse? The video example proves it makes no difference.
Is there a reason for this? In this particular instance, it’s costume.
Optical flow needs to analyze the motion of every pixel for each frame. It doesn’t know what the background is or what the foreground is, and it can struggle to separate the two. As a result, you may see some warping if visual elements are the same color. For example, if I apply optical flow to a set of waves, we can see it doesn’t work that well due to the similarity in contrast and color.
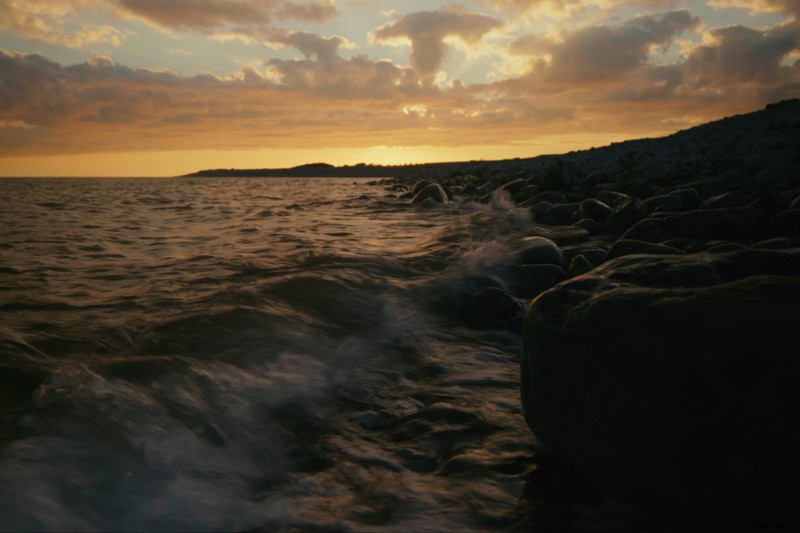
Only when there is tonal separation can the data to be correctly analyzed. And even when filming a subject with strong contrast and a color difference against the background, if it moves fast through the frame, it’s still going to cause ghosting.
I find optical flow to be the most useful for slow-moving landscape shots, as there are fewer foreground elements, fewer pixel changes moving across the screen, and you can often reduce the clip more than if the subject was centered on screen.
When to Use Optical Flow
- If the subject will remain relatively still with a static background
- If the subject moves, try to move with them
- If the visual has strong tonal contrast
- For wide shots, make sure the area has an array of different colors and contrast.
- Limit the speed decrease to 10–50 percent, but for minimal ghosting, decrease less.
And remember, using optical flow isn’t a suitable replacement for a higher frame rate, but it’s an awesome tool to create the illusion subtly.
Get more filmmaking tips and techniques with our latest video tutorials.
- Everything You Need to Know About Neutral Density Filters
- What Is HandBrake and How to Use It for Transcoding Video
- Shooting, Transferring, and Editing Footage On Location
- From Fire to LEDs: Types of Lighting for Your Film Set
Cover image by Annette Shaff