3D Camera Tracking in Adobe After Effects is a powerful tool that recreates the camera used to film a video clip, giving you the ability to add whatever you want into the scene as if it was always there. It’s a fantastic way to add depth and flair to your footage, as well as the perfect vehicle for inserting your own design or logo into a pre-existing clip.
For this tutorial, we’re going to use a San Fransisco birds-eye view clip from contributor spotmatik.
Step 1
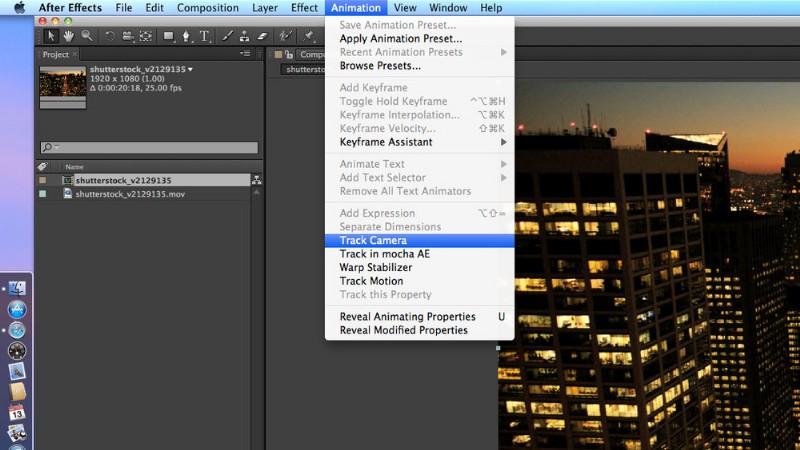
Open After Effects and import your footage into a new project. Once you have created your comp, go to Animation > Track Camera. The program will start analyzing your footage in the background.
Step 2
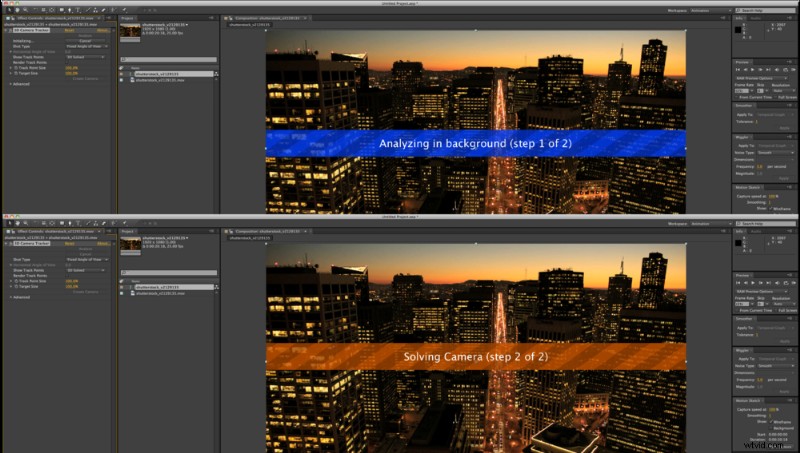
Done! You will notice it has not created a camera yet. You don’t have to do anything yourself during this step. Just let After Effects work its magic.
Step 3
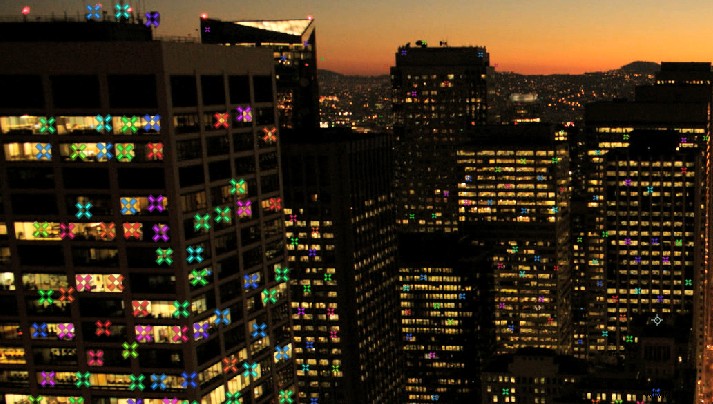
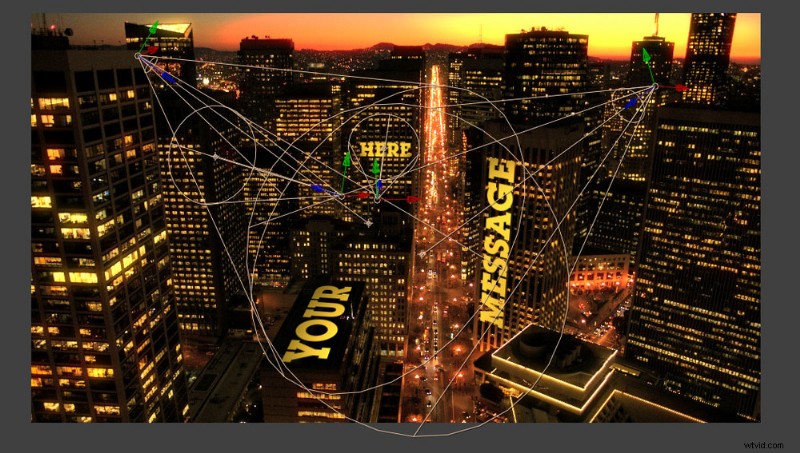
Once the tracking is complete, multi-colored crosses will appear all over the comp. These are your track points.
Step 4
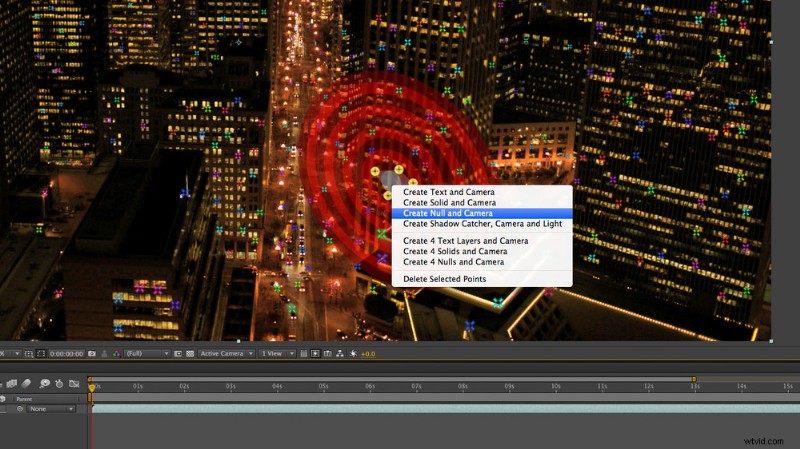
As you hover over these points, you’ll notice a red target that follows your cursor, always connected to three points. Move your cursor to the location where you want to add a new layer. Select a target with a plane matching the perspective you’re looking for.
There are a few ways to select tracking points. One is by hovering over and choosing from the pre-selected points. You can also hold down the “shift” key and select or deselect points. Lastly, you can lasso an area of points to select by clicking, dragging, and drawing.
Once you have the target set, right-click on the center and select Create Null and Camera. I prefer to create a Null object so that I can attach any additional layer to it, offering more versatility with the tracking data.
Step 5
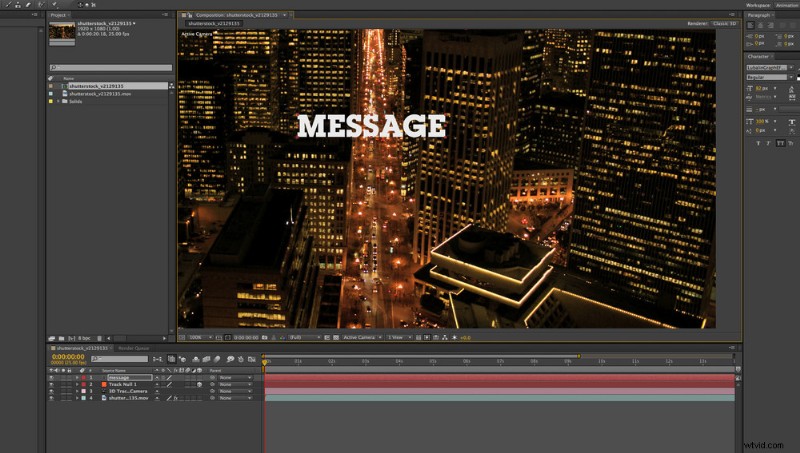
Once you’ve created your Null object, it’s time to add your layer — in this case, some text.

Step 6
From here, drag the pick whip for the text layer to your new Null object while holding the “shift” key. Important: Make sure your text is a 3D layer by selecting the “3D Layer” box. This will match your layer’s location and orientation with the Null object you created.
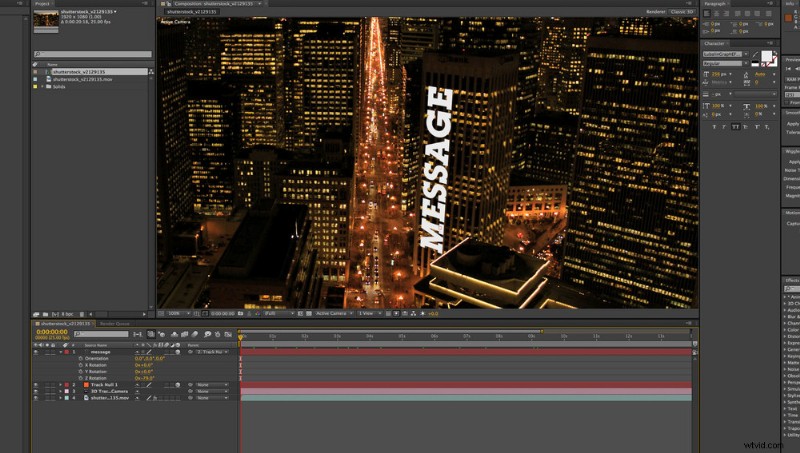
Step 7
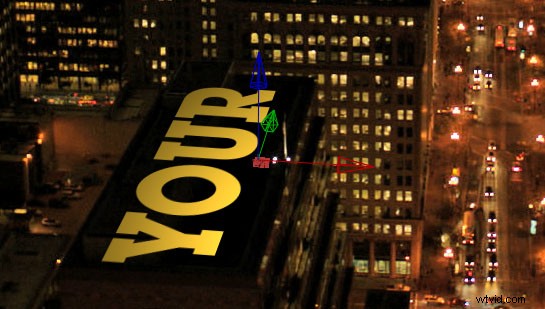
Rotate and re-size your layer to fit the area you want. Then just scrub through your timeline to see the magic that is 3D Camera Tracking!
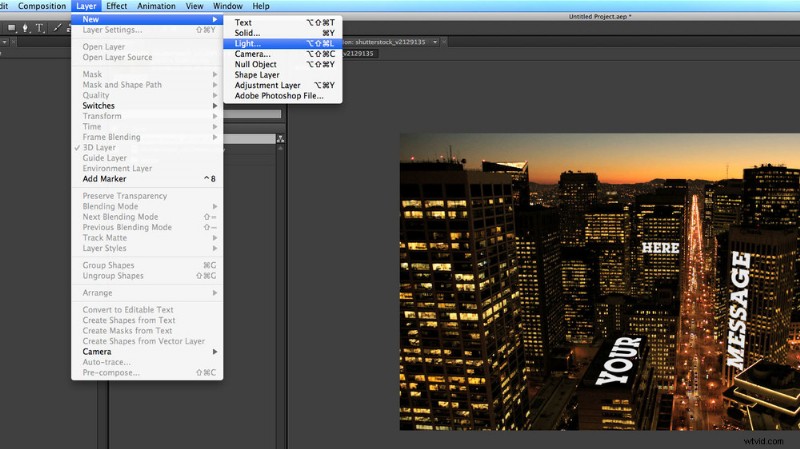
Step 8
Now that we have some text in our scene, we should light it to continue to add depth. Go to Layer > New > Light.
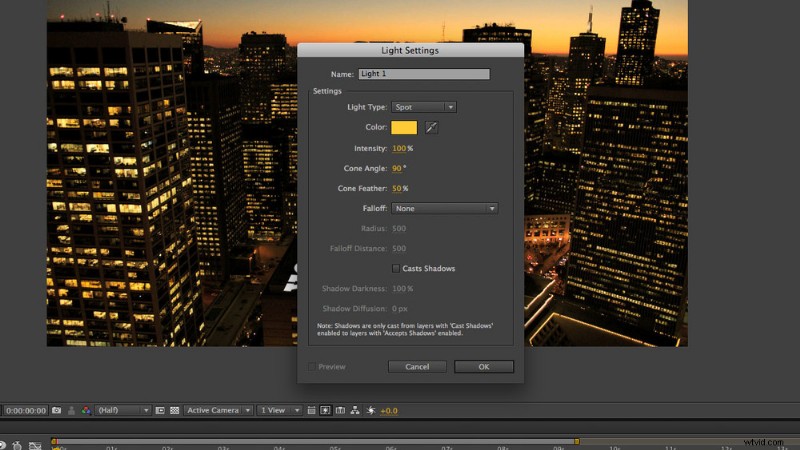
Step 9
Adjust your light settings to your preferences. In this example, I made the light the same gold as the windows.

Step 10
By adjusting the cone angle, position, and orientation, you are able to light your 3D layers.
Step 11
If you want to add different rotations or animations to your layer, it’s good practice to make sure your Null object is oriented correctly once it’s created from the tracking data.

Step 12
Doing this gives you complete control over the rotation of your layer, so that it moves properly on its plane.
And there you have it: You now have to power to take control of your footage, even after it’s shot!
Clip used in this post: Illuminated San Francisco street view © spotmatik