Professional‑looking videos owe much of their impact to superior audio. The difference you hear between polished YouTube content and casual clips is often the result of meticulous sound design.
Fortunately, Filmora’s built‑in audio mixer makes that level of control accessible to creators of all skill levels. In this guide we’ll walk you through every feature and show you how to fine‑tune your audio to perfection.
First, let’s define what an audio mixer actually does.
In this article
- Part 1: What is an audio mixer?
- Part 2: An easy‑to‑use audio mixer – Wondershare Filmora
- Part 3: Step‑by‑step instructions for using Filmora’s audio mixer
- Part 4: Frequently asked questions about Filmora’s audio mixer
Part 1: What is an audio mixer?
An audio mixer is a tool that gives you precise control over the soundscape of your videos. With it, you can adjust levels, balance multiple audio sources, and apply panning to create a cinematic listening experience.
Beyond simple volume adjustments, a mixer lets you blend dialogue, music, and sound effects into a coherent mix that enhances storytelling. And the best part? Filmora offers this power at no extra cost.
Part 2: An easy‑to‑use audio mixer – Wondershare Filmora

Wondershare Filmora is one of the world’s most popular video editors, known for its intuitive interface and powerful features such as split‑screen, motion tracking, and speed ramping. The editor also includes AI‑powered tools and a wide range of visual effects that elevate any project.
When it comes to audio, Filmora provides auto‑sync, audio ducking, a visualizer, and a robust audio mixer. These tools give creators the flexibility to shape sound without leaving the program.
Part 3: Step‑by‑step instructions for using Filmora’s audio mixer
Follow these steps to unlock Filmora’s audio mixer and achieve professional‑grade sound.
Step 1 – Download & install
Ensure you have a recent version of Filmora installed:
- Visit the official Filmora website and click “Free Download.” The editor supports Windows 11 and all prior Windows releases, as well as macOS 10.14–13.
- Run the installer and follow the on‑screen prompts to complete installation.
Once installed, you’re ready to prepare your footage.
Step 2 – Prepare your video
Launch Filmora and start a new project:
- Click “New Project” from the launch screen.
- Import your media by clicking “Import Media” or by dragging files into the media area.
- Drag the imported clip onto the timeline to create a workspace.
- Apply any visual edits you wish before moving on to audio.
Tip: Use headphones for a more accurate preview of your adjustments.
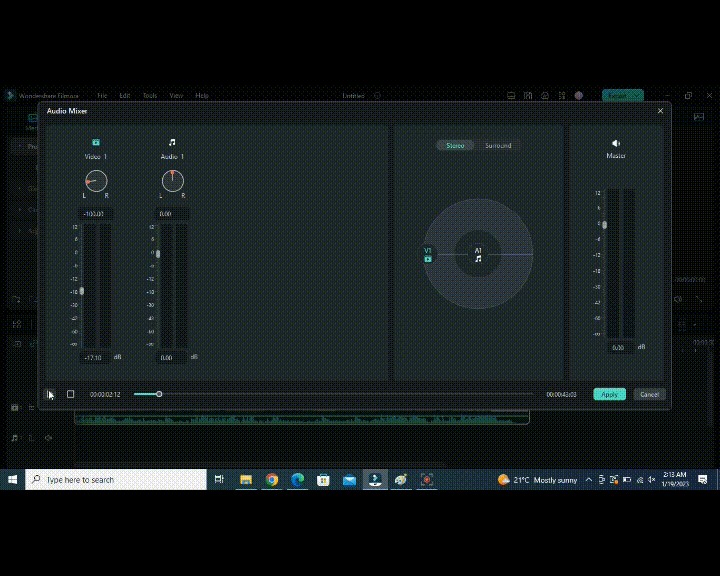
Step 3 – Open the audio mixer
Click the audio mixer icon located below the preview window.
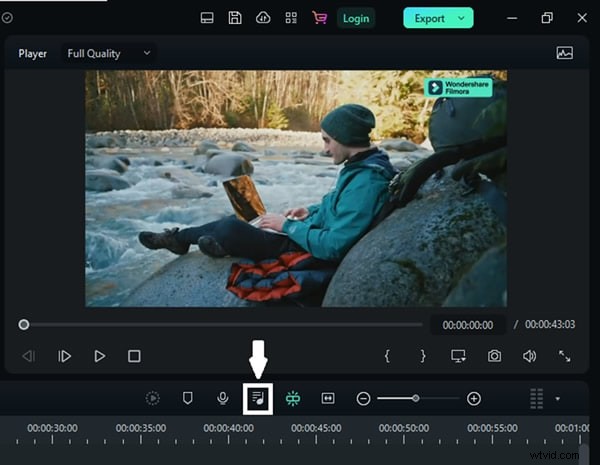
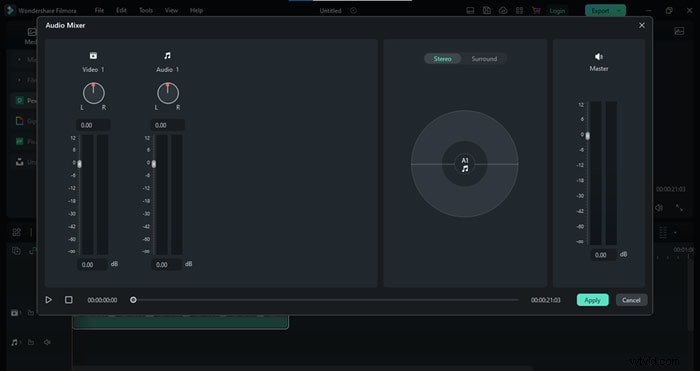
The mixer opens with a clean interface ready for adjustments.
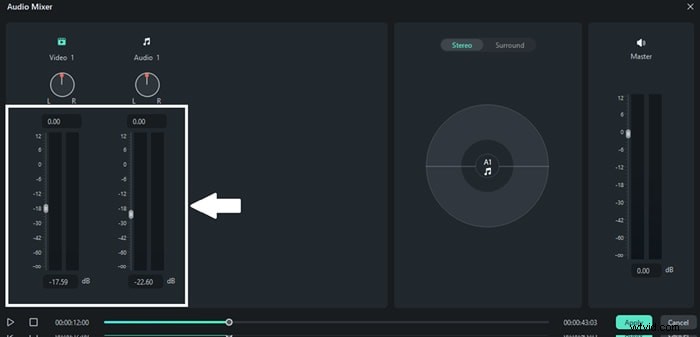
Step 4 – Adjust audio levels
On the left side of the mixer, two vertical bars represent:
- The video clip’s audio level.
- The audio track’s level (music or sound effects).
Step 5 – Fine‑tune audio channels
The circular knobs above each level allow you to pan sound left or right. Rotate the knob to shift the audio balance and observe the changes in the channel control panel.
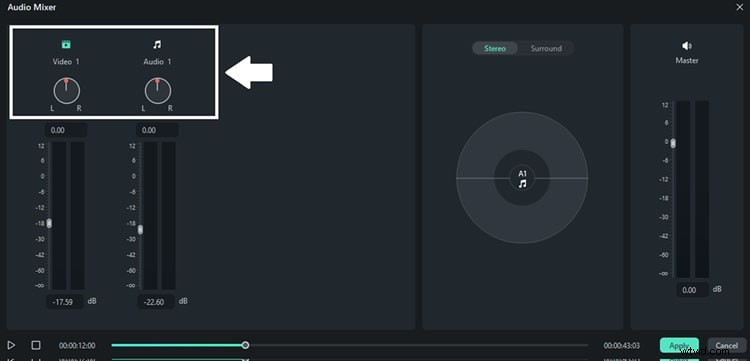
Test the pan by rotating the knob and pressing the “Play” button.
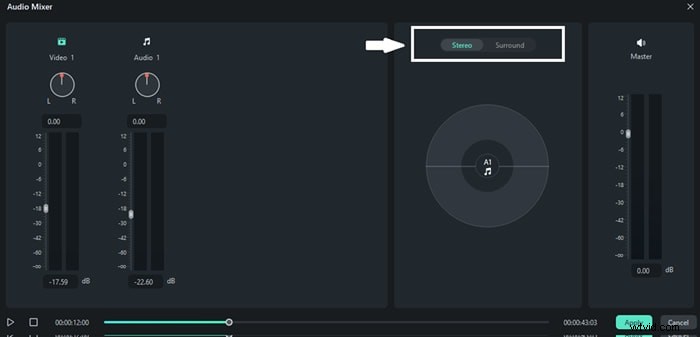
Step 6 – Choose an audio mode
Filmora offers two modes:
- Stereo Mode: Classic left‑to‑right panning.
- Surround Mode: Adds front‑to‑back panning for immersive sound; best suited for systems that support surround audio.
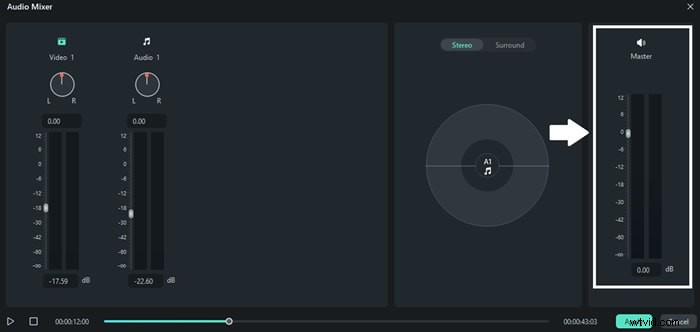
Step 7 – Set master levels
On the far left of the mixer, adjust the master slider to control the overall volume of all audio tracks on the timeline.
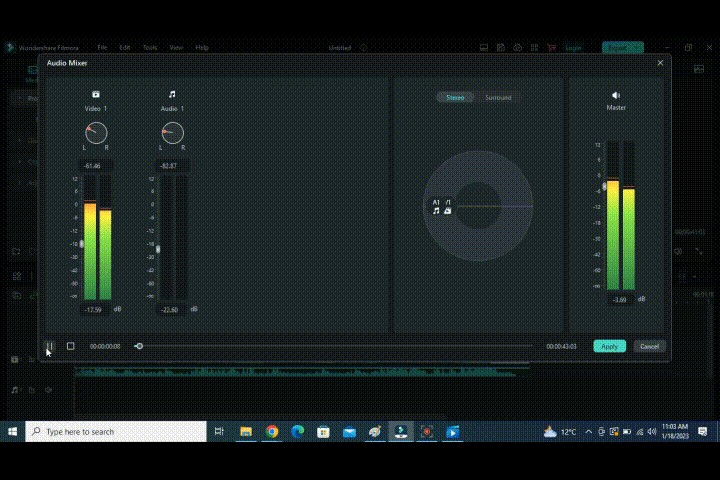
Step 8 – Preview and apply
Use the “Play” button to listen to your changes. When satisfied, click “Apply” in the bottom right corner to lock in the adjustments.
That’s it! You’ve now mastered Filmora’s audio mixer and can elevate any video with polished sound.
Part 4: Frequently asked questions about Filmora’s audio mixer
1. How important is an audio mixer in video editing?
A professional audio mix is essential for engaging content. It allows you to balance dialogue, music, and effects, creating a cohesive auditory experience that supports the visual narrative.
2. Where can I find the audio mixer in Filmora?
After placing a clip on the timeline, the audio mixer icon appears in the toolbar beneath the preview window.
3. Is Filmora’s audio mixer free?
Yes. Filmora’s audio mixer is included in the free version and offers all the advanced features found in the paid edition.
Conclusion
Every top‑tier video starts with great audio. By mastering Filmora’s audio mixer, you can produce crisp, balanced soundtracks that make your content stand out.
This guide covers everything you need to know to get started with Filmora’s audio mixer.