In today’s AI‑driven world, speech recognition has become an essential accessibility feature for users who prefer voice over typing. Apple’s built‑in dictation, voice control, and text‑to‑speech options make it possible to convert spoken words into written text on every iPhone, iPad, and Mac. This guide walks you through setting up these native features and highlights the best third‑party applications that extend Apple’s capabilities in 2026.
In this article
- How to enable Apple’s speech‑to‑text on iOS devices
- Top additional voice‑recognition apps for macOS and iOS
Part 1: Enabling Apple Speech Recognition on iOS Devices
Apple’s voice‑control, dictation, and speech‑to‑text features are free, offline, and accessible from the Settings app. Below are step‑by‑step instructions for iPhone, iPad, and Mac.
Setting Up Voice Control on iPhone
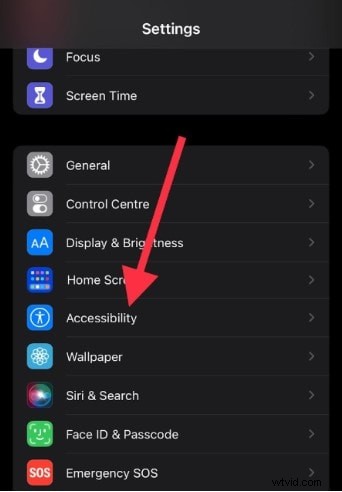
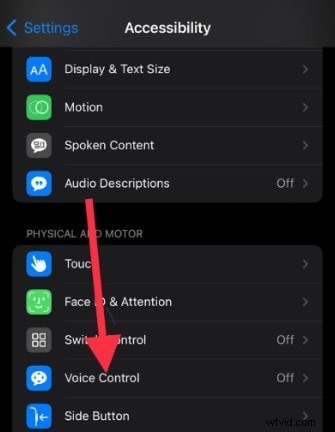
- Open Settings → Accessibility → Voice Control.
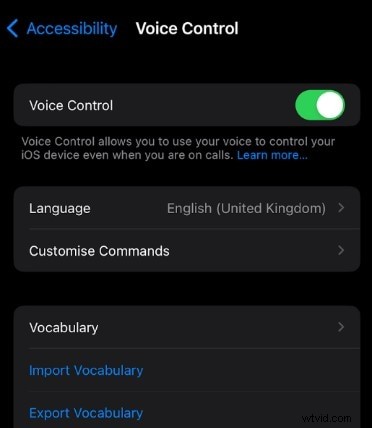
- Toggle Voice Control on.
- A blue microphone appears in the status bar when the feature is active.

Enabling Dictation on iPhone
- Open Settings → General → Keyboard.
- Toggle Enable Dictation to green.
- Confirm the prompt to add the microphone to your keyboard.
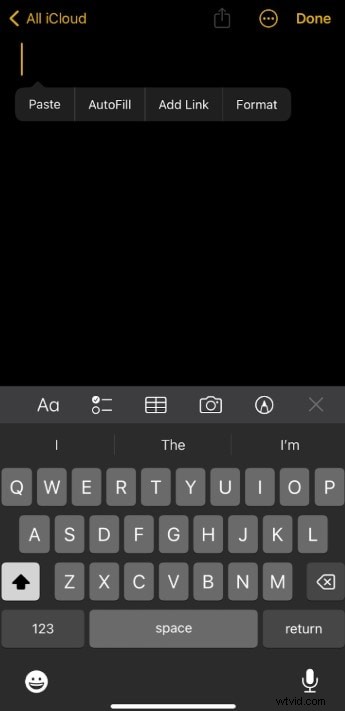
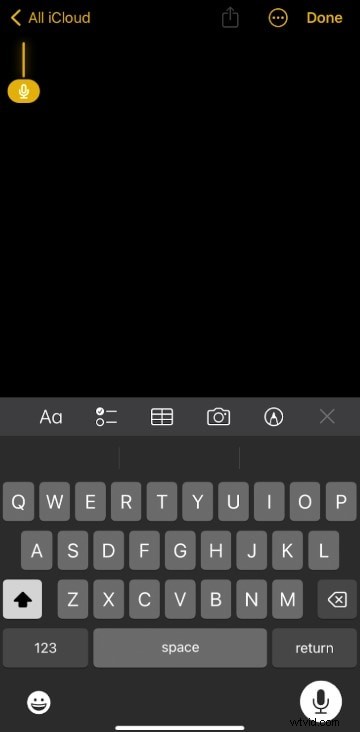
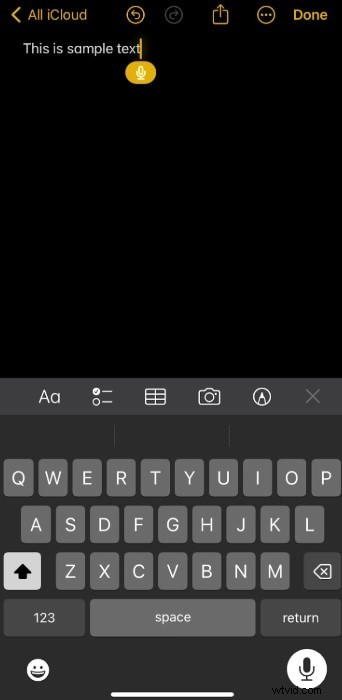
- To dictate, tap the microphone icon on any text field and speak.
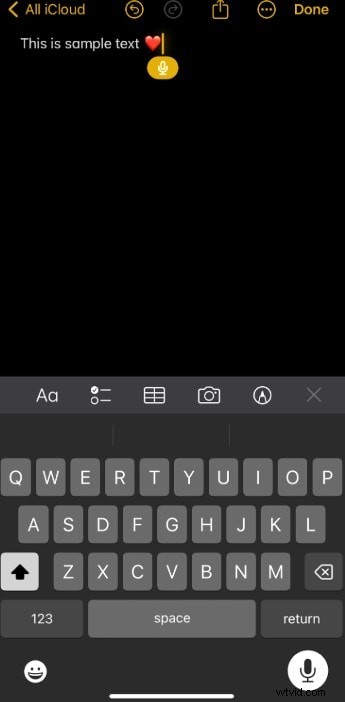
- Speak commands such as “comma,” “period,” or “new line” to format text.
- Stop dictation by tapping the microphone icon again; it auto‑halts after 30 seconds of silence.
Setting Up Voice Control on Mac
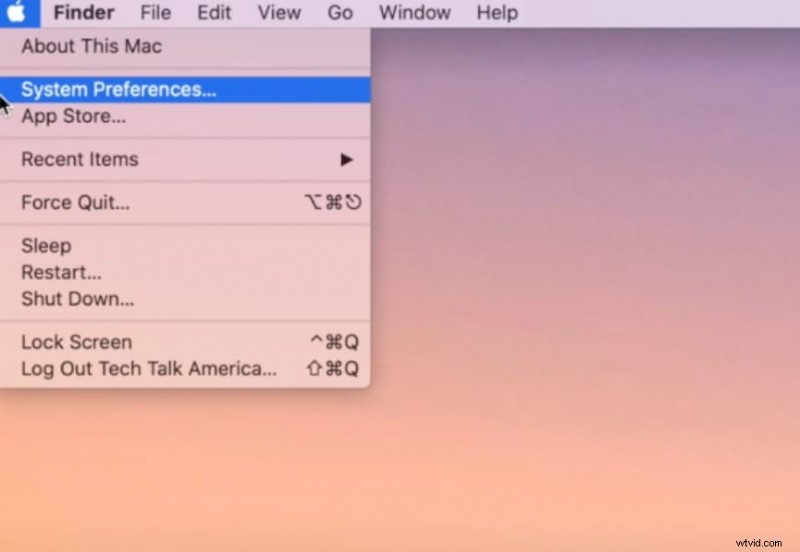
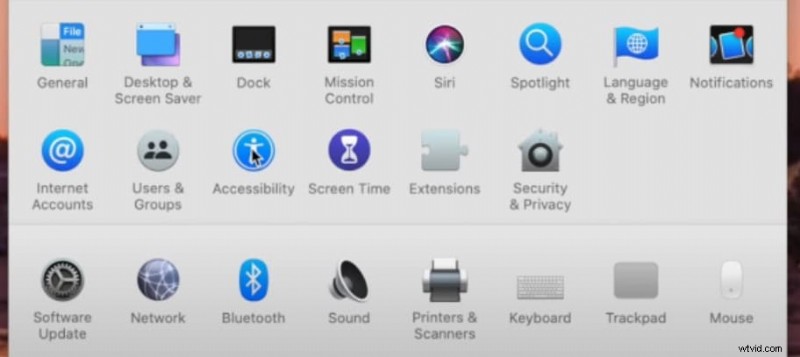
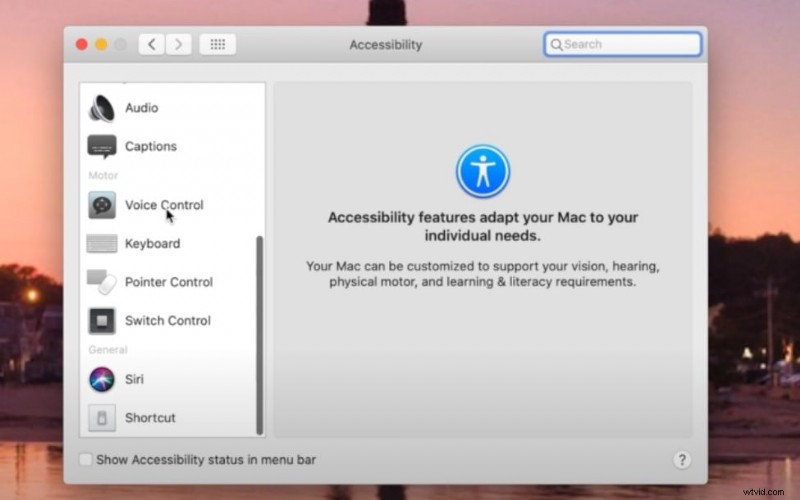
- Click the Apple icon → System Settings → Accessibility → Voice Control.
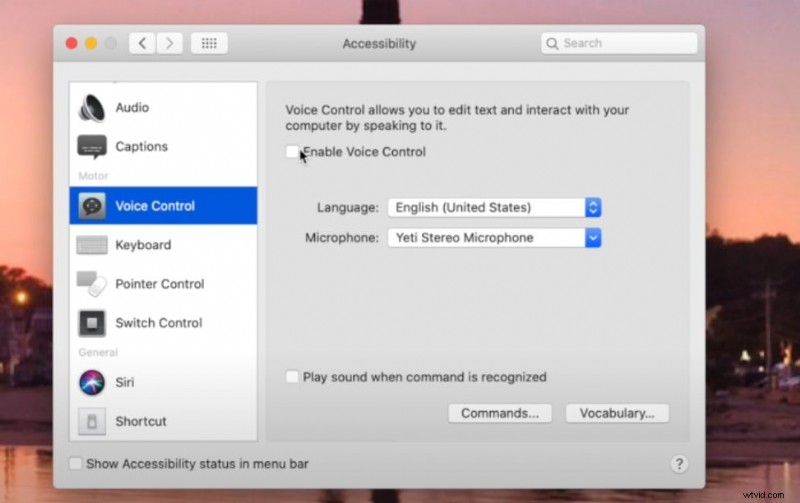
- Enable Voice Control (the first use may trigger a one‑time download).
- After activation, a microphone icon appears at the bottom of the screen.
Enabling Dictation on Mac
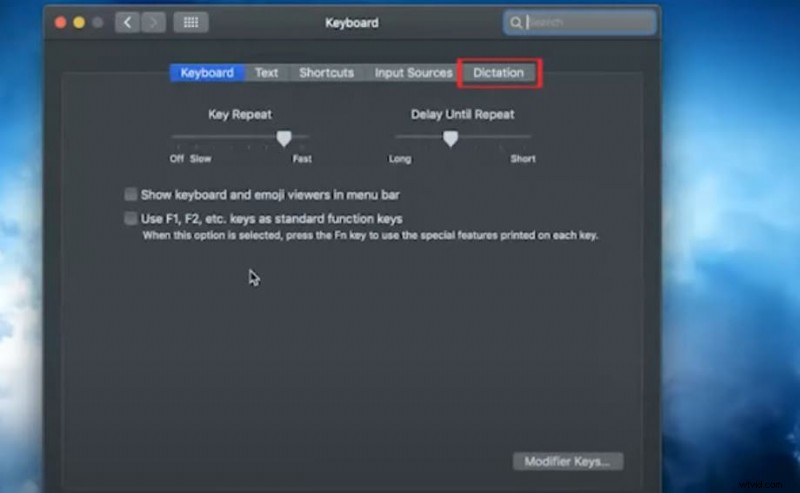
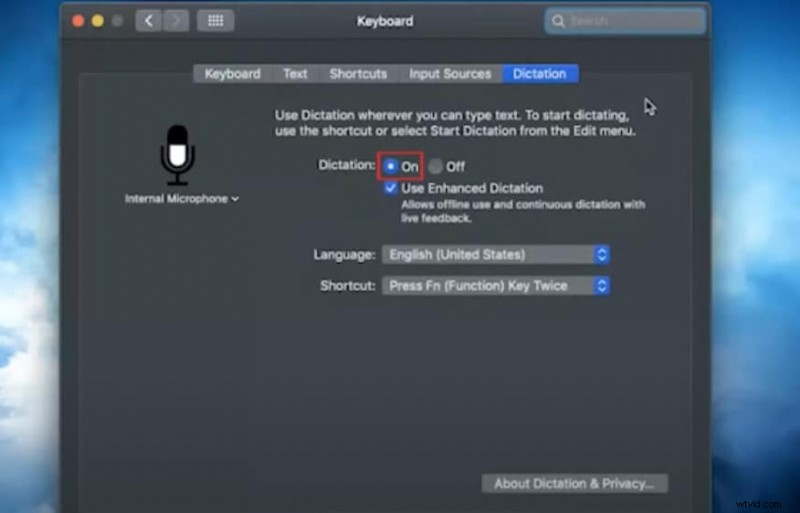
- Open Apple icon → System Settings → Keyboard → Dictation.
- Turn Dictation on and choose a language.
- Set a shortcut (e.g., Control‑Command‑D) for quick access.
- Optional: Choose “Share Audio Recordings” to improve Siri and Dictation services.

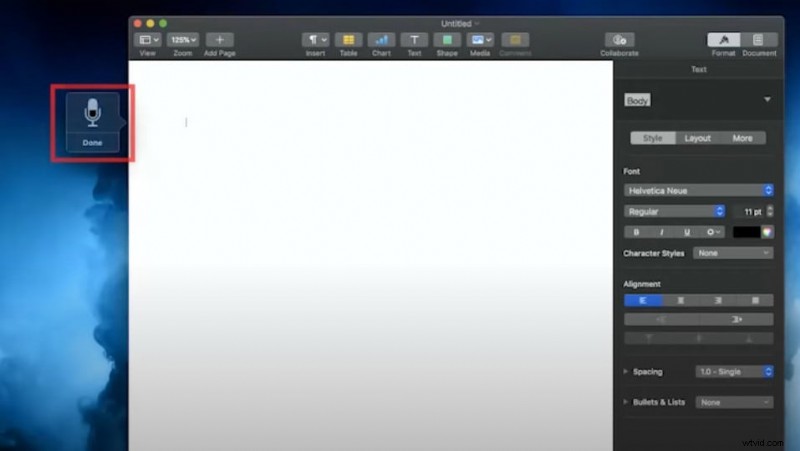
Using Dictation on Mac
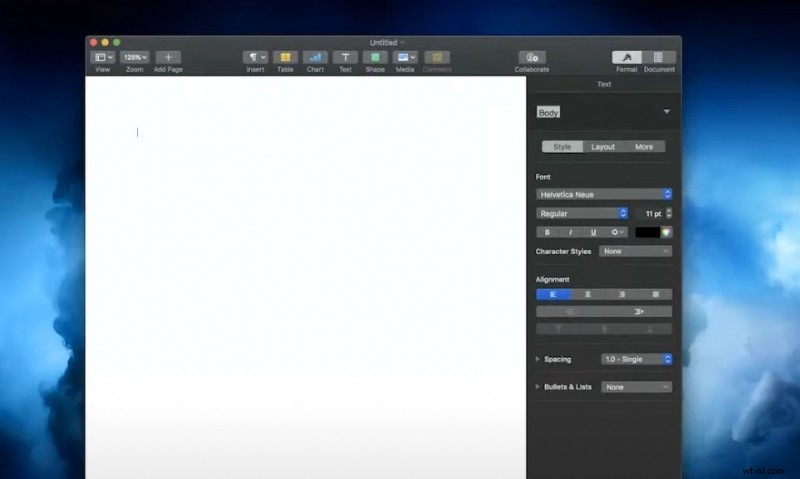
- Place the cursor in any text field.
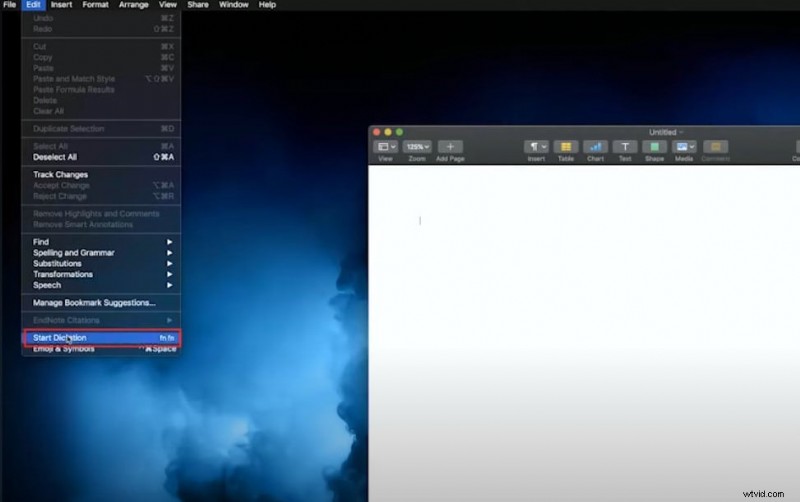
- Press the chosen shortcut or select Edit → Start Dictation to open the microphone.
- Speak; the system will transcribe in real time.
- Use voice commands for punctuation, emojis, or line breaks.
- Press Esc or the microphone icon to stop; it also stops automatically after 30 seconds of silence.
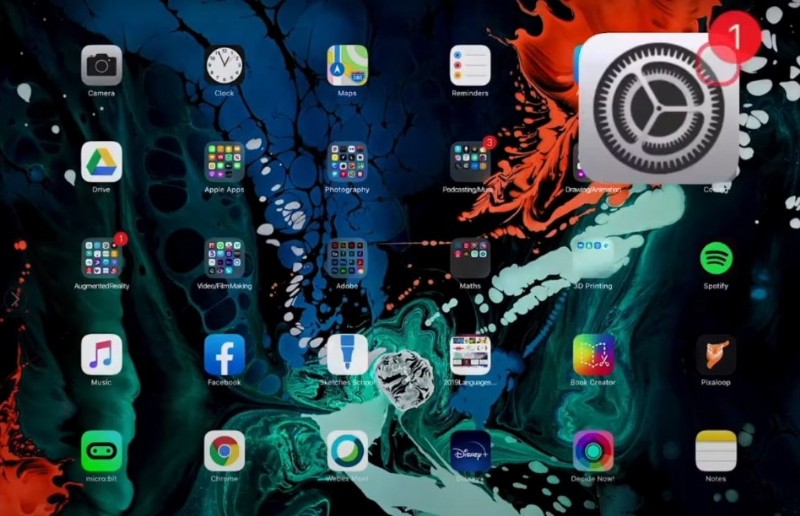
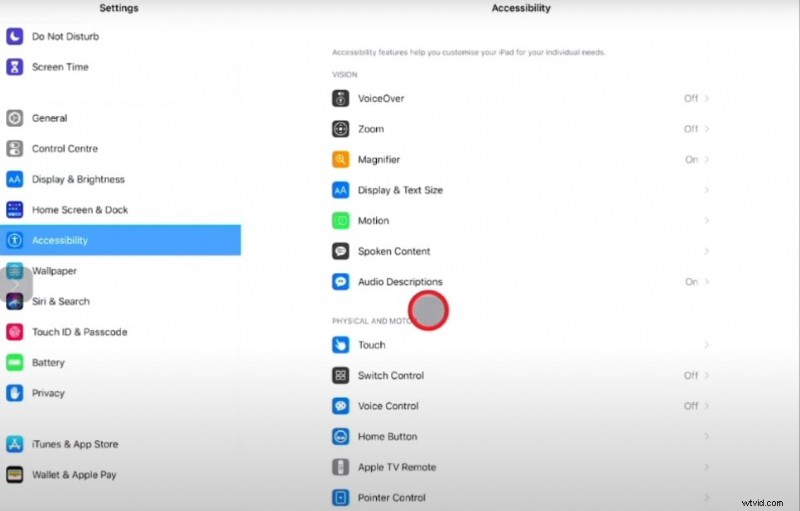
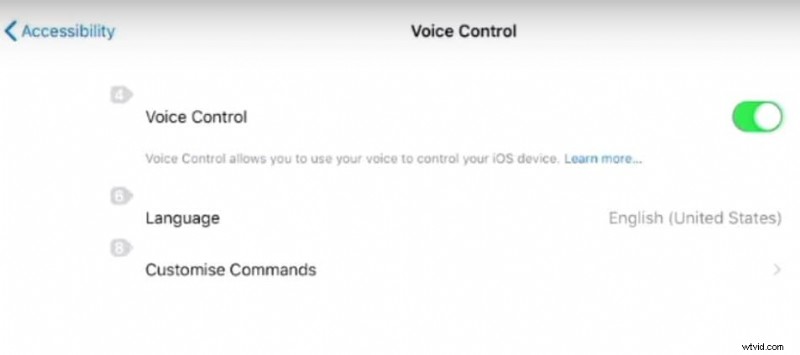
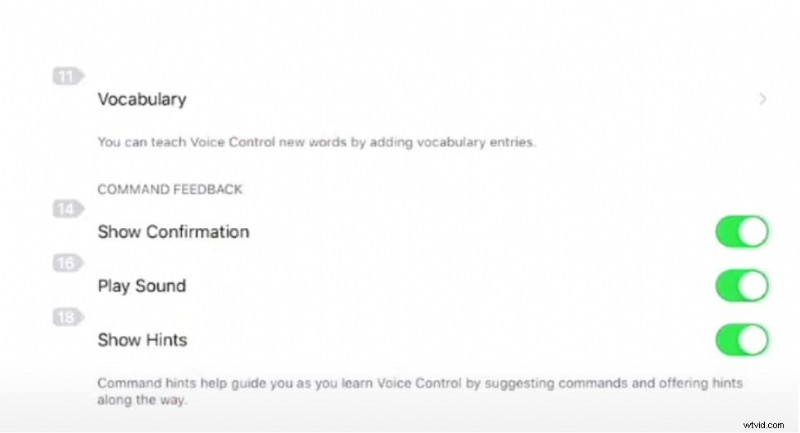
Setting Up Voice Control on iPad
- Open Settings → Accessibility → Voice Control.
- Choose your language and customize commands.
- Add words to the vocabulary list for improved recognition.
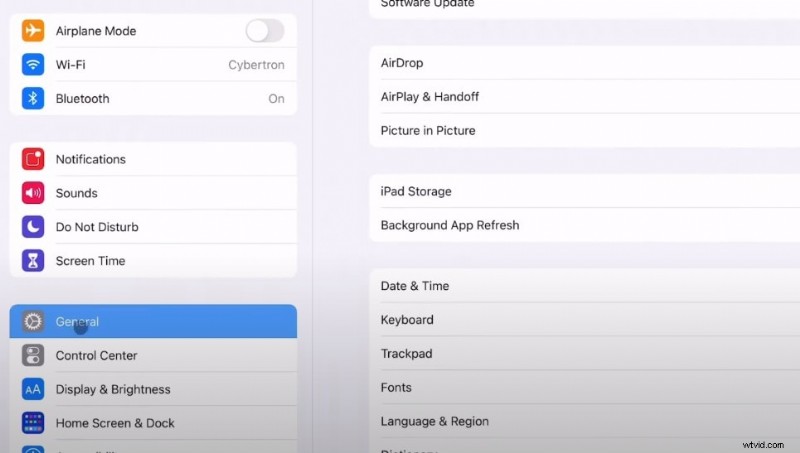
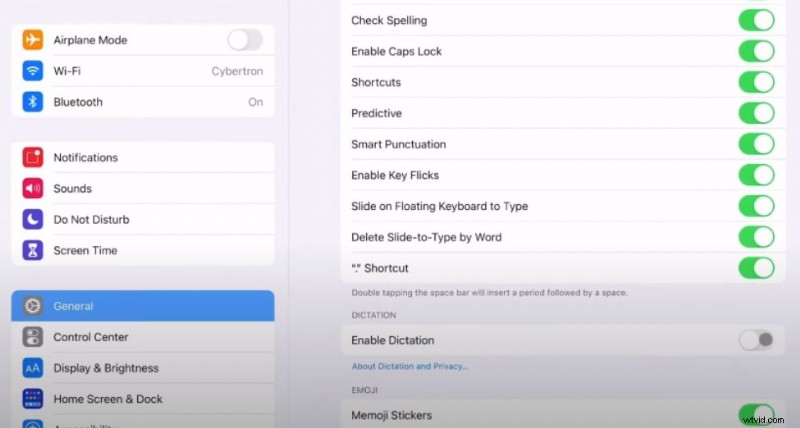
Enabling Dictation on iPad
- Open Settings → General → Keyboard → Enable Dictation.
- Confirm the prompt to add the microphone.
Using Dictation on iPad
- Open any app with a text field.
- Tap the microphone icon on the keyboard and start speaking.
- Tap the icon again to stop.

Part 2: Best Additional Apple Speech Recognition Software for 2026
While Apple’s native tools cover everyday needs, specialized tasks such as video editing, long‑form transcription, or integrating speech recognition into custom workflows require more advanced solutions. Below are three top‑rated third‑party apps that deliver exceptional accuracy and functionality.
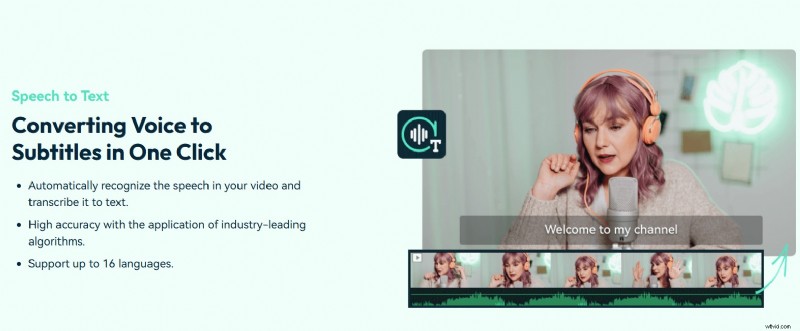
1. Wondershare Filmora – Video Editing with Built‑in Speech Recognition
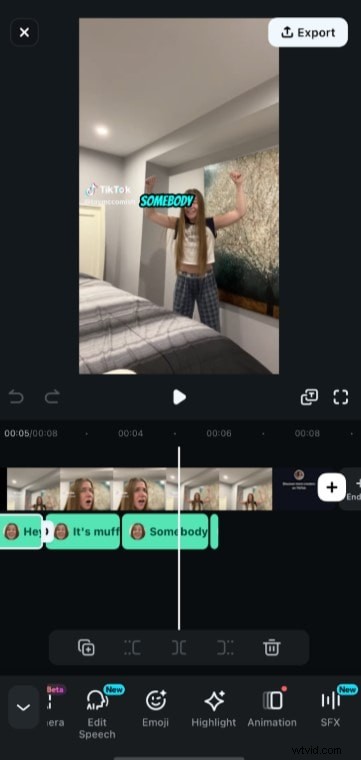
Filmora’s Speaker Detection automatically transcribes audio from videos, and the Speech Editing feature lets you edit captions directly. The mobile version is tailored for iPhone, while the desktop app offers a comprehensive speech‑to‑text workflow.
How to Use Filmora’s Speech Features
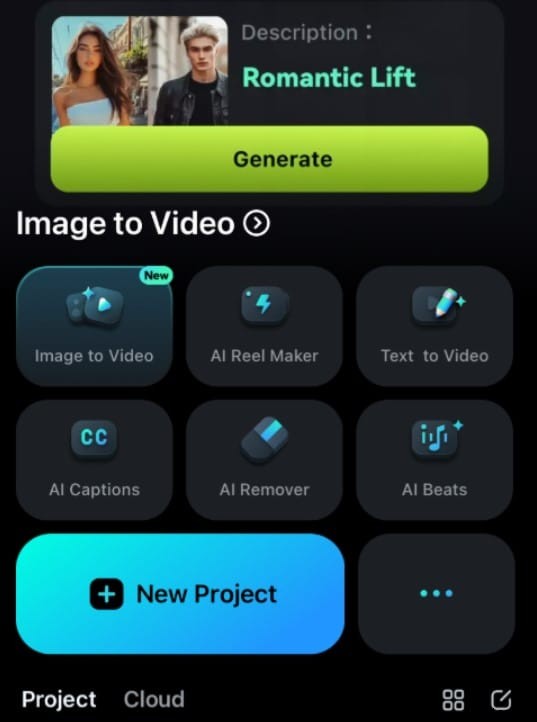
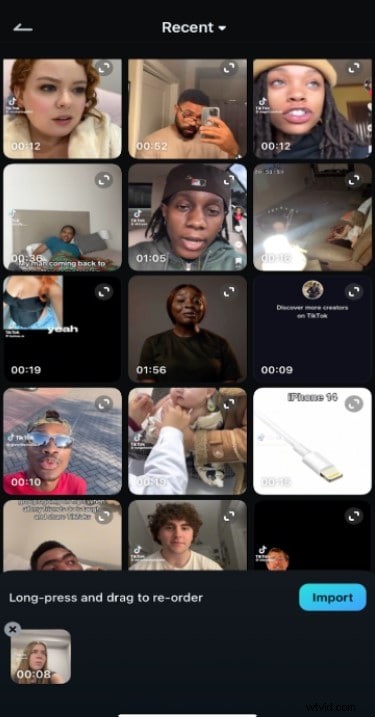
- Launch Filmora on iPhone → New Project → import a video.
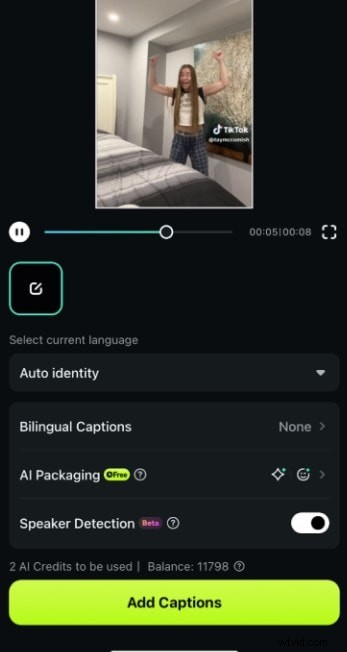
- Enable Speaker Detection (the button lights up).
- Select Add Captions and wait for automatic transcription.
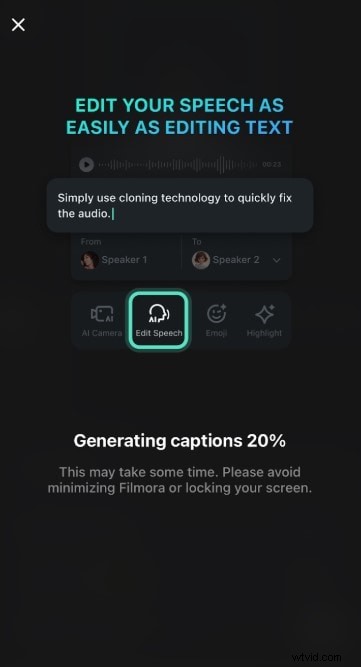
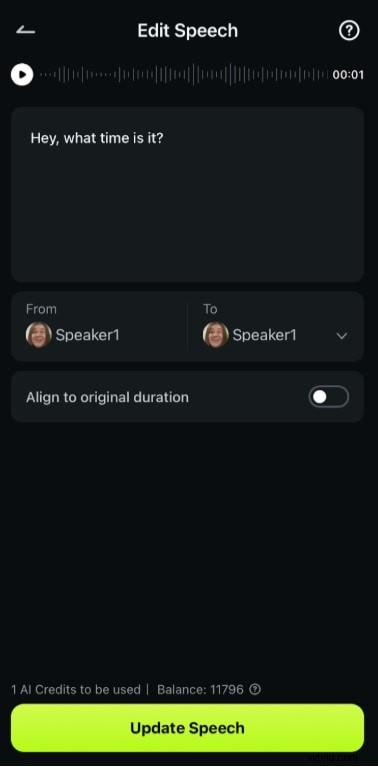
- In the editor, click Edit Speech to correct text or add annotations.
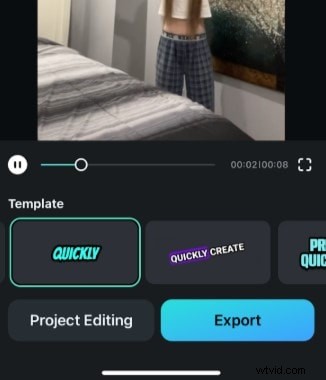
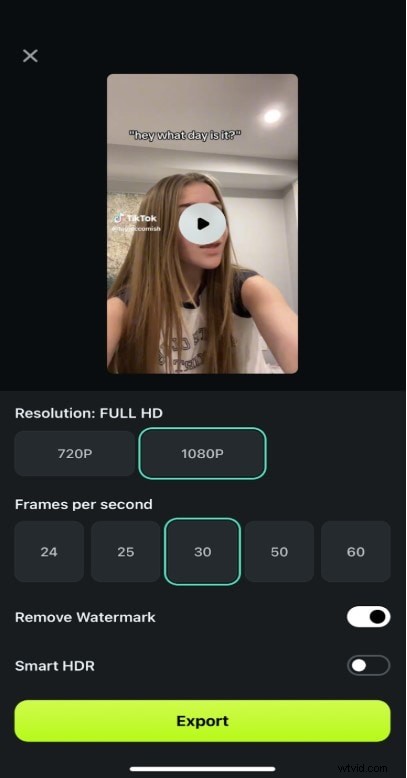
- Click Export to save the video with finalized captions.
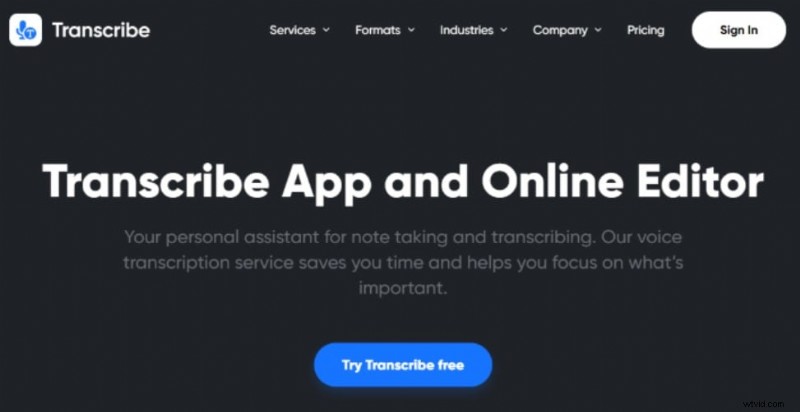
2. Transcribe – Multilingual Speech‑to‑Text Tool
Transcribe offers a seamless Mac app and web interface that supports over 120 languages. Its Pro and Business tiers provide advanced features such as speaker labeling and integration with other services.
Getting Started with Transcribe
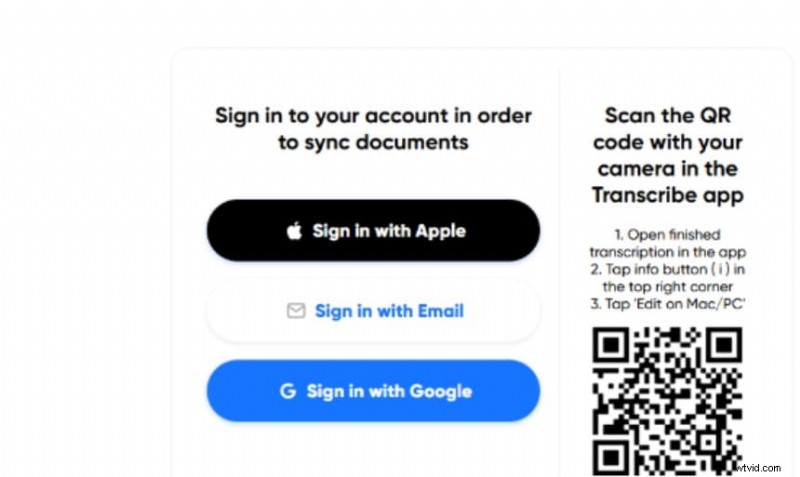
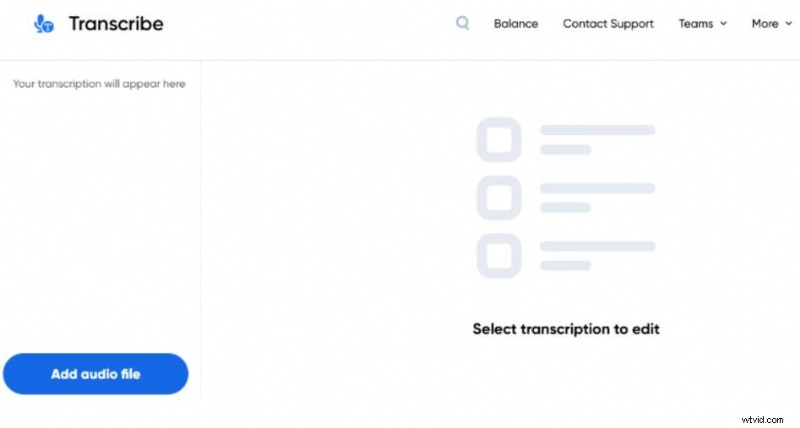
- Download the app from the App Store or sign in on the website.
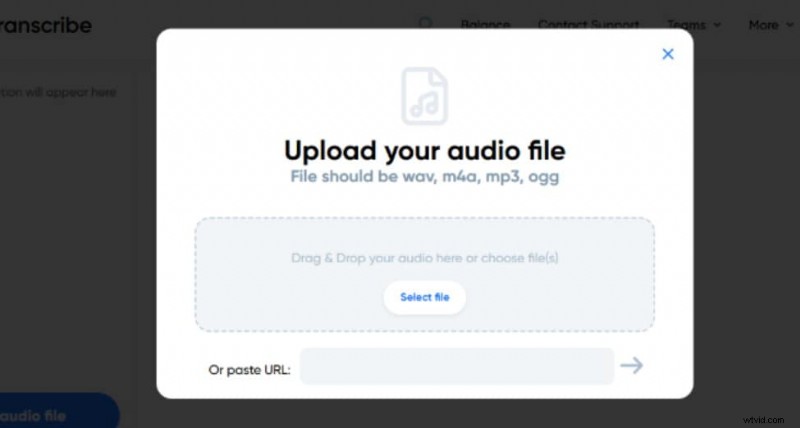
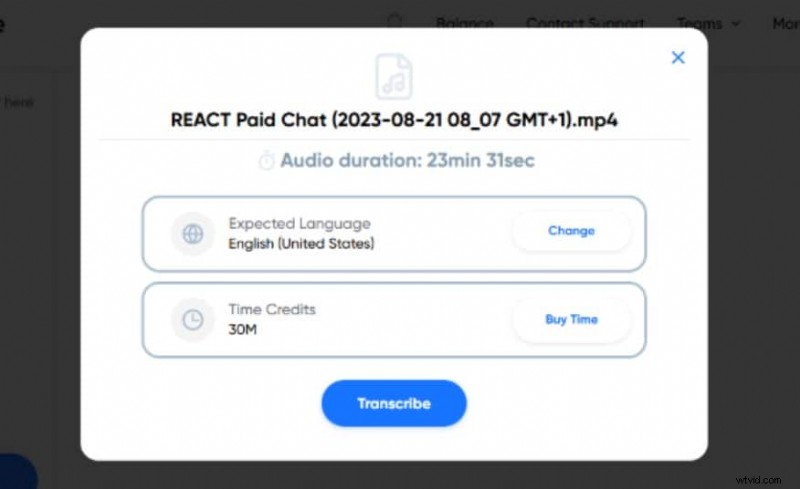
- Choose a language and upload an audio file or video URL.
- Click Transcribe to generate a text document.
3. Speechmatics – Enterprise‑Grade Speech Recognition API
Speechmatics delivers an API that integrates effortlessly with macOS and iOS apps. It supports 50+ languages and uses state‑of‑the‑art neural networks for high‑accuracy transcription.
How to Use Speechmatics
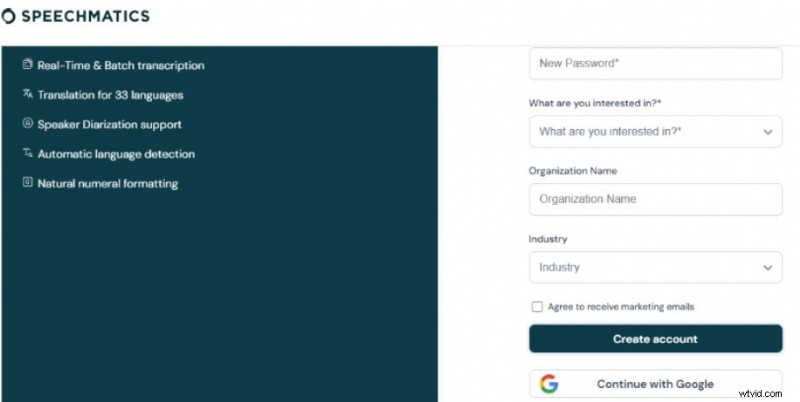
- Visit the Speechmatics site and click Try Free to create an account.
- Sign in with an email or Google account.
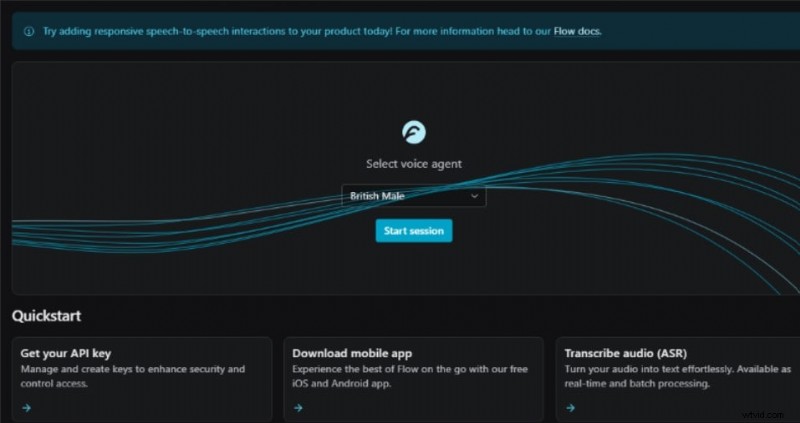
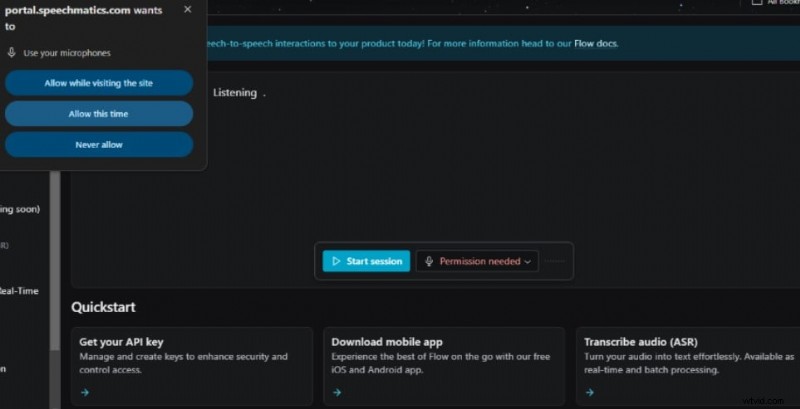
- Click Start Session and grant microphone access.
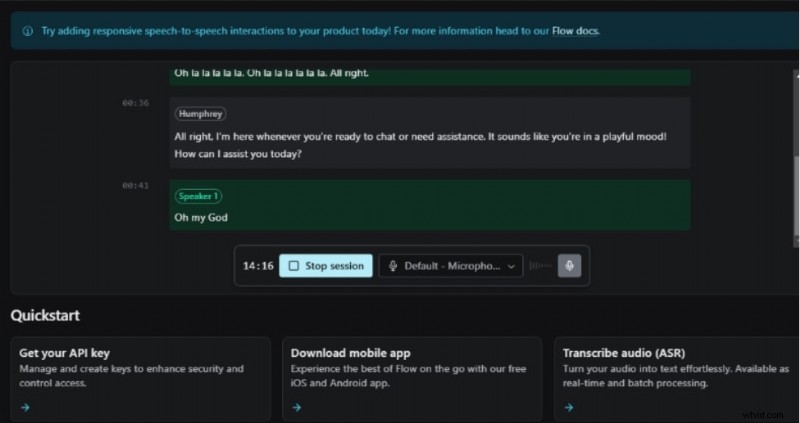
- The service transcribes live audio and outputs text instantly.

Conclusion
Apple’s built‑in speech‑to‑text, voice control, and dictation make accessibility effortless on every iOS device. For specialized needs—video captioning, multilingual transcription, or custom integrations—third‑party tools like Filmora, Transcribe, and Speechmatics offer advanced features and superior accuracy.
Explore these solutions by downloading the relevant apps on your iPhone, iPad, or Mac, and transform your spoken words into polished text with confidence.

Filmora
⭐⭐⭐⭐⭐
The Best AI‑Powered Video Editing App With Speech Recognition