Removing background music is essential when a track’s instrumentation clashes with vocals, dialogue, or other audio elements. Whether you’re refining a podcast, cleaning up a karaoke track, or preparing a video for publication, a clear, distraction‑free soundtrack makes a noticeable difference.
Why Remove Background Music?
Common scenarios include:
- Unprofessional or poorly recorded backing tracks that muddy the main audio.
- Need to isolate vocals for remixing or karaoke.
- Creating clean audio for subtitles, voice‑over, or translation.
- Preparing audio for AI‑powered tools that perform best with minimal background noise.
Part 1 – Audacity Tutorial for Removing Background Music
Audacity is a free, open‑source audio editor that offers a suite of tools for cleaning and manipulating sound. Below is a concise, yet thorough, workflow that applies to both Windows and macOS.
Step 1: Install Audacity
Download the latest version from the official site. Installation is straightforward on both operating systems.

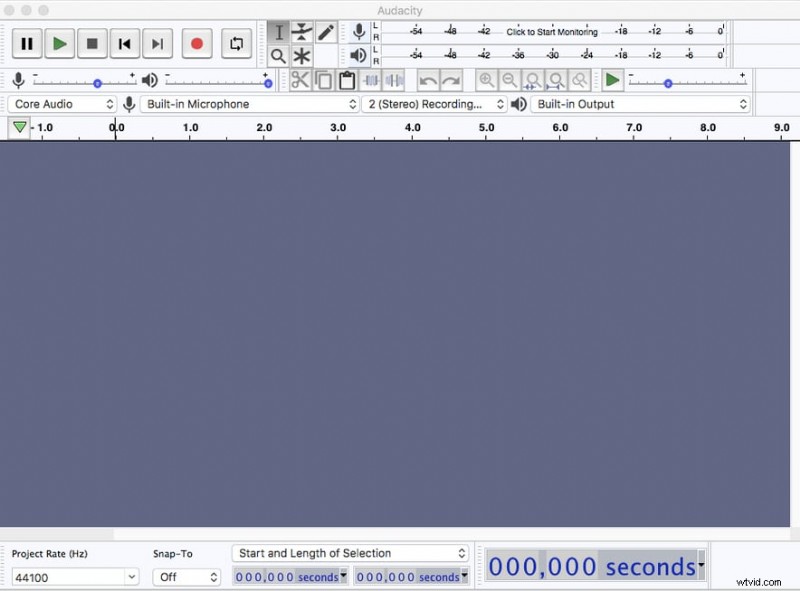
Step 2: Launch Audacity
Open the application; the icon features blue headphones encircled by an orange waveform.
Step 3: Import Your Audio
Navigate to File > Open (or click the menu icon on macOS). Select the track you wish to edit and click Open.

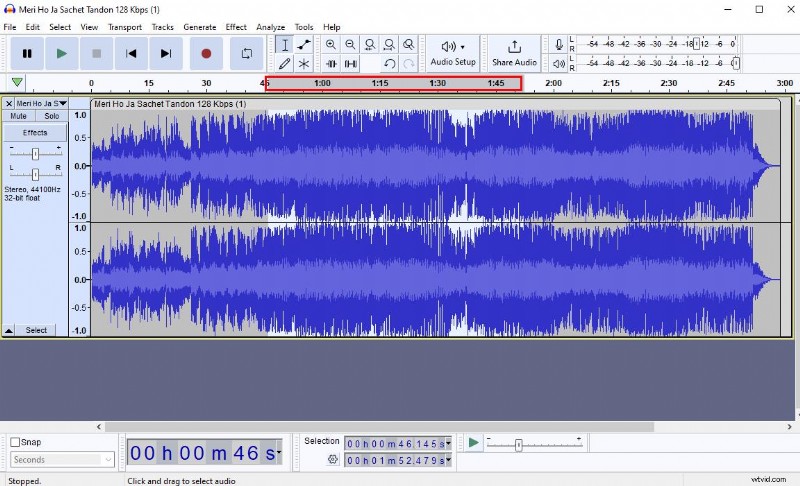
Step 4: Identify the Music‑Only Section
Listen for portions that contain only background music. Highlight that region by clicking and dragging your cursor.
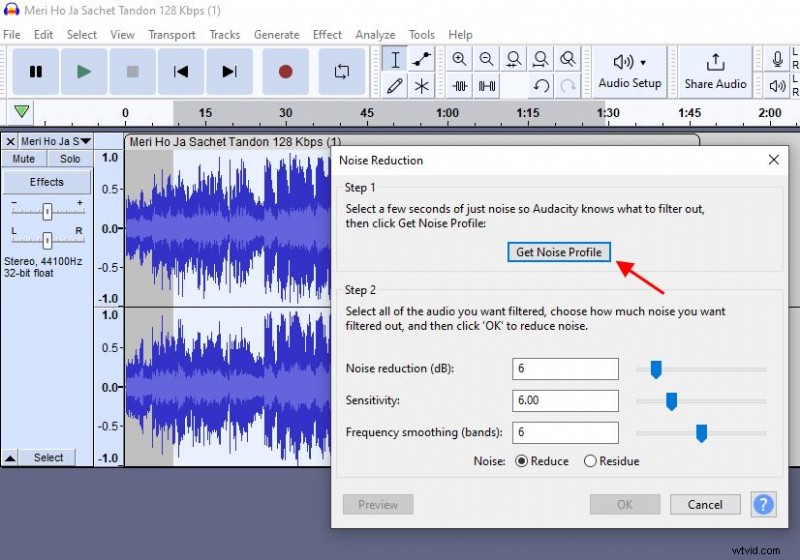
Step 5: Apply Noise Reduction
- Click Effect > Noise Reduction.
- Select Get Noise Profile to capture the music’s signature.
- Re‑select the entire track, return to Noise Reduction, and adjust the sliders (Noise reduction, Sensitivity, Frequency Smoothing) to minimize the music while preserving vocals.
- Repeat if necessary.
Step 6: Fine‑Tuning & Export
After noise reduction, use the Compressor or Equalizer to boost vocal frequencies if needed. Preview the result, then export via File > Export as MP3 or WAV.
Tips for Best Results
- Start with high‑quality recordings. Clear source audio reduces the need for aggressive processing.
- Always backup. Duplicate the original file before editing.
- Use a calibrated speaker or headphones. Accurate monitoring is critical when adjusting levels.
- Iterate in small increments. Minor adjustments often yield better preservation of the main audio.
Part 2 – Removing Background Music with Wondershare Filmora
Filmora offers a graphical interface that’s ideal for video producers who need to adjust audio tracks quickly.
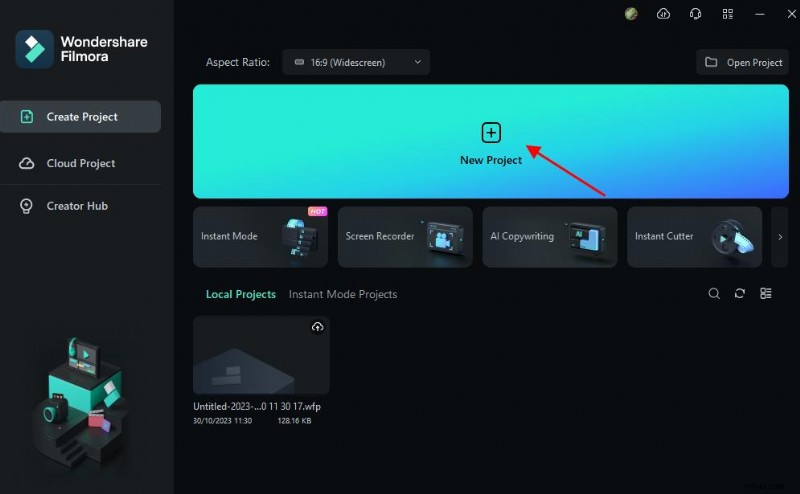
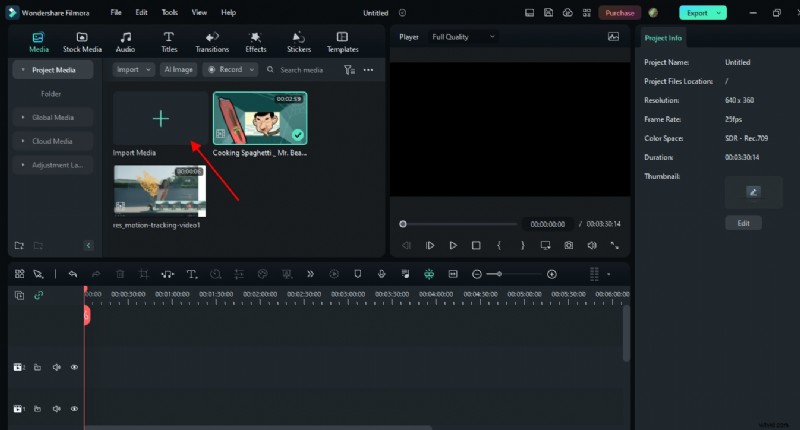
Step 1: Start a New Project
Open Filmora, click New Project, then Import Media to bring your video into the timeline.
Step 2: Detach the Audio
Right‑click the video clip in the timeline, choose Audio > Detach Audio. The soundtrack now appears as a separate track below the video.
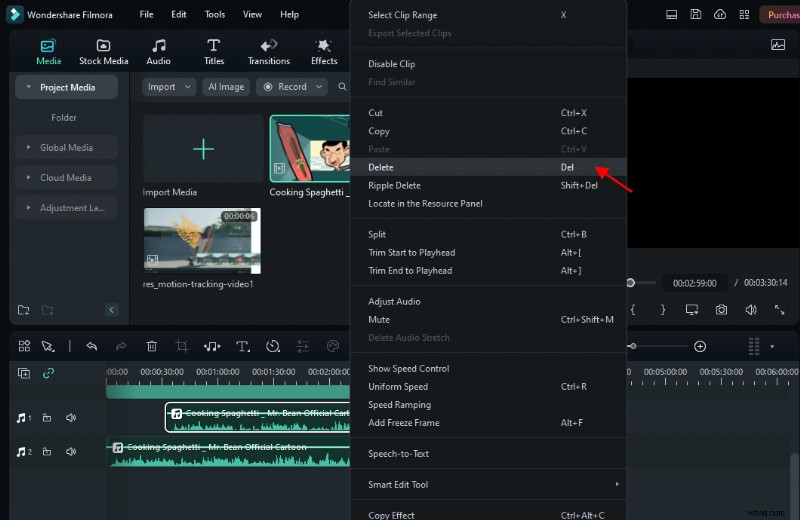
Step 3: Remove or Edit the Music
- To delete the entire music track, click it and press Delete.
- For selective removal, use the Split tool to isolate sections, then delete those segments.
Step 4: Export the Cleaned Video
After confirming the audio is removed, click Export, choose your desired format, and save the video.

Filmora Mobile – Quick Audio Cleanup
Filmora’s mobile app offers the same detach‑audio feature. Import your video, tap Extract Audio, then delete or trim the track as needed. Export once satisfied.

Conclusion
Both Audacity and Filmora provide powerful, user‑friendly solutions for removing background music. By starting with a clear source file, applying thoughtful noise reduction, and leveraging the right tools, you can achieve professional‑grade audio that enhances your content’s impact.