
Shreshtra – October 3, 2025 – Leave your thoughts. 15‑minute read
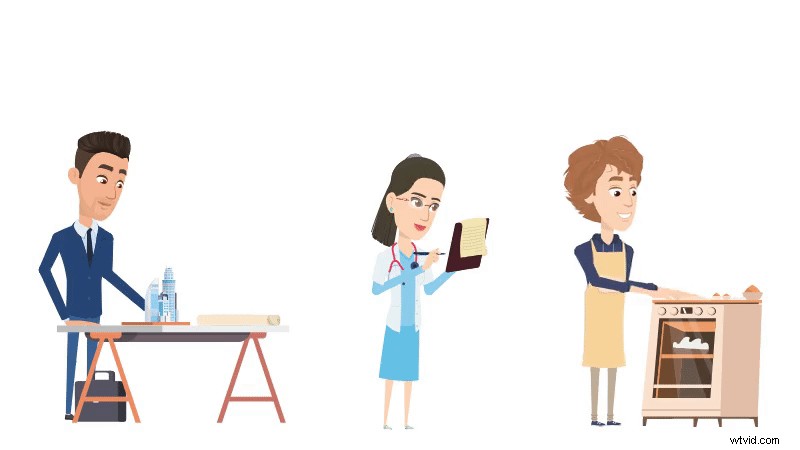
2D animation powers stories from childhood cartoons to today’s viral videos, captivating audiences with its blend of artistry and motion. Whether you’re inspired by nostalgia or modern storytelling, learning how to create your own 2D animation is now more accessible than ever.
In this comprehensive guide, we’ll walk you through everything you need to know: from the fundamentals of 2D animation and its various styles, to the best tools and software, a detailed step‑by‑step workflow, essential animation principles, beginner tips, and common pitfalls to avoid.
If you’re just starting, read the basics first. If you already know the ropes, jump straight to the how‑to section. By the end, you’ll have a clear roadmap to bring your ideas to life with confidence.
What Is 2D Animation?
2D animation is the art of creating characters, objects, and backgrounds that move within a two‑dimensional plane—height and width, but no depth. Think of it as drawing that comes alive, frame by frame, to tell a story.
Different Types of 2D Animation
2D animation spans several distinct styles, each with its own aesthetic and workflow:
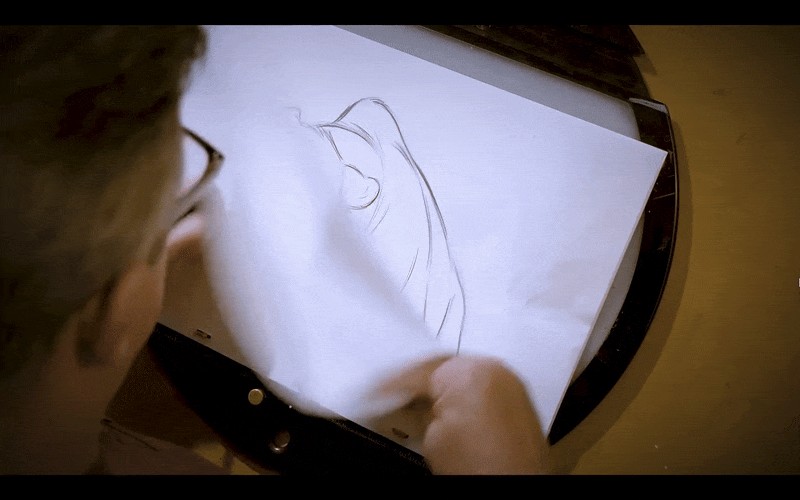
- Traditional (Hand‑Drawn) Animation
Each frame is drawn by hand, usually on paper or a digital tablet, with minor changes from one frame to the next. This expressive technique is time‑consuming and demands strong drawing skills.
- Digital 2D Animation
Traditional hand‑drawing is digitized using software. Animators can choose frame‑by‑frame drawing, rigging characters with digital skeletons, or applying presets for smoother motion.
Tools like Animaker offer preset actions that speed up production while keeping the process accessible.
- Cut‑Out Animation
Characters and props are broken into separate parts—arms, legs, facial features—allowing each piece to move independently. Think of it as animating a puppet.
- Motion Graphics
Focuses on text, shapes, and logos rather than characters. Ideal for explainer videos, ads, and title sequences, motion graphics delivers a clean, professional look quickly.
Tools & Software for 2D Animation
Choosing the right software can make or break your workflow. Below is a curated list, sorted by user level and featuring G2 ratings as of September 2025.
Beginner‑Friendly Platforms
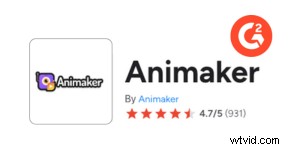
- Animaker
Online animation platform with 30M+ users. Known for its intuitive character builder and vast asset library.
G2 rating: 4.7/5 (931 reviews)
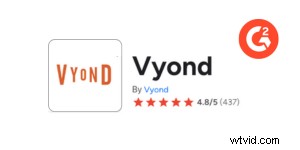
- Vyond
Cloud‑based drag‑and‑drop editor that simplifies character animation.
G2 rating: 4.8/5 (437 reviews)
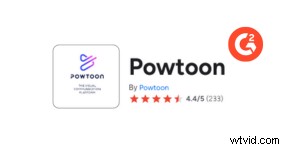
- Powtoon
Specializes in animated explainer videos with a user‑friendly interface.
G2 rating: 4.4/5
Studio‑Grade Software
- Toon Boom Harmony
Industry standard for TV, film, and games. Offers advanced rigging and drawing tools.
G2 rating: 4.7/5

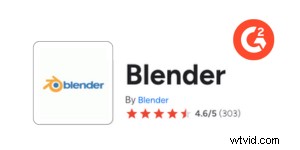
- Blender (Grease Pencil)
Renowned 3D suite that also supports 2D workflows via Grease Pencil.
G2 rating: 4.6/5
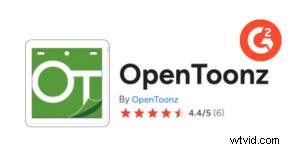
- OpenToonz
Free, open‑source professional tool used by Studio Ghibli and other studios.
G2 rating: 4.4/5
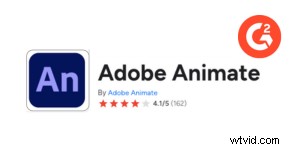
- Adobe Animate
Adobe’s solution for interactive animations and web content.
G2 rating: 4.1/5
Each tool brings unique strengths—whether you need ease of use, advanced features, or cost‑effectiveness. Match your choice to your skill level and project scope.
How to Make 2D Animation – Step‑by‑Step Guide
Creating your first 2D animation is straightforward when you break it into clear stages:
- Concept & Storyboarding
- Choose Your Animation Method & Tool
- Create the Animation
- Add Audio
- Edit & Refine
- Export & Share
Step 1: Concept & Storyboarding
Start with a strong idea. Draft a simple script or outline to define characters, scenes, and dialogue. Storyboards translate this plan into visual panels, helping you visualize flow and maintain consistency.
Step 2: Choose Your Animation Method & Tool
Select a style that suits your story and expertise, then pick a compatible tool:
- Frame‑by‑Frame (OpenToonz)
Ideal for detailed, hand‑drawn animation. OpenToonz is open source and widely used for traditional digital workflows.
- Rig‑Based (Moho)
Creates a digital skeleton for smoother motion. Moho offers a powerful rigging system; a 30‑day trial is available.
- Drag‑and‑Drop (Animaker)
Best for quick, template‑driven projects. Animaker’s library lets you assemble characters, props, and backgrounds with minimal drawing.
- Motion Graphics (Canva)
Great for animating text and shapes. Canva’s built‑in presets make it easy to add motion to presentations or social media videos.
Step 3: Create the Animation
Depending on your chosen method, follow the workflow below. Each method includes a concise checklist.
Frame‑by‑Frame (OpenToonz)
- Set up your scene: start a new project, set resolution, 24 fps, and background color.
- Create a new level: choose raster (pixel) or vector (point‑based) depending on your drawing style.
- Draw key poses: sketch the main actions on separate frames.
- Add in‑betweens: insert intermediate frames to smooth motion.
- Use Onion Skin: view faint outlines of adjacent frames to align drawings.
- Play back: review timing and flow.
- Refine: clean drawings, adjust timing, and polish.
Rig‑Based (Moho)
- Start a new project and import or draw your character.
- Attach bones (rigs) to joints using the Bone tool.
- Bind the rigs to body parts.
- Pose across frames: rotate bones to create movement.
- Test and refine: playback, adjust bone motion, and fine‑tune timing.
Drag‑and‑Drop (Animaker)
- Create a new project from a blank canvas.
- Drag characters, props, and backgrounds from the library into the scene.
- Apply preset actions (walk, wave, talk) and adjust duration on the timeline.
- Customize timing and add transitions for smooth scene changes.
- Preview, tweak, and polish until satisfied.
Motion Graphics (Canva)
- Open Canva and select a video design.
- Add visual elements: text, shapes, icons.
- Apply built‑in animations for entry, exit, and motion.
- Arrange layers to establish visual hierarchy.
- Set start times and durations for each element.
- Preview frequently to ensure fluidity.
Step 4: Add Audio
Audio gives depth to your animation. Record a voiceover or use AI‑generated narration for storytelling. Add background music from royalty‑free libraries like Pixabay, Legis Music, or FreePD.com. Most animation tools allow you to import and sync audio directly.
Step 5: Edit & Refine
Polish your animation by fine‑tuning timing, adding transitions, and overlaying text or effects. Ensure that movement feels natural and that audio syncs precisely. When ready, export in a suitable format—MP4 is standard for web and social media. Adjust resolution and settings based on your intended platform.
Step 6: Export & Share
Export your final video, upload to your preferred platform (YouTube, Vimeo, social media), and share your creation. Use descriptive titles, tags, and a compelling thumbnail to attract viewers.
Essential Principles of Animation
Disney animators Ollie Johnston and Frank Thomas defined 12 foundational principles in their 1981 book, The Illusion of Life: Disney Animation. These principles remain relevant for all 2D and digital workflows:
- Squash and Stretch
- Anticipation
- Staging
- Straight‑Ahead Action & Pose‑to‑Pose
- Follow‑Through & Overlapping Action
- Slow In & Slow Out
- Arc
- Secondary Action
- Timing
- Exaggeration
- Solid Drawing
- Appeal
Applying these principles will give your animations fluidity, personality, and professional polish.
Tips for Beginners
- Simplify your projects—start with short, manageable scenes.
- Maintain consistent timing; avoid overly fast or slow movements.
- Use real‑life references to ground your animations in believable motion.
- Iterate frequently; don’t wait until the end to make changes.
Common Mistakes to Avoid
- Overcomplicating character designs—too many details can stall progress.
- Poor audio sync—misaligned voice‑overs or effects break immersion.
- Inconsistent art style—mixing different drawing styles can feel disjointed.
- Neglecting storytelling—visuals without a clear narrative lose impact.
Ready to Start?
Creating 2D animation is no longer intimidating. From motion graphics to frame‑by‑frame drawing, every method offers a clear path for beginners and seasoned creators alike. Combine visuals, audio, and timing to transform an idea into an engaging story. With today’s user‑friendly tools, experimenting is both fun and rewarding.
Explore the method that excites you, start building, and let your imagination come to life!

Shreshtra
Shreshtra is a Content Marketer at Animaker, helping creators and businesses tell stories with 2D animation for over three years. She has grown Animaker’s community from 18M to 30M+ users worldwide through clear, SEO‑driven guides.
Her expertise spans AI‑powered voice tools, subtitle generators, and the latest video‑creation tech—always aiming to make animation simple, fun, and accessible.
When she isn’t writing, she enjoys thriller novels and K‑pop playlists, believing that a great video can connect people across the globe.