
When you need to trim a video or isolate a standout moment, cutting MP4 files on an iPhone is essential. Whether you’re editing a short clip for a social‑media post or preparing a polished project, the right tool can make the process quick and quality‑preserving.
MP4 is the standard format for platforms like YouTube, Facebook, Twitter, and Instagram. It balances file size and visual fidelity, which is why almost every video editor supports it. However, not all apps can handle MP4s without compromising resolution or introducing artifacts.
Fortunately, Filmora for iPhone (formerly FilmoraGo) is a standout choice. It delivers a full‑featured editing experience—trimming, splitting, adding effects, and exporting in any resolution—while keeping the original video quality intact.
Below is a detailed walkthrough of using Filmora to cut MP4 videos on your iPhone.
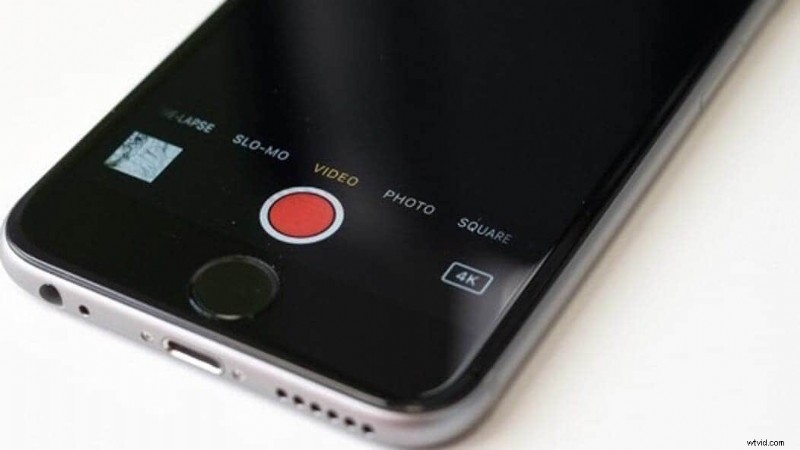
- Part 1: Best MP4 Cutter App on iPhone – Filmora for iPhone
- Part 2: Step‑by‑Step Guide to Cutting MP4 Files on iPhone
Best MP4 Cutter App on iPhone: Filmora for iPhone
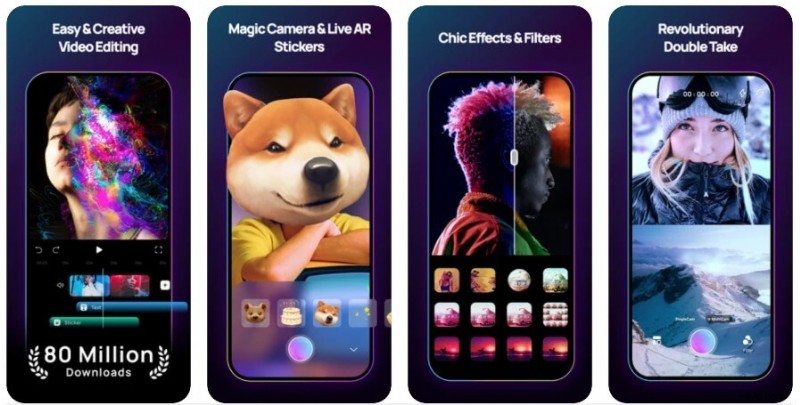
Among the many video editors available, Filmora for iPhone consistently receives praise for its balance of simplicity and power. Designed by Wondershare, it offers an intuitive timeline, a library of transitions, filters, and royalty‑free music, and—most importantly—unrestricted video length. That means you can trim an entire feature film or a short clip without losing quality.
Filmora’s interface lets you import any MP4, add creative overlays, and export the finished product in 720p, 1080p, or 4K—ready for sharing or further processing. The app is free to download and use, and all core features—including export—are available at no cost.
Step‑by‑Step: Cutting MP4 Files on iPhone with Filmora
Step 1: Install Filmora for iPhone from the App Store.
"Instantly record, edit, and share every beautiful moment in life. Install Filmora for Mobile (formerly FilmoraGo) Now!"
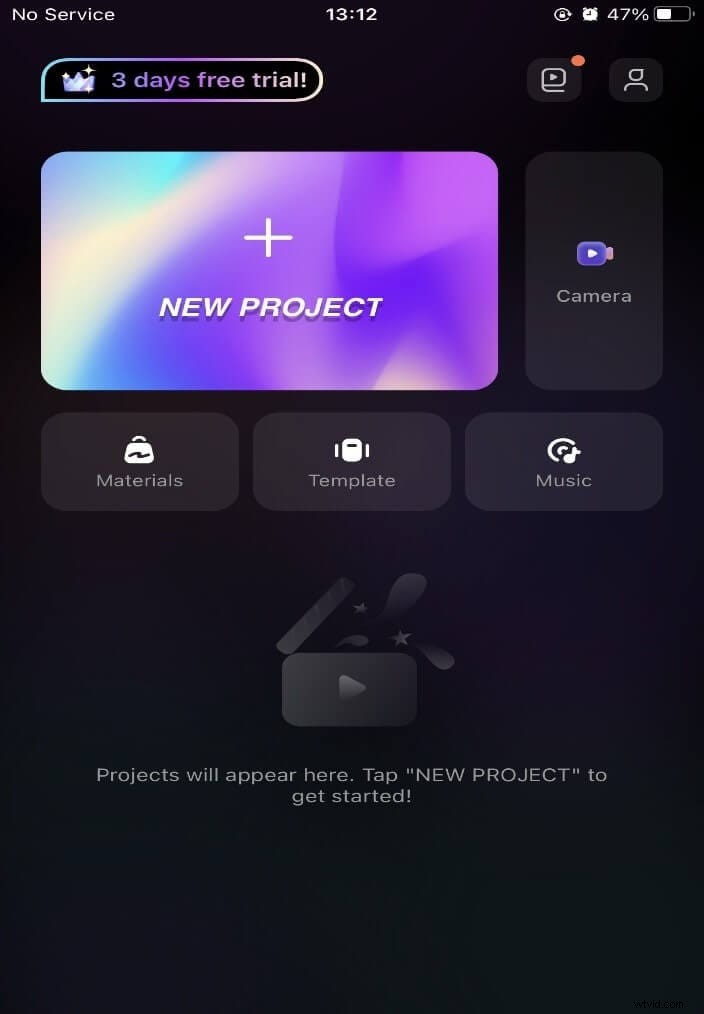
Step 2: Launch the app and tap the + icon labeled “New Project” to start editing.
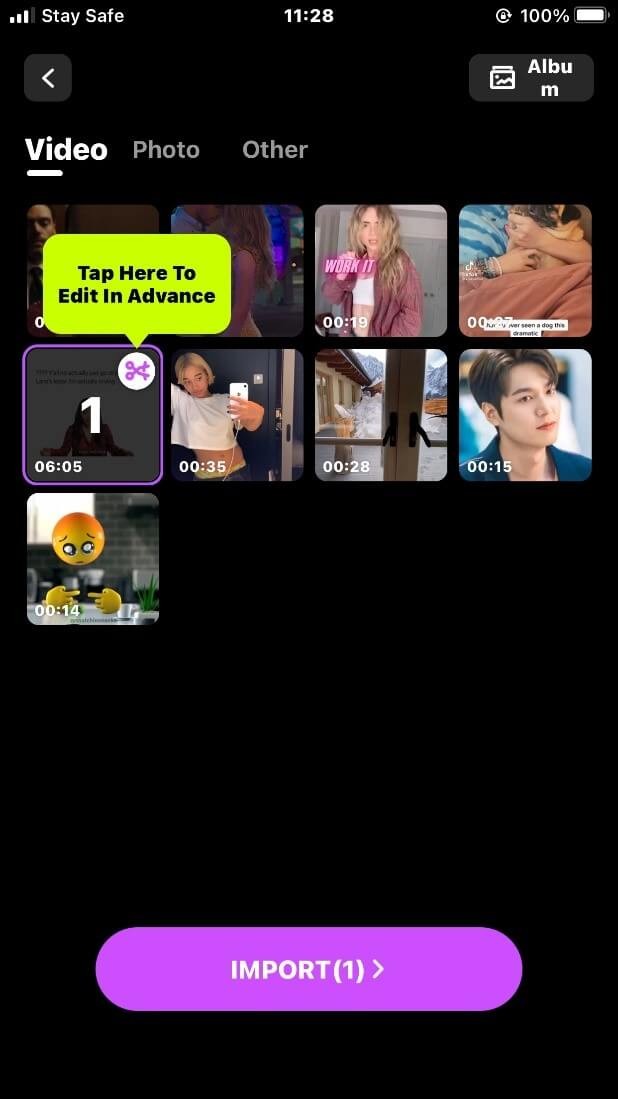
Step 3: Choose the MP4 video you want to edit and import it onto the timeline.
Step 4: To trim the clip, tap the “Trim” button. Drag the start and end handles to remove unwanted portions from the beginning or end of the video.
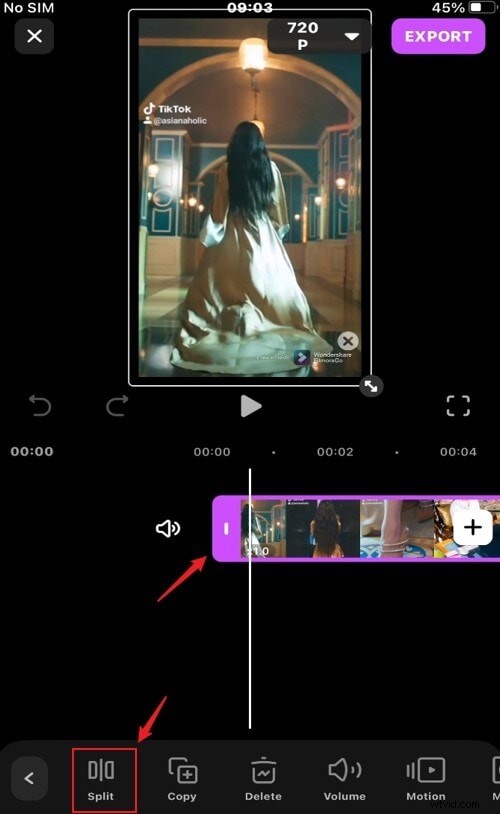
Step 5: To cut the video into separate scenes, tap the part of the timeline where you want a cut. Select “Split” to segment the video. If you need to delete a segment, highlight it, then tap “Delete.”
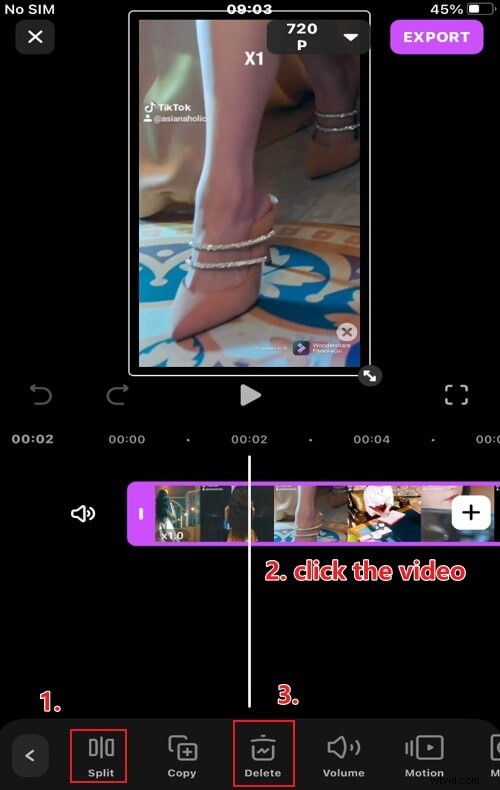
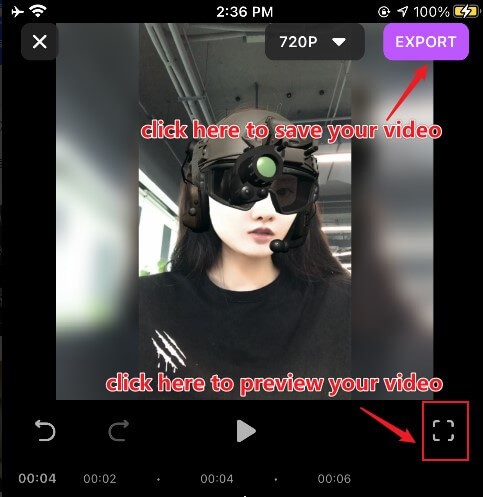
Step 6: Review your edits by previewing the video with the playhead. Make sure each segment is exactly where you want it.
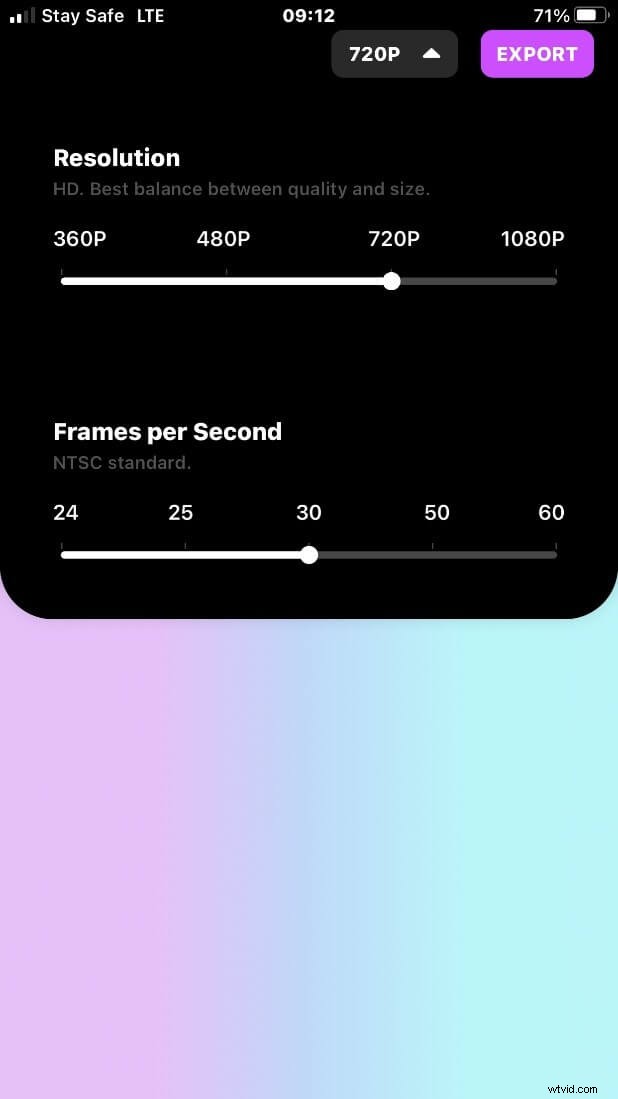
Step 7: When satisfied, tap the resolution icon in the top‑right corner to choose your export quality (HD, 4K, etc.). Then press the export button to save the video to your camera roll or share directly on social media.
Conclusion
Filmora for iPhone proves that a single, well‑designed app can handle everything from basic trimming to full‑blown video production. Its intuitive timeline, powerful editing tools, and zero‑cost model make it the go‑to choice for anyone who needs to cut MP4 videos on an iPhone.
After mastering the basics, you can explore advanced features like animated stickers, text overlays, and a library of royalty‑free music to elevate your projects. Download Filmora for iPhone today and start creating polished videos right from your device.
For additional tips, check out our guide on adding beauty filters to iPhone videos.