On this page
- How to make a time‑lapse video using images
- Watch how to speed up videos tutorial
- Five ways to polish time‑lapse videos

Time‑lapse videos let you condense hours of motion into a few seconds, revealing patterns and progress that ordinary footage can’t capture. Whether you’re documenting a cityscape, a flower blooming, or a sunset, a well‑crafted time‑lapse can captivate any audience.
With Clipchamp’s intuitive editor, you can turn a series of photos or a video clip into a polished time‑lapse without advanced editing skills. This guide walks you through the process—from importing media to adding finishing touches that make your video stand out.
How to make a time‑lapse video using images
Step 1. Import your photos or media
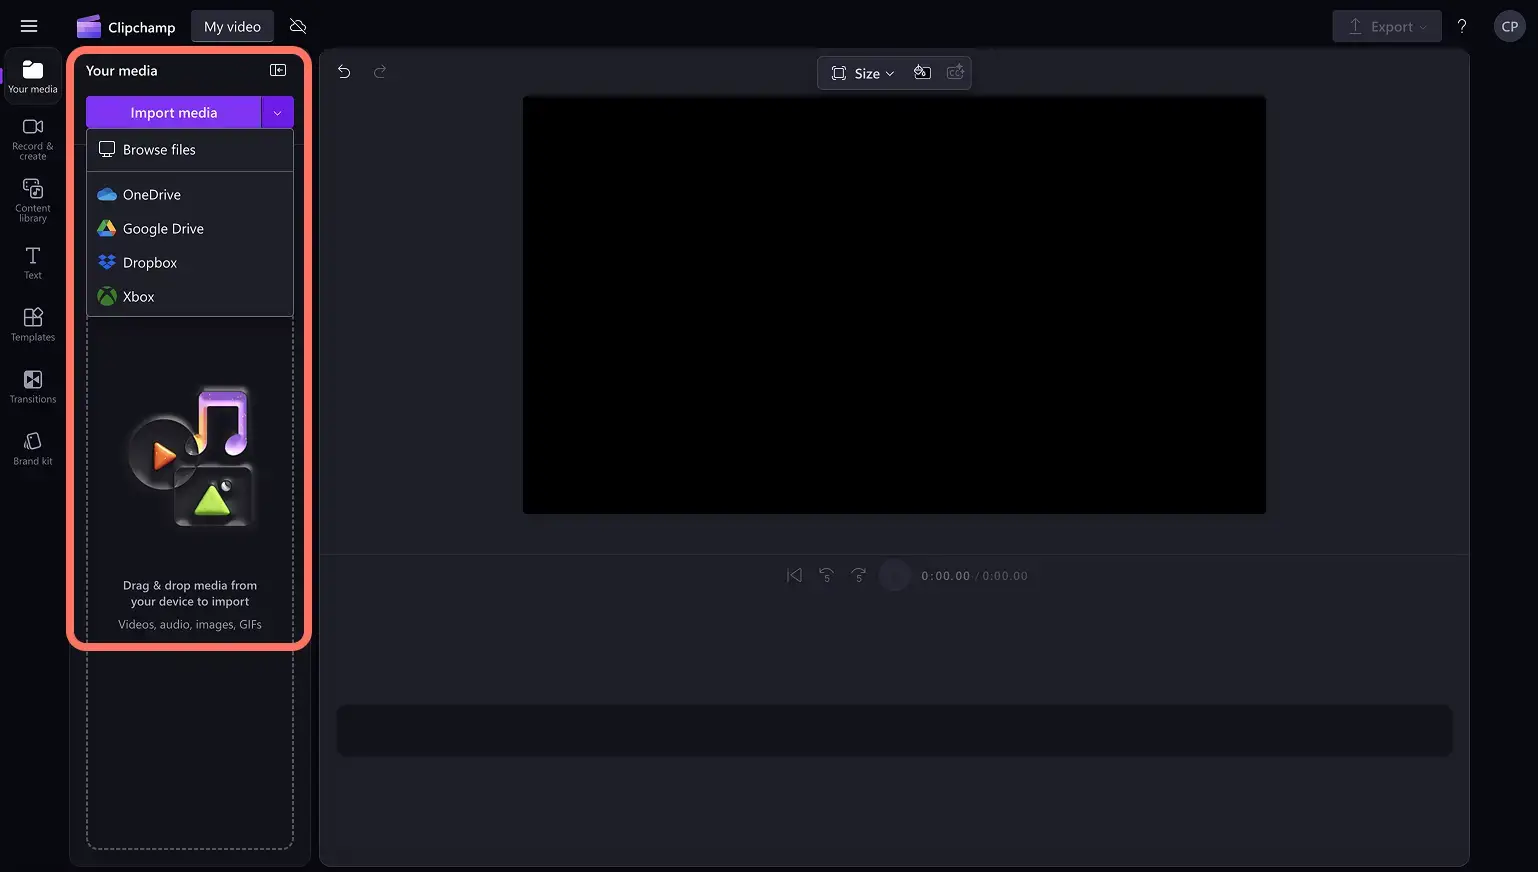
Click the import media button in the Media tab on the toolbar. Browse files on your computer or connect OneDrive to add photos and build your time‑lapse.
If you’re working with a large photo set, sort them before adding to the timeline. In the Media tab, click the sort button and choose "Name" and "Ascending."

Step 2. Arrange photos on the timeline
Drag and drop images into the timeline in any order you prefer, or use the green plus button that appears when you hover over a media item.
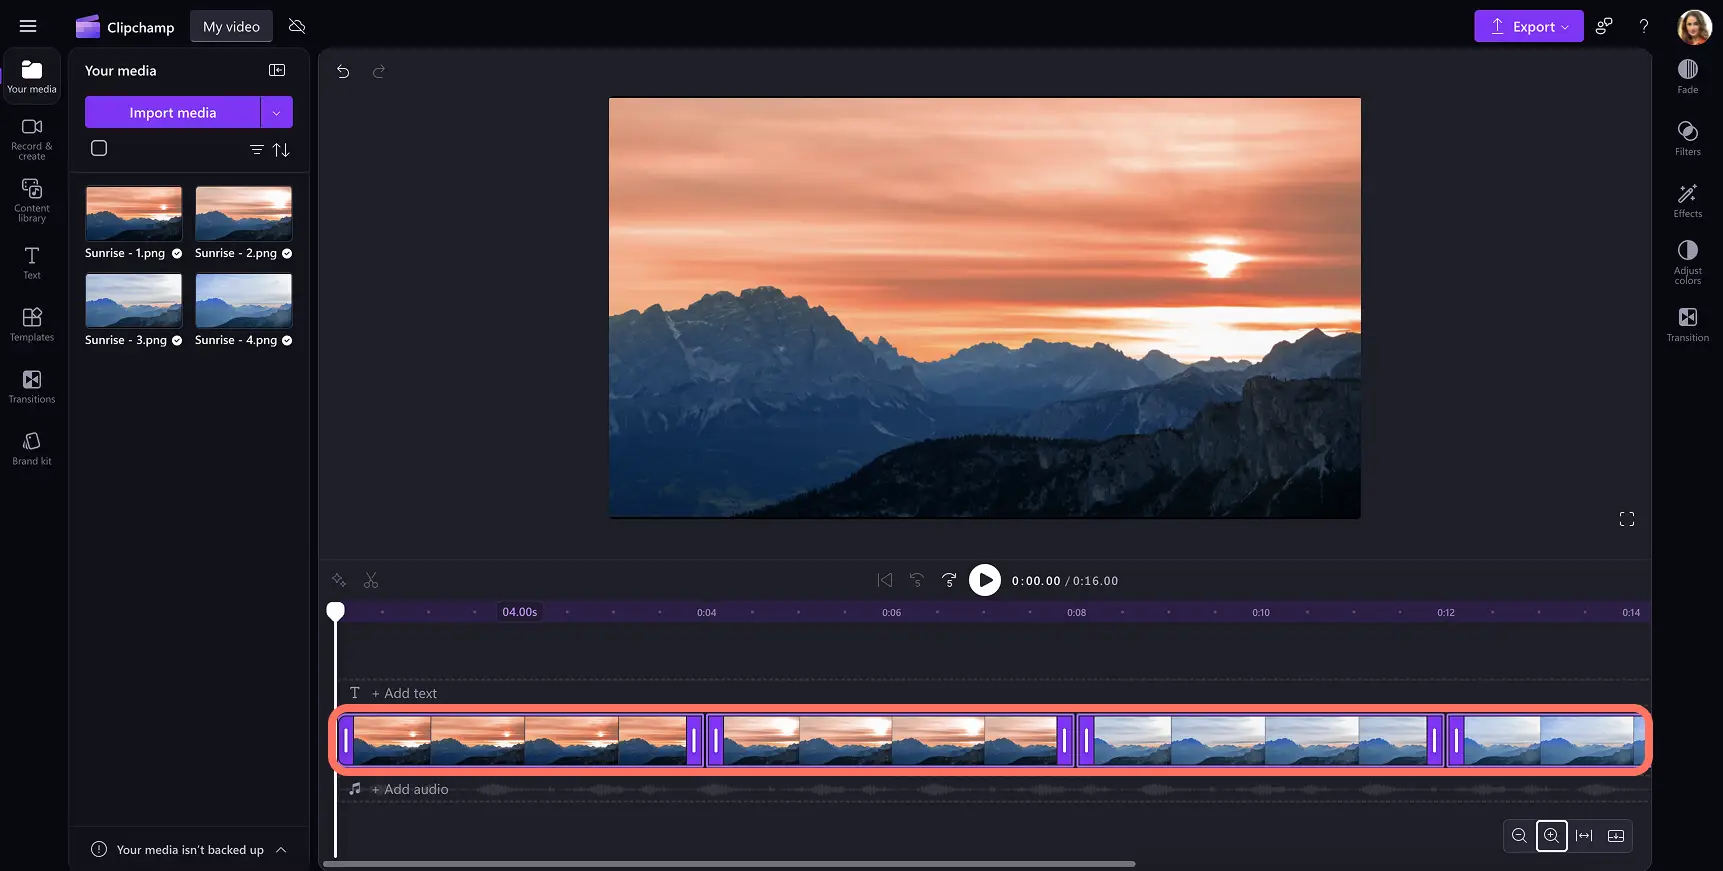
For a bulk upload, select all items in the Media tab by clicking the checkbox, then click the green plus button to add them to the timeline with one click.
All photos will appear on the timeline.
Step 3. Adjust the image length
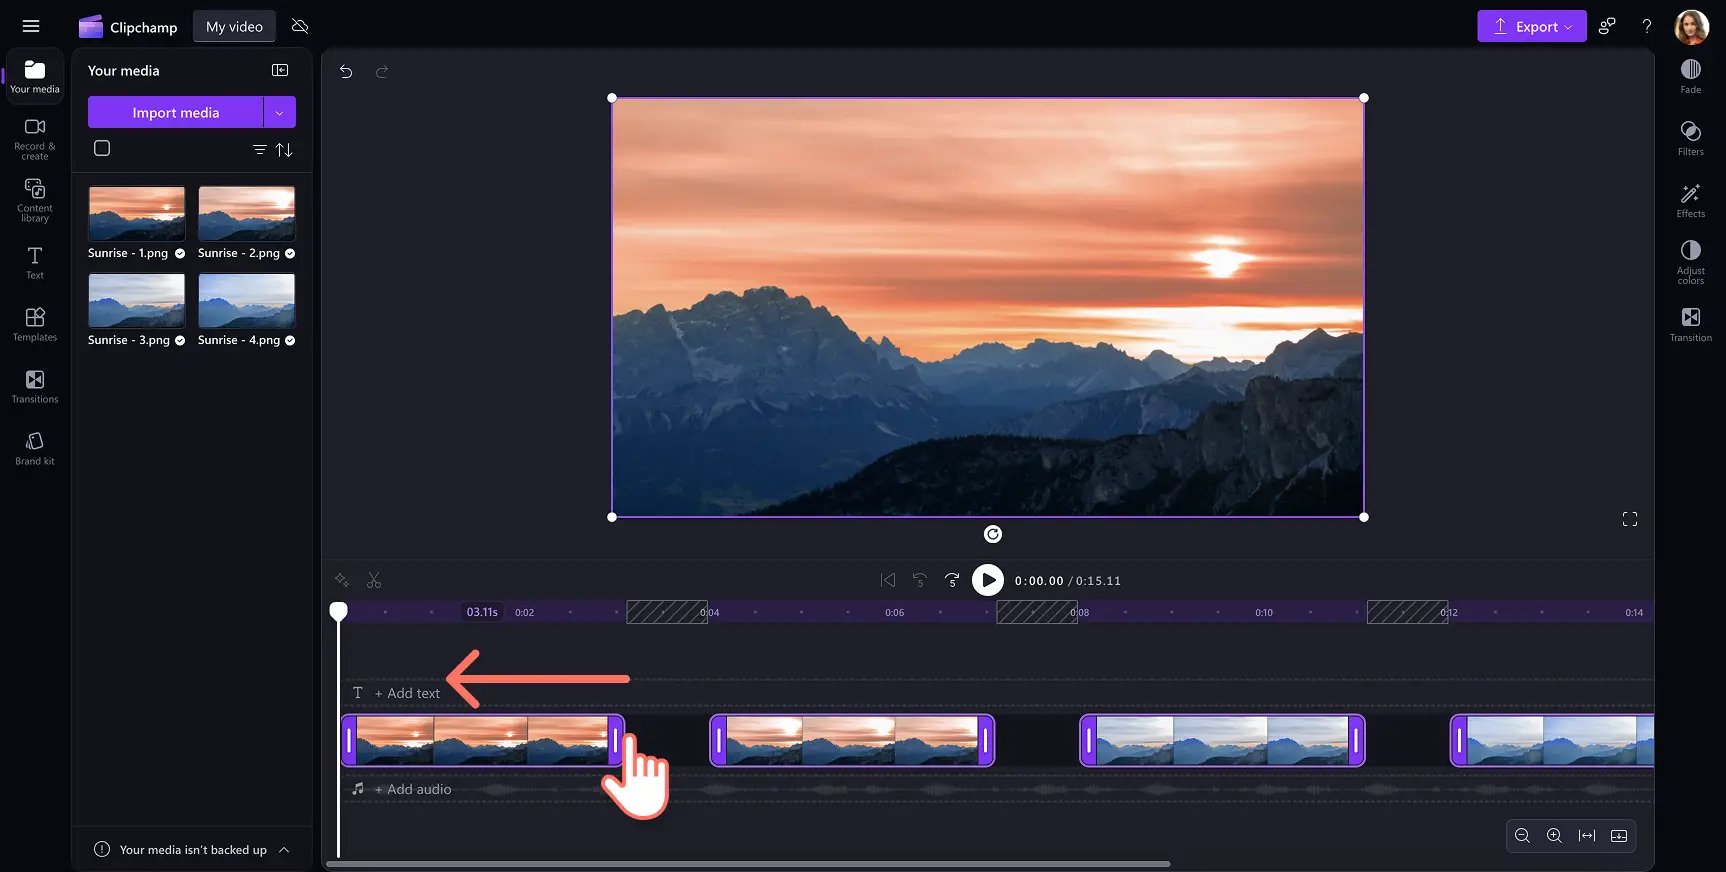
To edit multiple images at once, hold the Shift key and click each image on the timeline. The selected assets will be highlighted. Drag the trimming handles to the left to shorten the clip length. A one‑to‑one‑and‑a‑half‑second duration creates a crisp time‑lapse effect.
Step 4. Delete timeline gaps
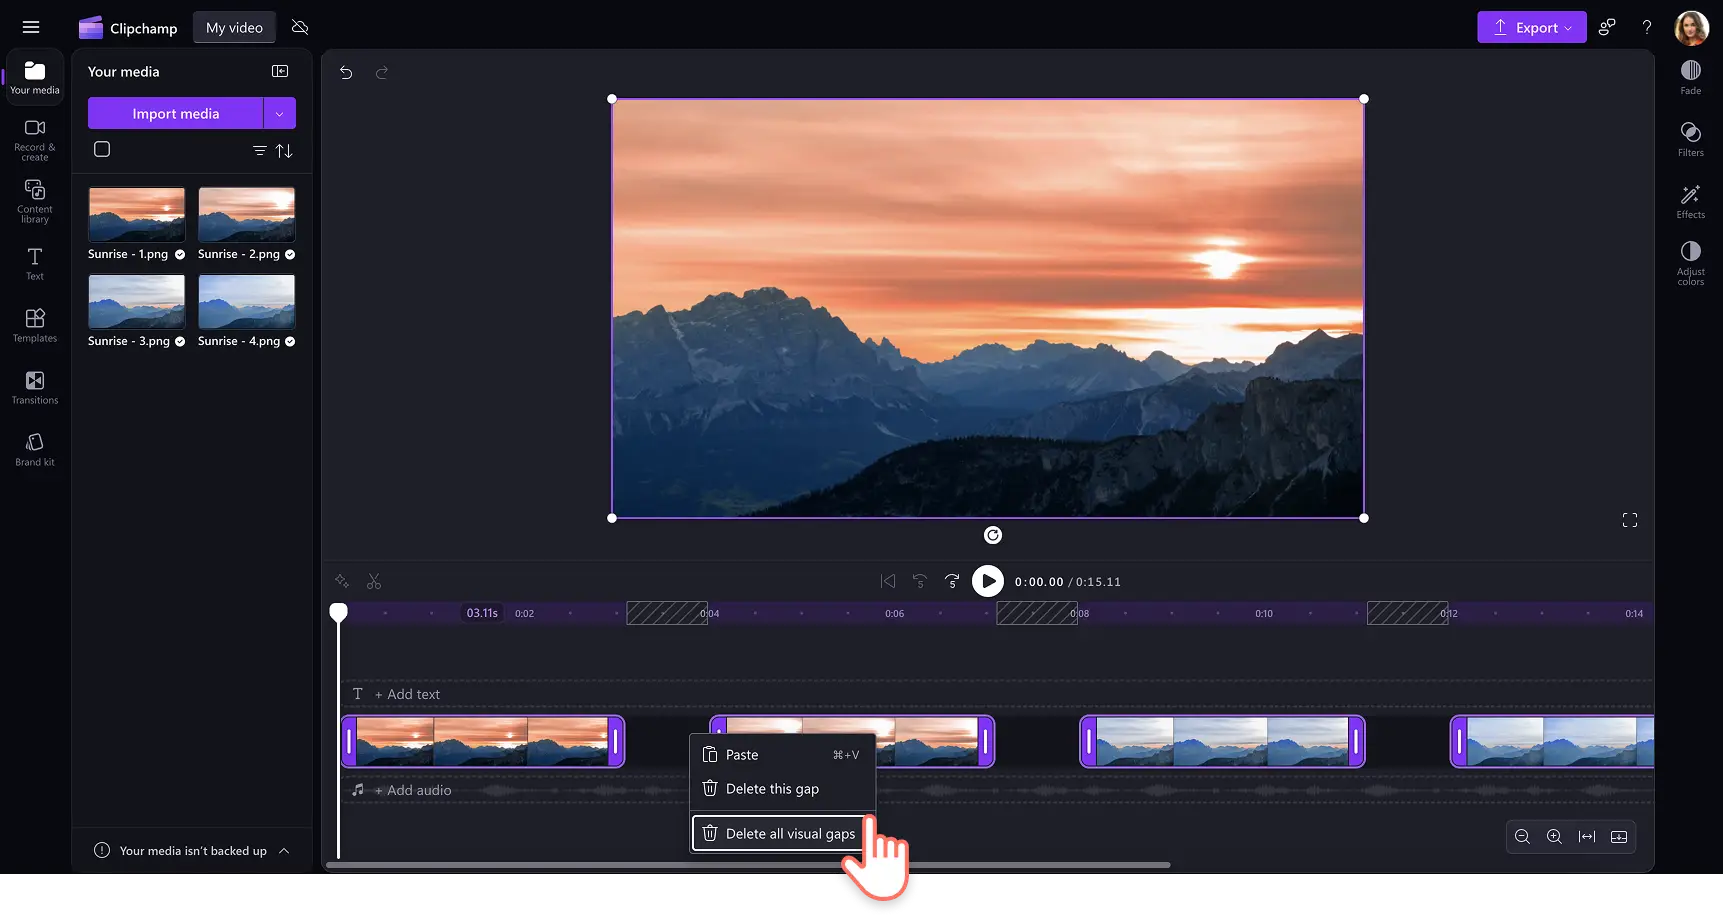
After trimming, the timeline will mark any gaps. Hover over a gap to reveal the trash can icon and click to remove it. To delete all gaps at once, right‑click a gap and choose "Delete all visual gaps."
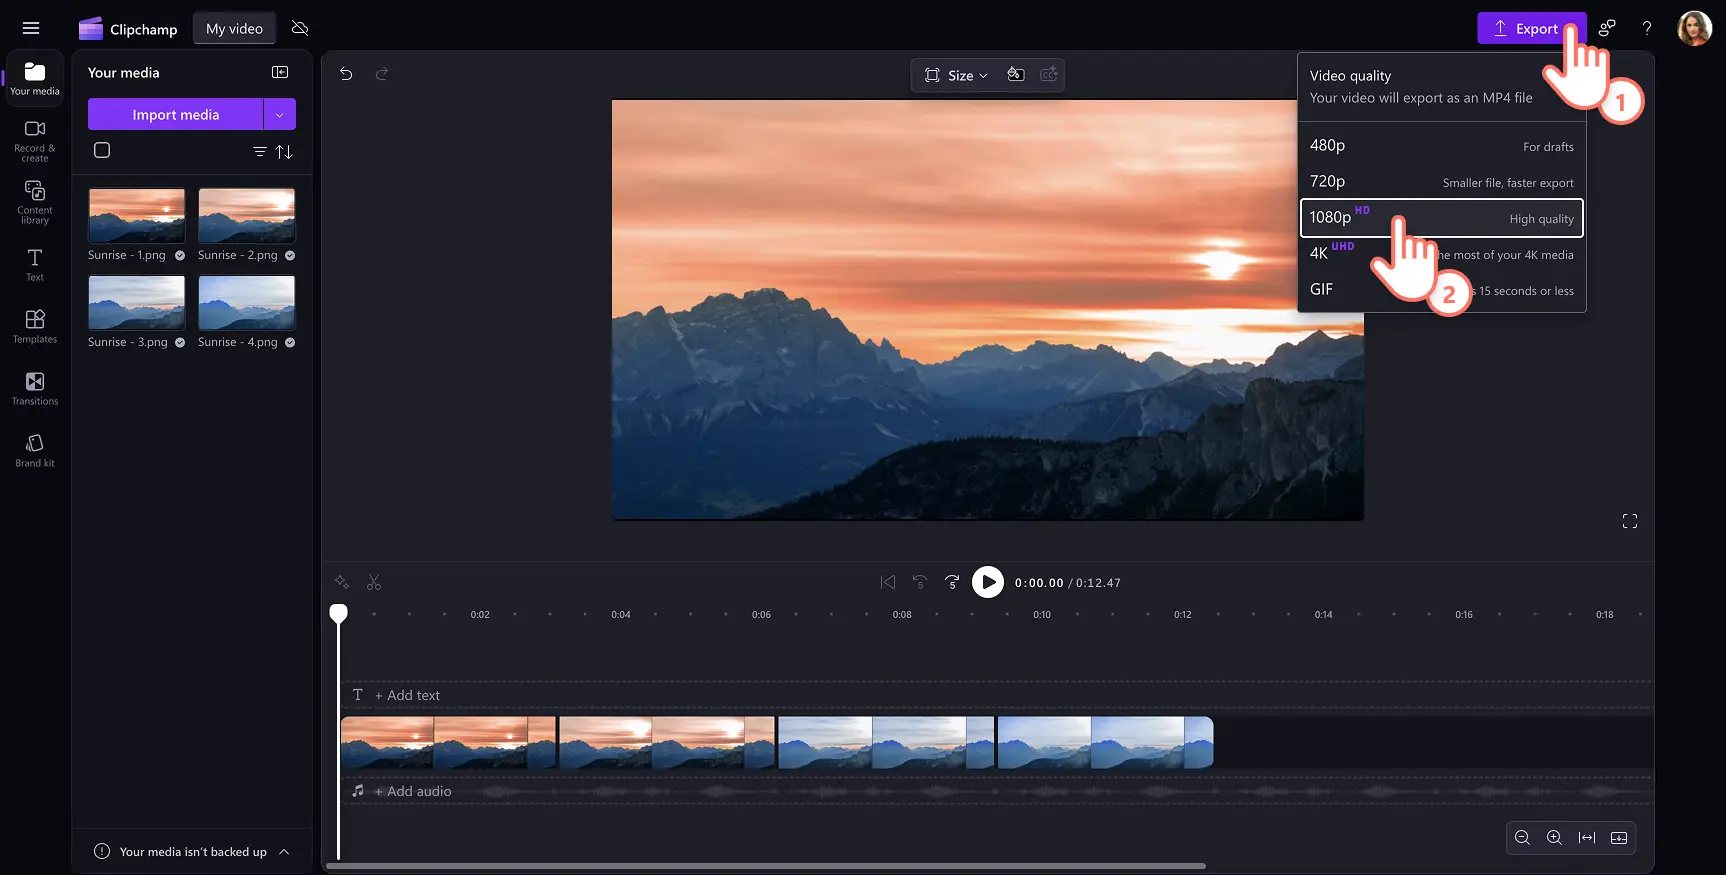
Step 5. Preview and save your time‑lapse video
Click the play button to preview the final video. When satisfied, click Export and choose a resolution that matches your intended platform.
Tip: If your time‑lapse is under fifteen seconds, convert it to a GIF for easy sharing on social media.
Watch how to speed up videos tutorial
Another way to achieve a time‑lapse effect is by speeding up a slideshow video to showcase the passage of time. Learn how to speed up a video in Clipchamp with this tutorial.
Five ways to polish time‑lapse videos
Enhance and adjust colors
Use brightness, contrast, and color correction tools to evoke specific emotions. Experiment with creative looks like VHS filters or black‑and‑white effects to give your time‑lapse a distinctive flair.
Overlay ambient background music
Instrumental music can add rhythm and narrative depth. Select royalty‑free tracks from the Clipchamp music library to avoid copyright issues when sharing on Instagram Reels or similar platforms.
Create AI voiceovers or voice recordings
Elevate your time‑lapse with narration. Generate realistic AI voiceovers in minutes by typing a script and choosing a voice. Or record your own voice for a personal touch.
Use frames and overlays
Add visual interest with overlays such as bokeh, light leaks, or lens flares. Enhance the mood with video stickers or decorative frames to make your time‑lapse stand out.
Add intro and outro video templates
Introduce your subject or give your video a polished look with professionally designed intro and outro templates that meet YouTube’s specifications. These templates help your time‑lapse look polished and brand‑consistent.
Once you master time‑lapse editing, you can expand your skill set by exploring montages and advanced video effects.
Try Clipchamp for free or download the Clipchamp Windows app to get started.