Integrating audio into your video enhances storytelling, clarity, and viewer engagement. Whether you’re adding background music, voice‑overs, or sound effects, the right audio can elevate the impact of any visual content.
Below you’ll find six proven, device‑agnostic approaches—each supported by industry‑grade tools—to seamlessly layer audio onto video. Pick the one that matches your workflow and start creating richer, more immersive videos today.
Why Audio Matters in Video
Audio adds depth, guides viewer attention, and can convey information that visuals alone might miss. According to a recent TikTok survey, 88% of users feel audio is essential to their viewing experience, and 73% would pause a video if it contained engaging sound. For brands, sound is no longer optional; it’s a key element that can drive higher engagement and retention.
Use audio to:
- Clarify on‑screen actions with spoken narration.
- Tell a story that complements the visual narrative.
- Create mood or atmosphere with background tracks.
- Increase accessibility for audiences who rely on sound cues.
6 Ways to Add Audio to Video
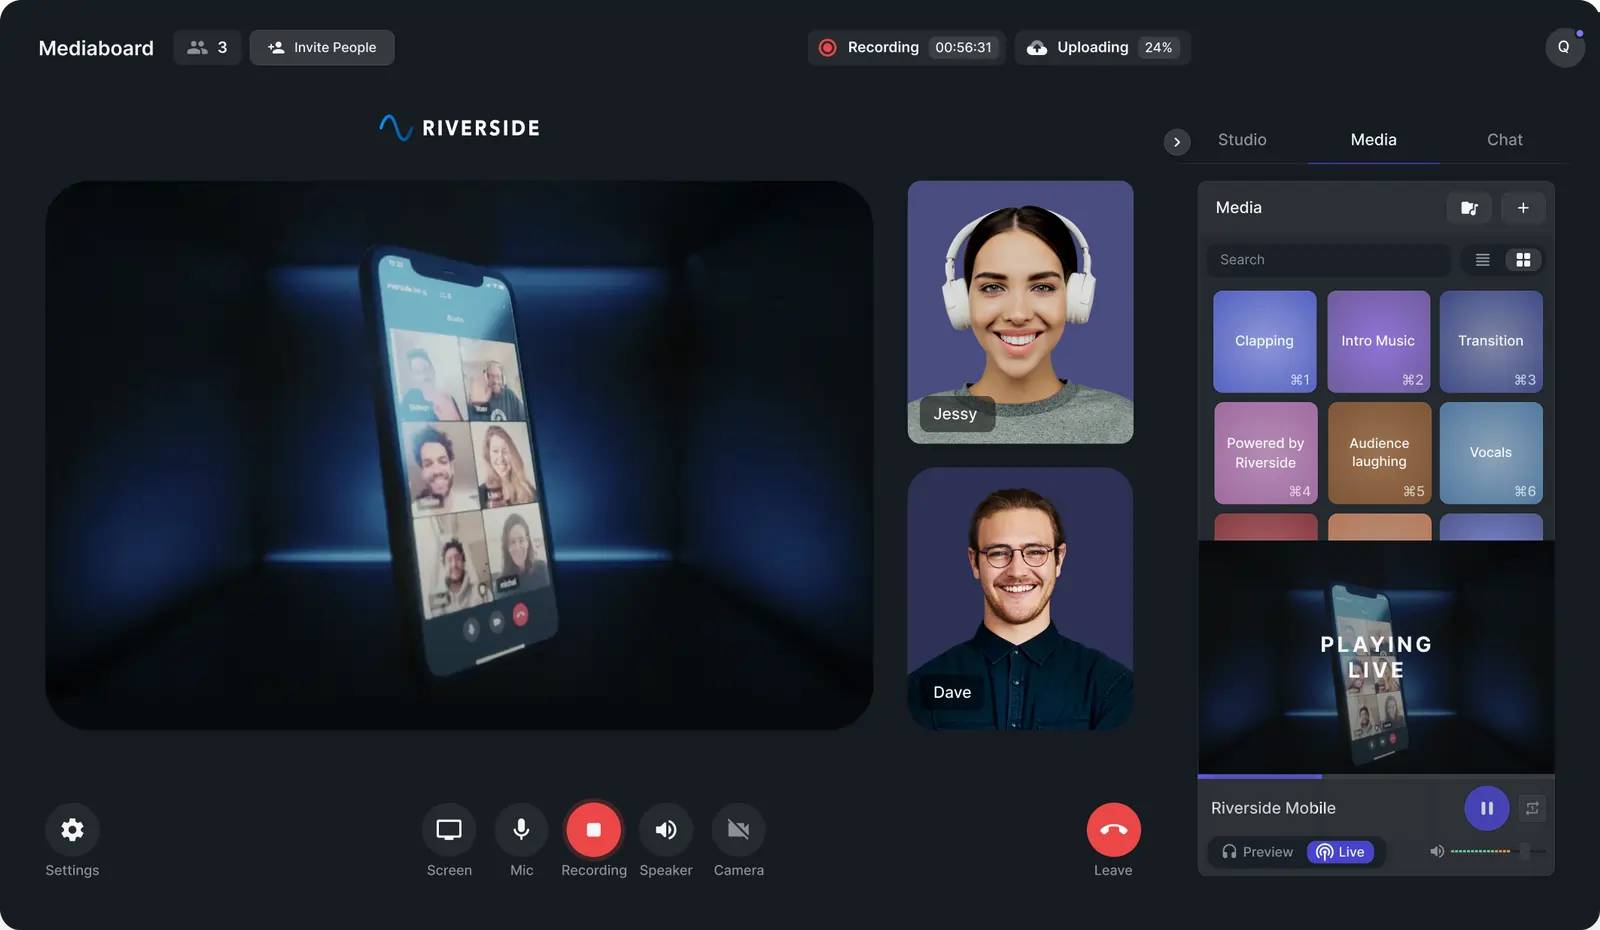
1. Riverside – Studio‑Quality Remote Recording
Price: Free tier; paid plans start at $15/month.
Compatibility: PC, Mac.
Riverside records local audio and video up to 4K and 48kHz, ensuring high fidelity regardless of internet speed. With separate tracks for each participant, you can edit audio independently before merging.
- Invite up to nine remote guests.
- Use the text‑based editor for rapid post‑production edits.
- Generate captions via accurate transcriptions (SRT/TXT).
- Assign a producer to manage audio levels.
How to add audio:
- Sign in on Riverside’s website using Chrome.
- Click + Create New, name your studio, and choose “Audio + Video.”
- Enter the lobby, check equipment, then click Join Studio.
- Open the Media tab and import pre‑recorded clips or drag your own audio files.
- Preview, loop, and toggle Live to record the audio during the session.
- Press Record and let Riverside capture both video and audio.
- After recording, export the project with integrated audio.
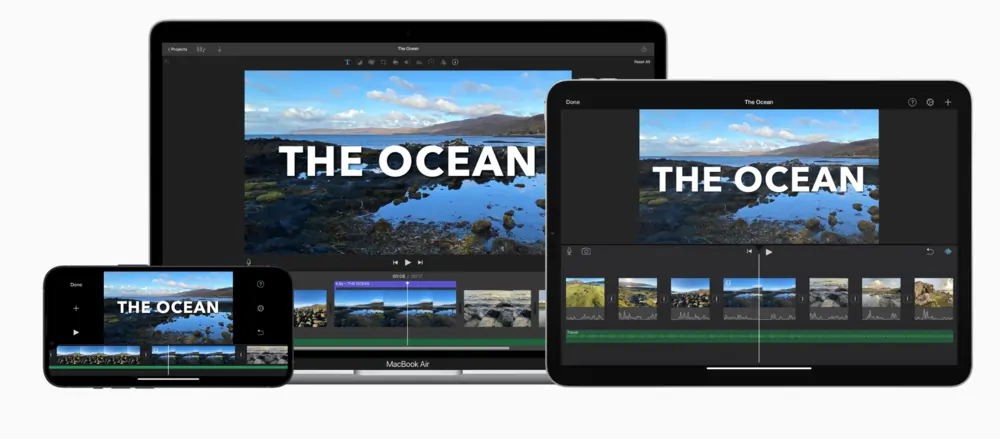
2. iMovie – Built‑In Mac/iOS Editing
Price: Free (pre‑installed on macOS and iOS).
Compatibility: Mac, iPhone, iPad.
iMovie supports M4A, MP4, MP3, WAV, and AIFF. Its intuitive timeline lets you layer music, voice‑overs, and sound effects.
Steps for Mac:
- Open your project and click Audio at the top.
- Select Libraries > Music to browse royalty‑free tracks.
- Drag the chosen track into the timeline.
- To add custom files, locate them in Finder and drop them into the music well.
- For segment‑specific audio, drag the file beneath the relevant clip.
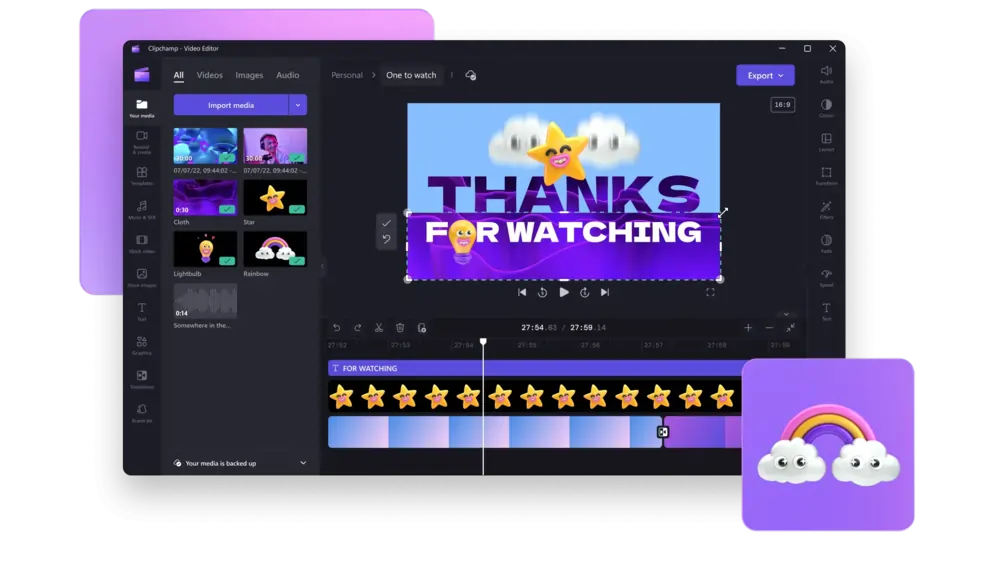
3. Clipchamp – Windows Video Editor
Price: Free.
Compatibility: Windows.
Clipchamp allows quick import of video and audio. Though it doesn’t support standalone audio recording, it’s perfect for adding music or sound effects.
Process:
- Upload your video by dragging it into the editor.
- Drag audio files into the left media panel.
- Drop the audio onto the timeline below the video track.
- Trim by adjusting the green handles; split with the scissors icon.
4. InShot – Mobile Audio Overlay

Price: Free; Pro starts at $3.99/month.
Compatibility: Android, iPhone.
InShot is ideal for on‑the‑go edits. Add background music or record a voice‑over with just a few taps.
Procedure:
- Open InShot, tap Video, and import your clip.
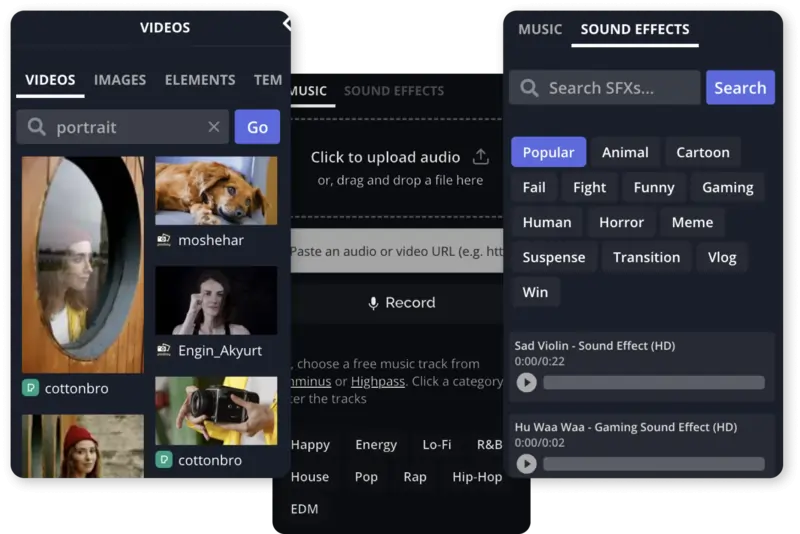
- Tap the music note icon to access the Music tab.
- Choose from Featured tracks, My Music, or Effects.
- Download the track, then tap Use to place it in the timeline.
- To record a voice‑over, hit the timer, record, then save the clip.
5. Splice – Cross‑Platform Editor

Price: Free; paid plans from $4.99.
Compatibility: Mac, Windows, iOS, Android.
Splice offers a straightforward way to add music, sound effects, or voice‑overs.
Steps:
- Create a new project and select a video from your camera roll.
- Choose your aspect ratio and give the project a title.
- Tap the audio button: Music, Sounds, or Voice.
- Record a voice‑over directly or import a track.
- Drag the new audio to the timeline and trim or reposition as needed.
6. Kapwing – Web‑Based Audio Editor
Price: Free; paid plans start at $16/month.
Compatibility: PC, Mac.
Kapwing is a browser‑only solution that lets you add, edit, and export audio without installing software.
Workflow:
- Sign up on Kapwing and open the video editor.
- Drag your video file or paste a URL.
- Click Audio in the left sidebar.
- Upload your file, use the library, record a voice‑over, or convert text to speech.
- Place the audio on the timeline, adjust volume, then click Export Project.
Best Practices for Adding Audio
- Record high‑quality audio: Use a dedicated mic and a reliable platform to capture crisp sound.
- Minimize background noise: Record in a quiet environment and consider noise‑removal tools.
- Use a script: A prepared script reduces filler words and keeps the narration focused.
- Add background music wisely: Choose tracks that complement, not overpower, the visuals.
- Balance volume levels: Ensure dialogue and music are at comfortable, consistent levels before publishing.
FAQs
Can I add sound to a pre‑recorded video?
Absolutely. Whether it’s a voice‑over, music, or sound effects, you can overlay audio using any of the tools mentioned above.
How do I overlay audio for free?
Free options include iMovie, Kapwing, and InShot. They support adding background tracks and recording voice‑overs without cost.
How do I add audio on my iPhone?
Use the pre‑installed iMovie app: import your clip, tap the Music icon, and choose a track or record a voice‑over.
How do I combine audio and video?
Platforms like Riverside offer live audio‑video capture, while editing tools let you layer existing audio onto recorded video.