Portrait‑oriented clips dominate the social‑media landscape—TikTok, Instagram Reels, Facebook Stories, and YouTube Shorts all thrive on vertical framing. While capturing a vertical video is straightforward with a smartphone, translating that footage into polished, platform‑ready content can be tricky, especially when your only editing tool is iMovie.
iMovie’s default 16:9 canvas can feel restrictive, but with the App Preview feature you can edit vertical footage with the same precision as landscape videos. Below is a detailed, expert‑approved workflow that turns your portrait footage into professional‑grade clips.
In this article
- Editing Vertical Videos in iMovie on Mac
- Exporting Vertical Content with iMovie Alternatives
Editing Vertical Videos in iMovie on Mac
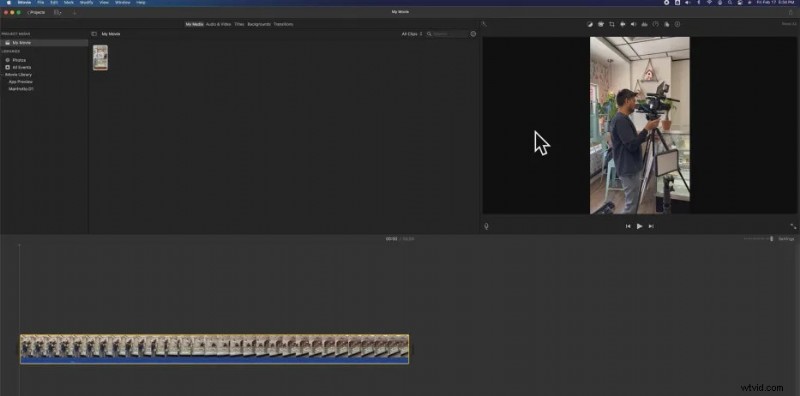
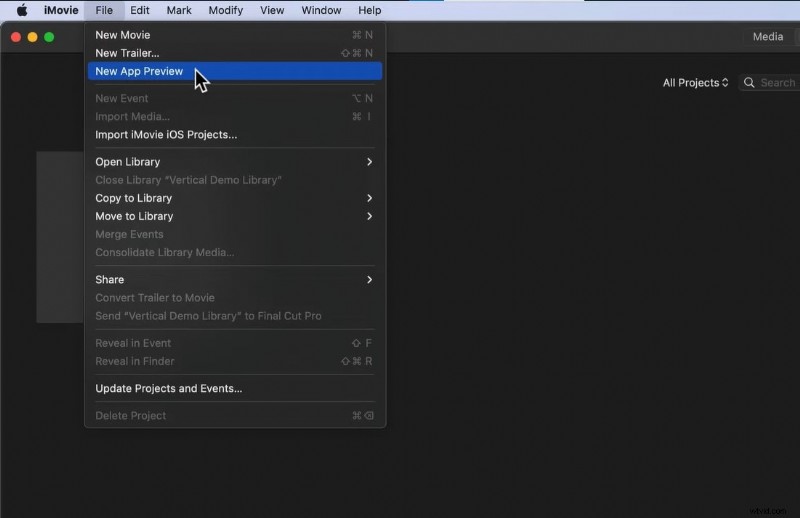
When you drop a portrait clip into iMovie, the editor automatically adds black bars and converts the project to 16:9. However, you can override this behavior by initializing a new App Preview project.
- Step 1: Open iMovie and select Projects.
- Step 2: Go to File > New App Preview > OK.
- Step 3: Import your vertical video into the timeline.
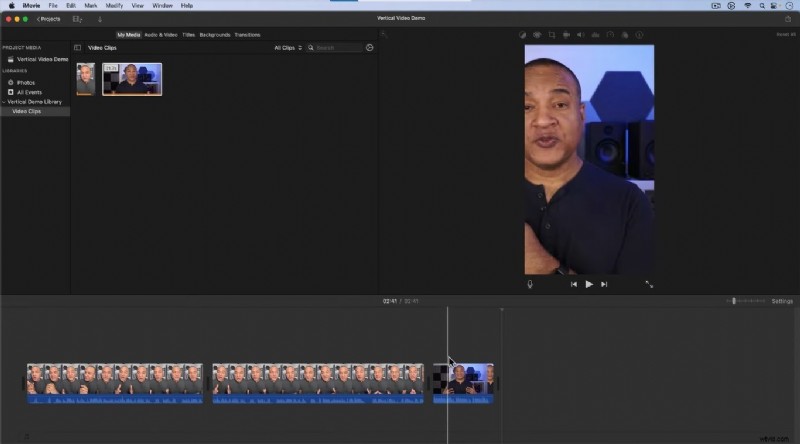
- Step 4: Once a portrait clip is present, any subsequent landscape clip you add will automatically be re‑framed to vertical.
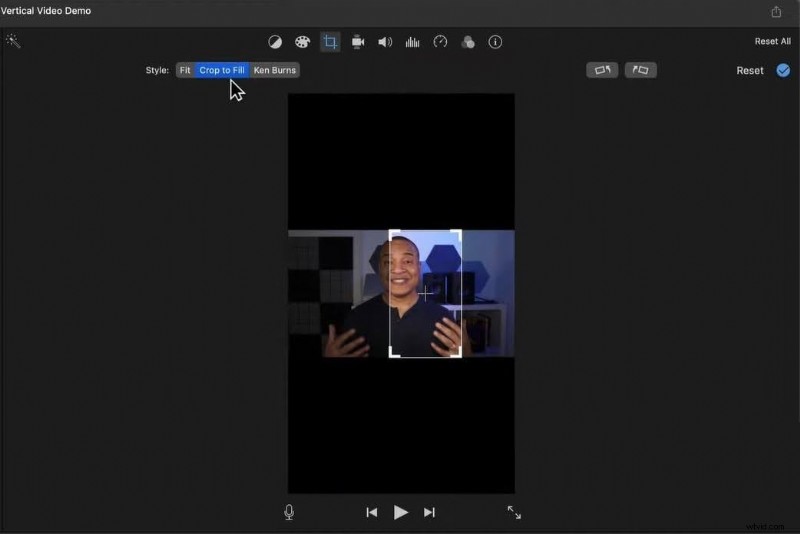
- Step 5: For horizontal footage, use the Crop tool in the toolbar to recenter the subject.
- Step 6: Edit as usual—trim, split, and arrange your clips.
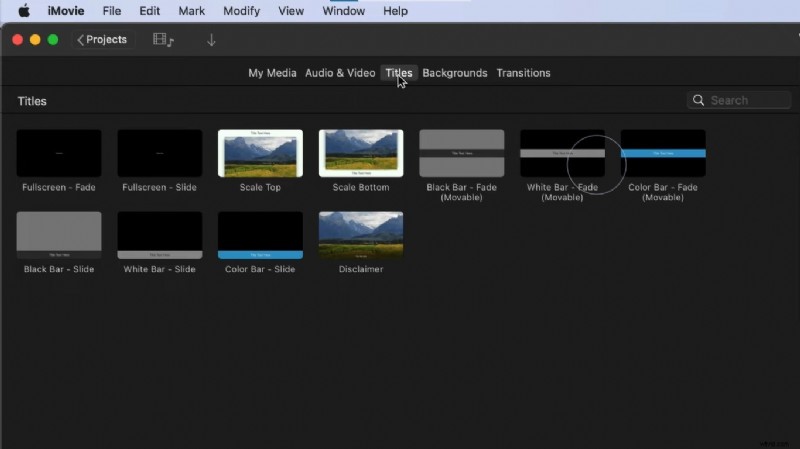
- Step 7: Add titles from the Titles tab.
- Step 8: Insert transitions, audio, and background color via the corresponding tabs.
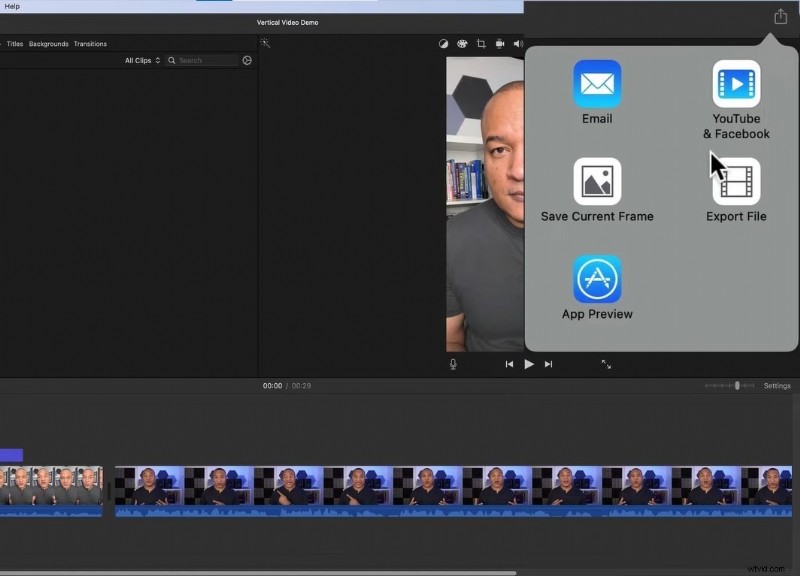
- Step 9: When ready, click Share and choose Export File.
Tips for Editing Vertical Videos in iMovie
- Always begin with a vertical clip; otherwise, iMovie will revert to horizontal mode.
- If you lack a portrait clip, upload a dummy vertical file, add your landscape footage, then delete the dummy.
- Landscape clips will be zoomed in when re‑framed; use 4K footage to mitigate quality loss.
- Title and background options are limited—consider using external graphics for greater flexibility.
- After export, upload directly to your chosen platform.
Exporting Vertical Content with iMovie Alternatives
While iMovie can manage vertical videos, its workflow is cumbersome. A more streamlined solution is Wondershare Filmora, which supports portrait mode natively and offers the same feature set for any aspect ratio.
Filmora allows you to record, edit, and export vertical clips with AI‑powered captions, SEO‑friendly metadata, and an extensive library of effects and templates.
How to Make Portrait Videos in Filmora
- Step 1: Launch Filmora and click Create Project.
- Step 2: Drag your landscape clip into the Media area, right‑click it, and select Auto Reframe.


- Step 3: Choose 9:16 for portrait mode.
- Step 4: Use Adjust Frame to fine‑tune the crop box.
- Step 5: In Advanced, tweak Tracking Subject and Tracking Speed if needed.
- Step 6: Click Export to save the portrait clip.
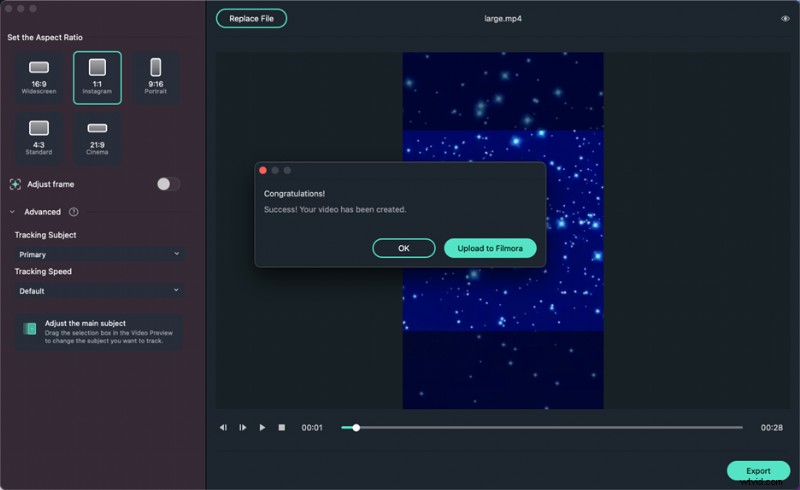
- Step 7: For further edits, choose Upload to Filmora and drag the portrait clip onto the timeline.
- Step 8: Add effects, stickers, templates, and AI tools via the Media Panel and Property Panel.
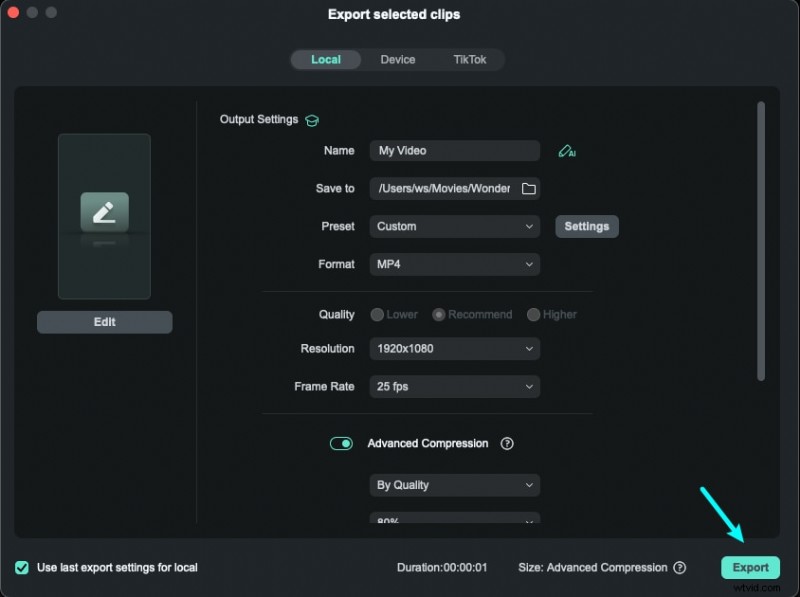
- Step 9: When satisfied, hit Export and adjust format, resolution, and frame rate.
- Step 10: Save locally or share directly to YouTube, TikTok, Vimeo, etc.
Conclusion
iMovie is a handy starting point, but its limited portrait support and constrained editing options can hinder creative freedom. For seamless vertical video production—whether you’re re‑framing landscape footage or shooting natively—Filmora delivers a robust, all‑in‑one solution that preserves quality and expands your creative toolkit.
Choose the right tool for your workflow and elevate your portrait content to professional standards.