Mastering basic video edits is an essential skill—whether you’re sharing a clip on social media, spotlighting a meeting segment, or reclaiming storage space. Windows 11 offers a variety of tools to help you trim and polish your videos with ease.
Table of Content
- Edit Videos on Windows 11 Using Built‑in Tools
- Edit Videos on Windows 11 Using Online Tools
- Edit Videos on Windows 11 Using Video‑Editing Software
Can You Use Movie Maker to Edit Videos on Windows 11?
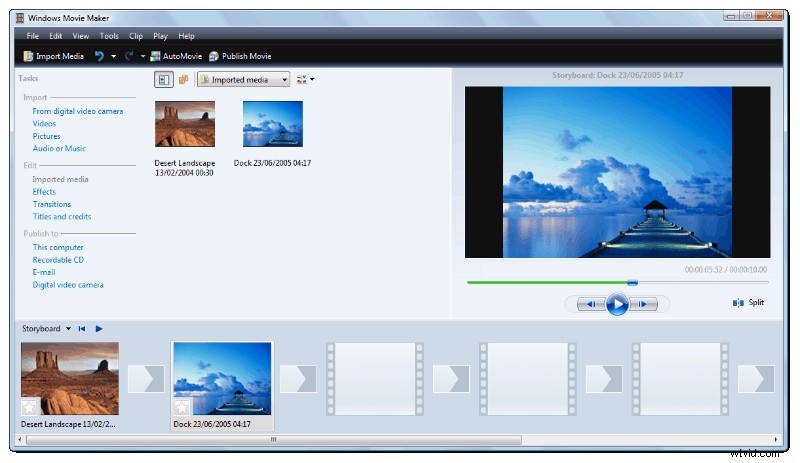
Microsoft’s Windows Movie Maker, launched in 2001, was once the go‑to free video editor bundled with Windows. It offered essential features such as transitions, titles, audio effects, and video stabilization, supporting a wide range of formats. Unfortunately, Microsoft discontinued Movie Maker in 2017, meaning Windows 11 users cannot rely on it for video editing.
Fortunately, Windows 11 provides robust alternatives, from built‑in tools to online solutions and third‑party software.
Method 1: Trim/Cut Videos on Windows 11 Using Built‑in Tools
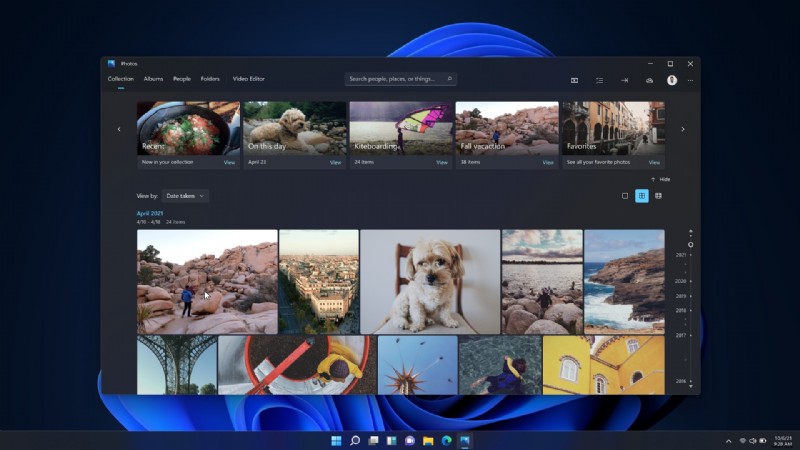
Windows 11 replaces Movie Maker with the Microsoft Photos app—a free, pre‑installed tool that supports both photos and videos. While its editing suite is modest compared to dedicated software, it’s perfect for quick trimming and basic adjustments.
- Open File Explorer, locate the video you wish to trim, and right‑click it.
- Select Open with > Photos (see screenshot).
- Click the Video Trim icon at the top of the Photos window.
- Drag the sliders on the seek bar to set the start and end points of your trimmed clip.
- Choose Save as, pick a destination folder, and click Save.
Method 2: Trim/Cut Videos on Windows 11 Using Online Tools
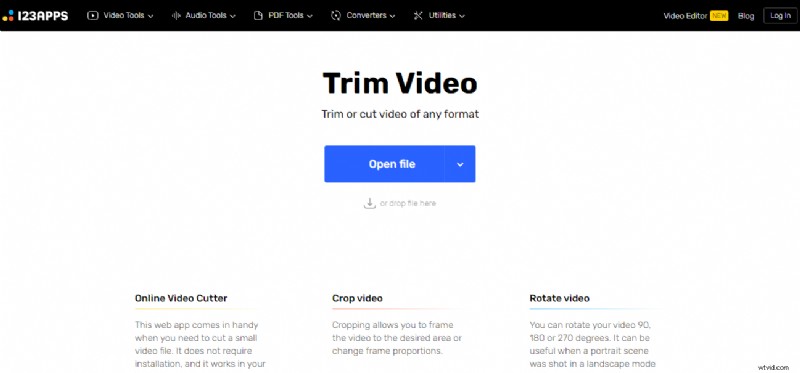
When built‑in options don’t support a file format or lack a needed feature, online editors provide a quick alternative. For instance, Online Video Cutter (by 123apps) offers free trimming without any downloads.
- Crop, rotate, or flip the video.
- Adjust resolution, volume, or speed.
- Loop, overlay images, or add text.
- Navigate to the Online Video Cutter website.
- Click Open File or drag your video into the window.
- Once uploaded, hit the Trim icon.
- Use the sliders to define your desired clip boundaries.
- Click Save > Save to download the trimmed file to your Downloads folder.
Method 3: Trim/Cut Videos on Windows 11 Using Video‑Editing Software
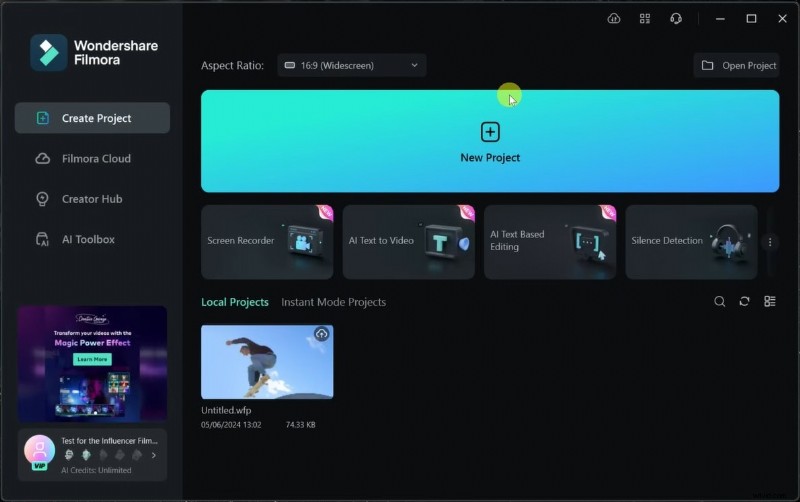
For advanced workflows—merging clips, adding effects, or producing polished content—dedicated editors like Wondershare Filmora are ideal. Filmora blends an intuitive interface with AI‑powered features, enabling both quick trims and creative edits.
- Install and launch Filmora, then sign in or create an account.
- Start a new project, import your video via File > Import Media.
- Drag the clip onto the timeline.
- Hover over the clip; the Trim icon appears.
- Move the start handle to where you want the clip to begin.
- Move the end handle to where you want the clip to end.
- When satisfied, click Export or share directly to social platforms.
Tips for Editing Videos on Windows 11
- Choose the right tool: simple trims are fine with Photos or online cutters; complex edits require Filmora or similar.
- Start with high‑quality footage—low resolution or shaky clips limit the final result.
- Remove unnecessary pauses, awkward silences, or extra shots to keep the narrative tight.
- Experiment on small projects first if you’re new to editing.
- Familiarize yourself with the chosen editor before tackling important videos.
Windows 11 supports a wide range of video editing solutions, ensuring you can find the right balance between convenience and capability.
Conclusion
Trimming videos on Windows 11 is straightforward—whether you use the Photos app, an online cutter, or a professional editor like Filmora. Pick the method that matches your needs and let your creativity flow.