Live Photos capture more than a single frame, fusing a still image with a short burst of video to create a dynamic, memorable experience. Editing these on a Mac unlocks powerful creative options, letting you refine key frames, apply engaging loops, enhance colors, and add cinematic effects. This guide walks you through the best tools—starting with Apple Photos and advancing to Filmora—so you can elevate every Live Photo with confidence.
In this article
- What Are Live Photos?
- Why Edit Live Photos?
- Tools & Techniques for Real‑Time Editing
- Step‑by‑Step Editing on Mac with Filmora
Part 1: Understanding Live Photos & Why Edit Live Photos in an Editor?
What Are Live Photos?
Live Photos are a proprietary Apple feature that stitches a still image with a 3‑second clip—capturing 1.5 seconds before and 1.5 seconds after the shutter—so your photos feel alive. The resulting clip includes motion and sound, making moments like a child’s first steps or a beach wave more vivid and expressive.
Because Live Photos preserve the full atmosphere of an event—visual, auditory, and emotional—you can treat them as a richer memory than a single image. Editing them lets you fine‑tune that memory:
- Choose the perfect key frame to anchor the sequence.
- Turn the clip into a GIF‑style loop or bounce for social media.
- Adjust brightness, contrast, and color balance to set the mood.
- Create long‑exposure effects that blur motion for a creative touch.
Editing Live Photos is about shaping both the static and dynamic elements, giving you a polished yet lively result that reflects your artistic intent.
Typical editing applications include:
- Photo filters—warmth, contrast, stylization.
- Lighting tweaks—brightness, exposure, contrast.
- Focus adjustments—sharpening for depth.
- Loop and bounce effects for instant sharing.
With the right tools, you can transform a simple moment into a captivating visual story.
Stabilize Videos with Wondershare Filmora
- High‑quality stabilization with minimal distortion.
- Extensive video and audio effects plus creative assets.
- AI‑powered workflow for effortless creation.
- Intuitive interface suitable for beginners and pros alike.
- Cross‑platform support: Mac, Windows, iOS, Android.


Part 2: How to Edit iPhone Live Photos on Mac with Filmora
Filmora offers a full suite of features—drawn objects, overlays, retro film effects, animated stickers, color correction, motion effects, and smooth transitions—to turn your Live Photos into engaging GIFs or short videos.
Key capabilities include:
- Custom color grading—adjust hue, saturation, temperature for a cinematic look.
- Seamless transitions—fades, wipes, zooms to keep flow smooth.
- Pan & zoom—add motion emphasis within a single frame.
- Cinematic mode—lock focus on a subject while blurring the background.
- Special effects library—lens flares, glitches, and more.
Step 1: Import Your Live Photo
Choose one of three methods to bring your Live Photo into Filmora.
Method 1: AirDrop
On your iPhone, open the Photos app, select the Live Photo, tap Share, enable “All Photos Data” under Options, then choose your Mac from the AirDrop list. Ensure AirDrop is enabled on both devices. The transfer will create a folder containing four files; import the Live Photo from this folder.

Method 2: USB Cable
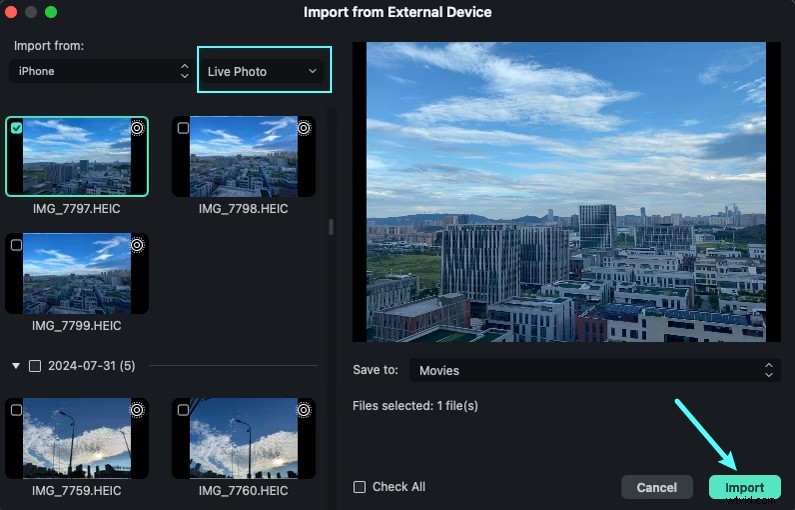
Connect your iPhone to your Mac, open the Photos app, navigate to the Devices section, select your iPhone, choose the desired Live Photos, and click Import. Filmora will sync the files directly to its media area.

Method 3: Import from Photos Library
Filmora requests access to your Photos library. Launch Photos, go to Devices, select your iPhone, pick the Live Photos you want, and hit Import. The clips will appear in Filmora’s media library.
Step 2: Edit Your Live Photo
Filmora’s editing panel offers a range of options:
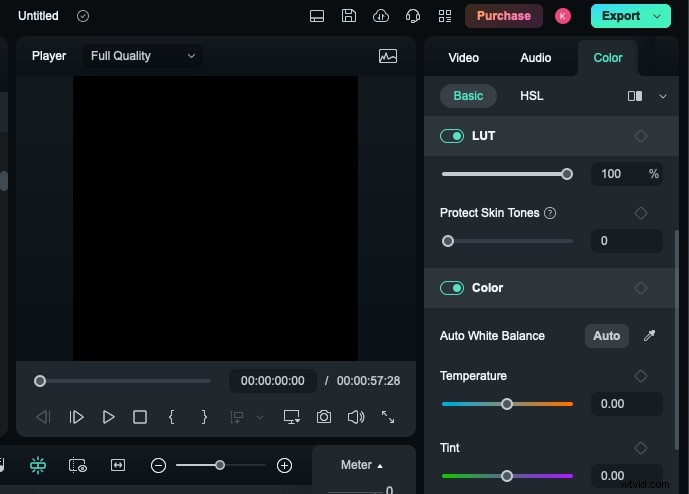
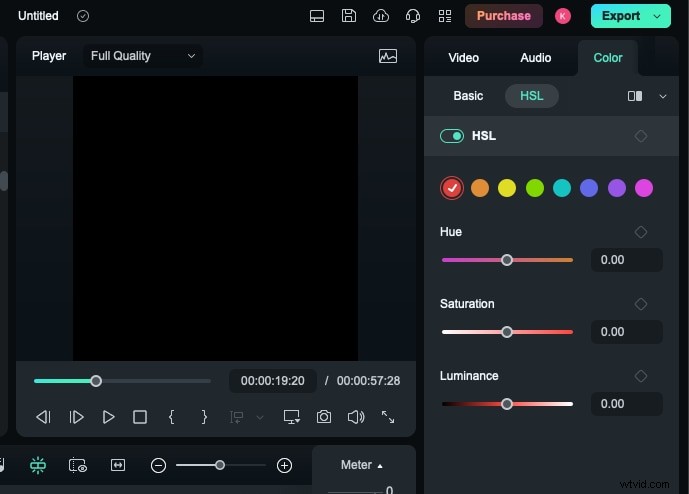
Color Correction – Right‑click the clip on the timeline, choose Color, and tweak brightness, temperature, tint, tone, contrast, and white balance. The HSL section allows fine‑grained hue, saturation, and luminance adjustments.
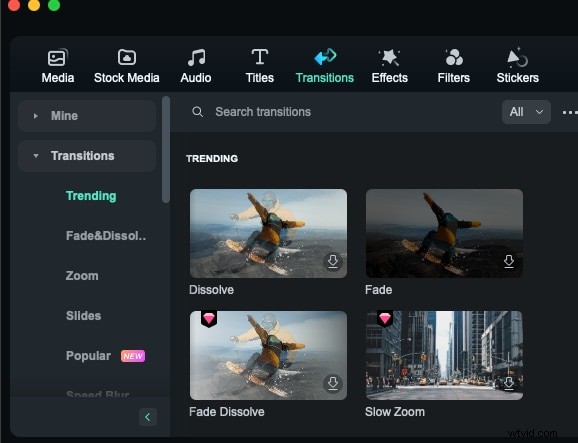
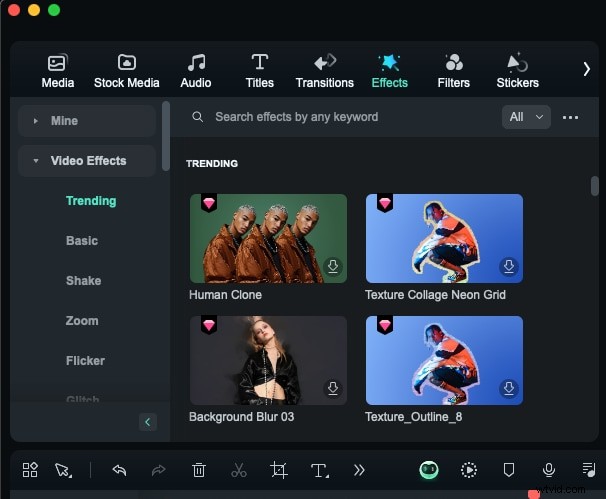
Filters, Transitions, and Effects – In the top‑right panel, browse filters to give your Live Photo a new look, choose transitions for smooth movement, and apply effects such as shaky, zoom, or flicker to enhance visual interest.
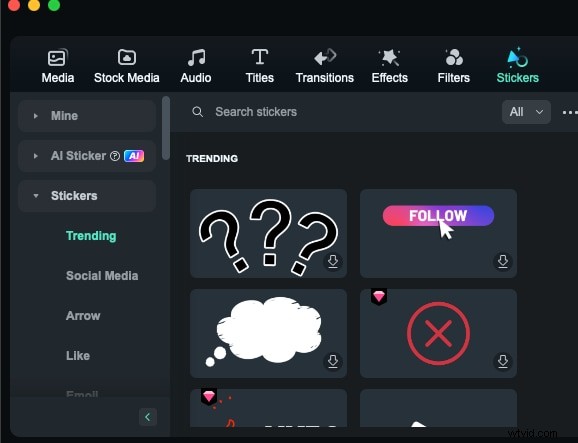
Stickers & Animated Icons – Add animated stickers or overlay text to convey emotion or emphasize key moments.
Step 3: Export Your Edited Live Photo
Once satisfied, you can add music or text, then export the clip. Choose whether to upload directly to Filmora’s cloud, share online, or save locally on your device.

Conclusion
Real‑time Live Photo editing on a Mac empowers you to transform everyday moments into polished, engaging visual stories. Whether you’re adjusting lighting, applying effects, or refining the key frame, a robust editor like Filmora makes the process intuitive and rewarding. Dive in, experiment, and let your Live Photos reflect the full spectrum of your memories.