As a content creator, you know how crucial precise editing is to keep viewers engaged. Removing redundant segments turns a long clip into a punchy, compelling story.
This guide walks you through the exact steps for trimming videos, whether you’re a beginner or a seasoned editor. Below, you’ll find a concise, step‑by‑step workflow and detailed walkthroughs of seven popular tools—from Riverside’s AI‑powered editor to the industry standard DaVinci Resolve.
Can You Remove Sections from a Video?
The answer is a resounding yes. Most modern editing suites let you isolate and delete any portion of your footage with minimal effort.
After recording, simply choose the software that best matches your skill level and workflow. We’ll review seven options, each offering a distinct approach to trimming.
Step‑by‑Step Video Trimming Workflow
Regardless of the tool, the core process remains the same. Follow these general steps:
1. Select the footage to edit
Ensure the clip is saved locally or available in the cloud so you can access it during the editing session.
2. Install or open your editing software
Download the program you’ve chosen. Launch it, and create a new project to begin.
3. Mark the section to cut
Navigate to the precise start and end points using markers, playheads, or the razor tool, depending on the software. Most editors allow you to split the clip at these points.
4. Remove the unwanted segment
Select the isolated portion and press the delete key or use the program’s “Remove” command.
5. Export the trimmed video
Save or export the edited file using the tool’s preset settings, choosing the desired resolution and format.
7 Editing Tools You Can Use to Trim Your Video
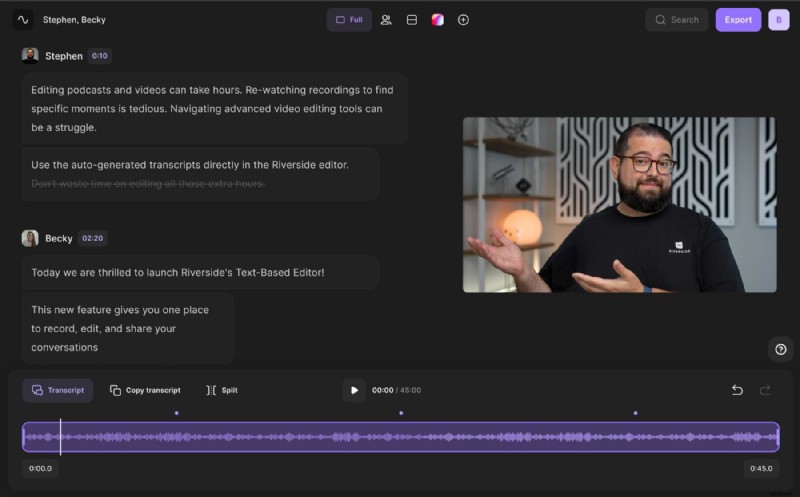
1. Riverside
- Price: Free (Standard), $15/month (Standard), $24/month (Pro)
- Record up to 4K locally, capturing separate audio and video tracks for maximum flexibility.
- Text‑based editor uses AI transcription—delete text, and the matching video/audio segment disappears.
- Suitable for all skill levels; offers shareable clips, custom backgrounds, and layouts.
How to Trim with Riverside
1️⃣ Open Riverside and start an online recording studio.
2️⃣ After upload, click Go to Editor.
3️⃣ In the editor, locate the transcript and timeline preview.
4️⃣ Delete text or use the video timeline: place a marker at the start, split, repeat at the end, select the segment, and click Remove.
5️⃣ Save and export in your preferred format.
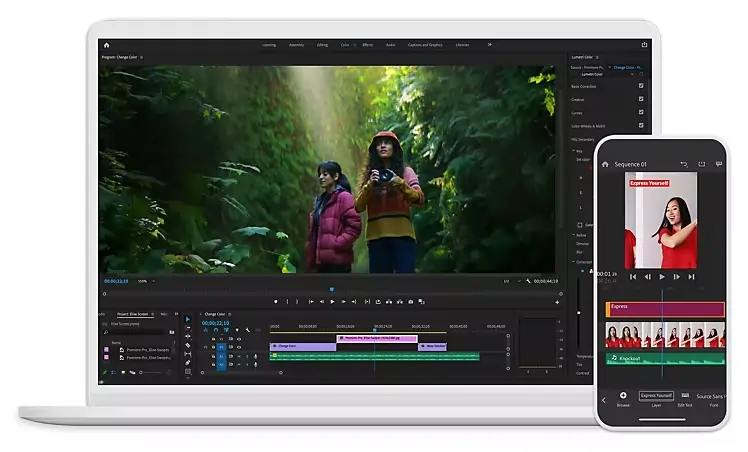
2. Adobe Premiere Pro
- Price: $20.99/month (Standard), $52.99/month (All Apps)
- Available for Windows & macOS; ideal for beginners and professionals alike.
- Offers robust text‑based and visual editing tools.
How to Trim with Premiere Pro
1️⃣ Create a new project.
2️⃣ Import the clip.
3️⃣ Drag it to the timeline.
4️⃣ Play to find start/end points.
5️⃣ Move the playhead to the start, press C (Razor) to split.
6️⃣ Move to the end, split again.
7️⃣ Select the unwanted segment and hit Delete.
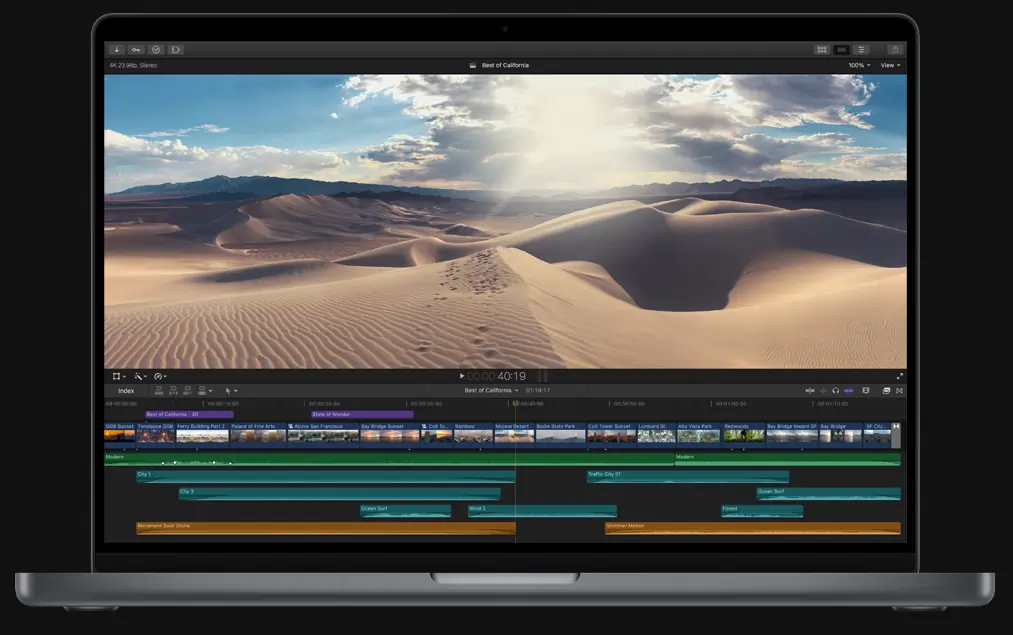
3. Final Cut Pro
- Price: $299.99 one‑time purchase
- Optimized for macOS, supports 4K/8K and multi‑camera workflows.
- Intuitive interface with keyboard shortcuts.
How to Trim with Final Cut Pro
1️⃣ Open Final Cut Pro and start a new project.
2️⃣ Import your clip.
3️⃣ Drag it to the timeline.
4️⃣ Set an I point at the start, O point at the end.
5️⃣ Select the range and press Delete.
4. iMovie

- Price: Free on Apple devices
- Simple trimming, transitions, titles, music, and effects.
How to Trim with iMovie
1️⃣ Open iMovie and start a project.
2️⃣ Import the clip.
3️⃣ Drag to the timeline.
4️⃣ Move the playhead to the start, click the scissors icon.
5️⃣ Move to the end, click scissors again.
6️⃣ Select the segment and hit Delete.
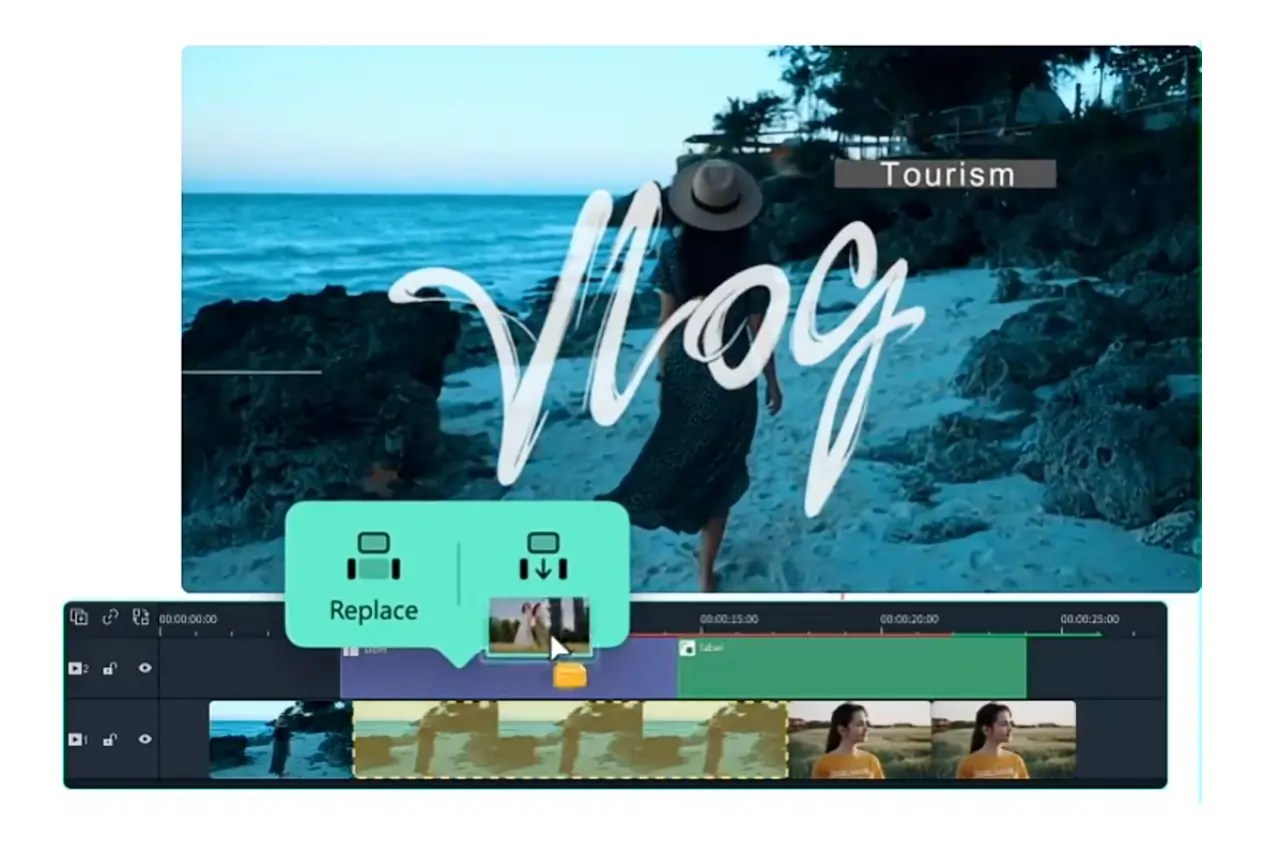
5. Filmora
- Price: $39.99/year
- Cross‑platform (Windows & Mac), beginner‑friendly with advanced features.
How to Trim with Filmora
1️⃣ Import your clip.
2️⃣ Drag to the timeline.
3️⃣ Use the Scissors icon or press S to split at the start.
4/>Move to the end, split again.
5/>Select the unwanted segment and press Delete.
6. DaVinci Resolve
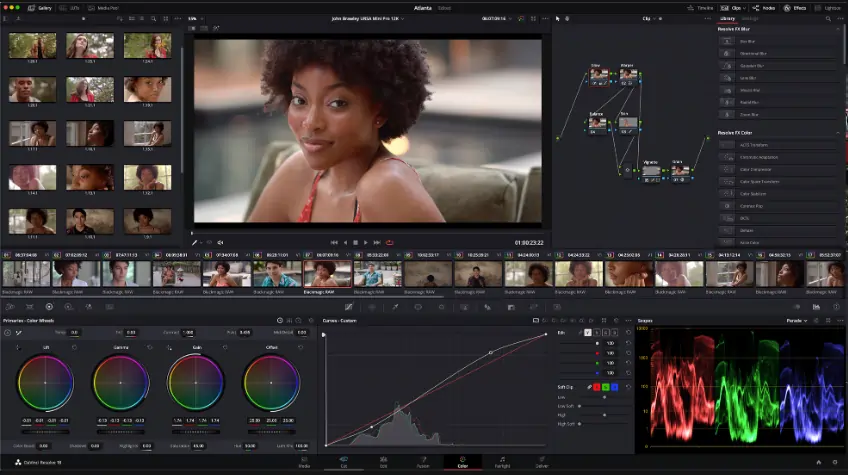
- Price: Free (Resolve), $24.99/month (Studio)
- Offers color grading, 3D compositing, motion graphics, and collaboration.
How to Trim with DaVinci Resolve
1️⃣ Create a new project.
2️⃣ Import media via the Import Media button.
3/>Drag to the timeline.
4/>Scrub to locate the section.
5/>Use Mark In and Mark Out to select it.
6/>Press Delete.
7. Online Video Cutter
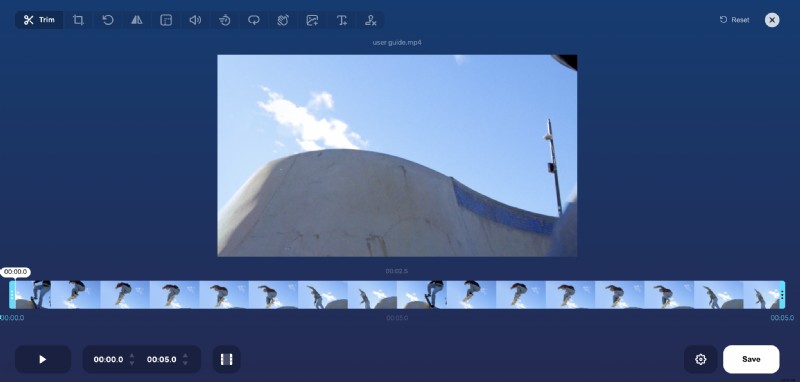
- Price: Free
- Browser‑based, no download required—great for quick edits.
How to Trim with Online Video Cutter
1️⃣ Open the tool in your browser.
2️⃣ Click Open file and upload your clip.
3/>Use the timeline slider to select the cut range.
4/>Set the start with Start and the end with End.
5/>Preview the segment.
6/>Click Cut to remove it.
7/>Download the trimmed video.
Bonus: Creating Social‑Media Clips with Riverside’s Magic Clips
Turn full‑length recordings into bite‑size social posts effortlessly:
- Record and let Riverside upload the files.
- In the dashboard, click Generate clips within the Magic Clips box.
- Download or edit each clip—add captions, adjust layouts, and share.
Frequently Asked Questions
How do I cut a part of a video and save it?
Use any of the tools above: isolate the segment with markers or the razor tool, delete it, then export the result. The exact steps vary by software, but the core concept is the same.
Can I remove a middle section of a video?
Yes. The trimming workflow—marking a start and end point, splitting, and deleting—works for any segment, including the middle of a clip.