Capturing a seamless 360° panorama with a fisheye lens is a rewarding skill that blends photography, geometry, and software. Below is a step‑by‑step guide that covers the gear, technique, and post‑processing workflow you’ll need to turn raw images into immersive, high‑quality panoramas.
Shooting 360° Panoramas with a Fisheye Lens
1. Equipment and Setup
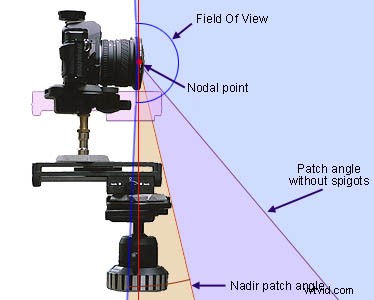
Start with a calibrated camera and a wide‑angle fisheye lens. For full‑frame sensors, a 15 mm lens works best; for crop sensors, a 10 mm lens gives the same coverage. Use a sturdy tripod and a panhead that allows you to rotate the camera smoothly and evenly.
On the panhead, set up a grid or overlay so you can track each shot’s orientation. This visual aid ensures that you hit the same angles on every rotation and reduces the chance of gaps during stitching.
2. Leveling and Rotation
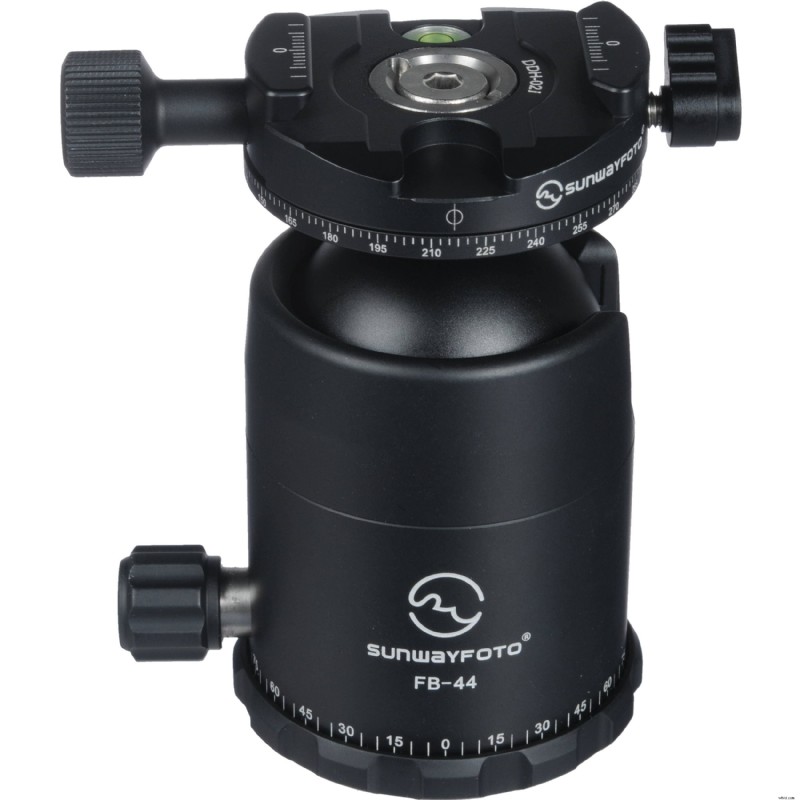
Precision starts with a level camera. Place the tripod on a leveling base or use a bubble level to keep the camera’s horizon flat. When rotating, attach a panning clamp to the ballhead; it keeps the rotation axis steady and prevents drift.
3. The Actual Shooting
With a full‑frame camera and a 15 mm fisheye lens, you’ll need six rounds of shots plus one upward shot to cover the entire sphere. If you’re using a crop sensor, a 10 mm lens gives you the same sequence.
For lower‑resolution projects, a 12 mm lens on full frame or an 8 mm lens on crop will allow you to shoot in four rounds with the camera angled five degrees upward. This approach eliminates the need for a zenith shot and simplifies the editing of the tripod mark in Photoshop.
Watch our demo video for a visual walkthrough of the shooting process.
Remember, in 360° photography everything is captured, so your positioning matters. The fisheye’s wide field of view means you’ll need to keep a comfortable distance from the subject to avoid distortion while ensuring that every element of the scene fits together smoothly in both the horizontal and vertical planes.
Stitching 360° Panoramas After Shooting
Once you’ve taken your images, the next step is stitching. Popular software like Autopano Pro or PTGui can handle fisheye footage efficiently. Import your photos, verify that the EXIF data reflects the correct orientation, and then run the automatic stitching engine. If you prefer more control, both programs also support manual adjustments.
After the panorama is built, export it in a format suitable for online viewing. Tools such as Pano2VR let you create interactive 360° displays, or you can simply upload the final image to 360cities for quick sharing.
You might also be interested in:
How to stitch GoPro clips into 360 videos >>
What Exactly Are Fisheye Lenses?
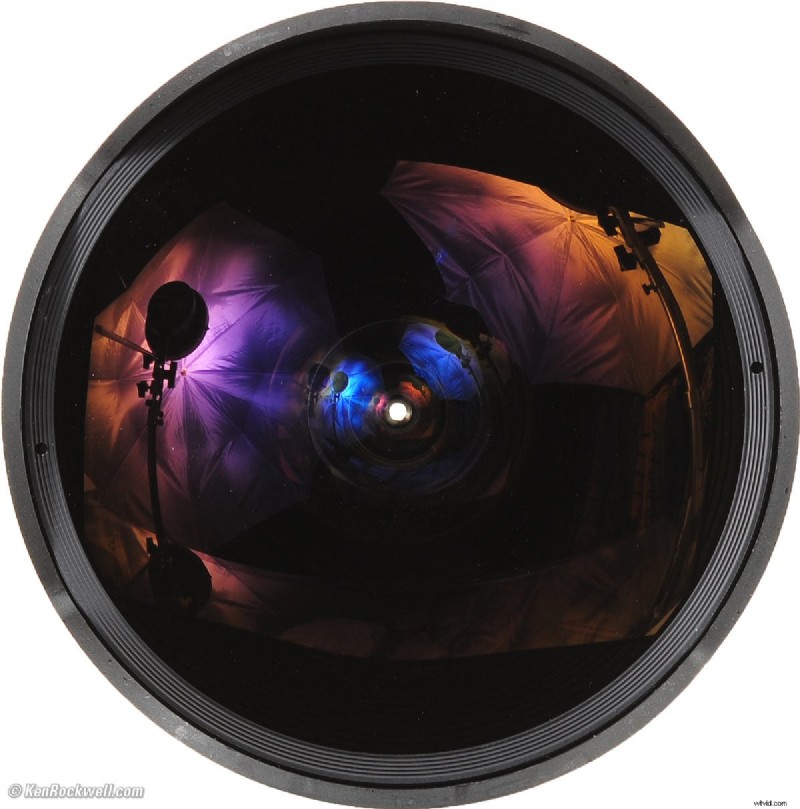
A fisheye lens is an ultra‑wide‑angle optical system that captures an extreme 100–180° field of view. Rather than producing straight lines, it maps the scene onto a convex, hemispherical image, giving a dramatic, panoramic perspective.
The term dates back to 1906, coined by physicist Robert Wood to describe the way a fish sees the world. The first practical use of fisheye optics was in meteorology during the 1920s, where scientists recorded cloud formations and atmospheric phenomena.
Today, fisheye lenses serve a wide range of purposes: from creative photography and virtual reality content to scientific studies of plant canopies, auroras, and solar radiation. Their versatility makes them a staple for anyone looking to capture expansive scenes.
Conclusion
With a solid grasp of equipment, technique, and post‑processing, creating 360° panoramas with a fisheye lens becomes an accessible skill. Practice the shooting sequence, use reliable stitching software like Autopano Pro, and remember to share your finished panoramas online so others can experience your work.
---
Benjamin Arango
Benjamin Arango is a writer and a lover of all things video.
Follow @Benjamin Arango