Final Cut Pro, Apple’s flagship non‑linear editor, empowers creators to craft polished films, broadcasts, and web content. It runs exclusively on macOS and is available for $299.99 through the Mac App Store after a free trial. With a powerful suite of tools—object tracking, cinematic mode, advanced color grading, and a library of professional plug‑ins—both hobbyists and industry professionals rely on Final Cut Pro for high‑quality production.
One of the most frequently used techniques in video editing is cropping. Whether you need to remove unwanted framing, focus on a subject, or adapt footage to a specific aspect ratio, Final Cut Pro offers a straightforward, precision‑controlled cropping workflow.
Preparing Your Project
1. Open Final Cut Pro and select File > Import Media. The import dialog will request permission to access your files—click OK.
2. Navigate to your video clip, choose it, and hit Import Selected. Drag the clip to the timeline to create a new project if prompted.
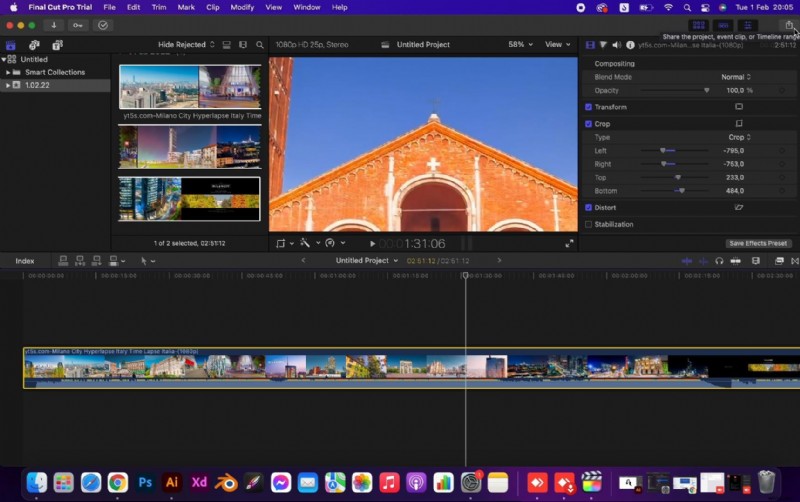
3. In the timeline, locate the Transform icon to the left of your clip. Click it and choose Crop from the dropdown menu.
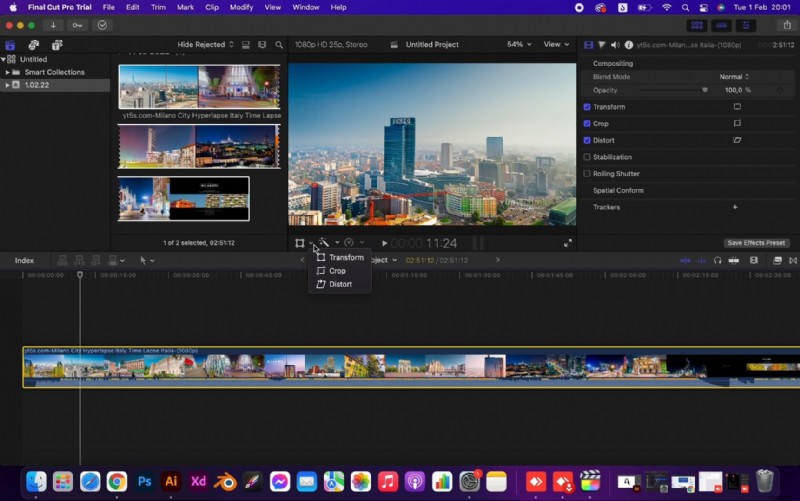
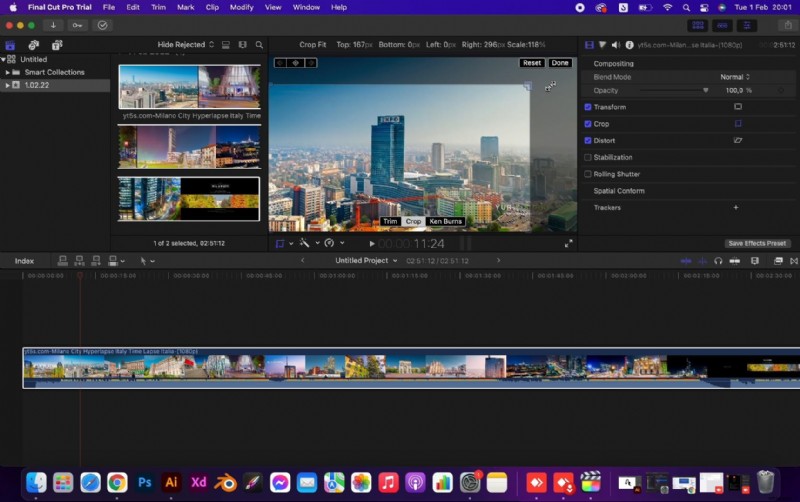
Final Cut Pro presents three crop styles: Trim, Crop, and Ken Burns. Select Crop to adjust the clip’s boundaries.
Four resizable handles appear around the clip. Drag these handles to define your desired crop area. You can also click and drag the entire crop box to reposition it. When satisfied, click Done. If you need to reset, use the adjacent Reset button.
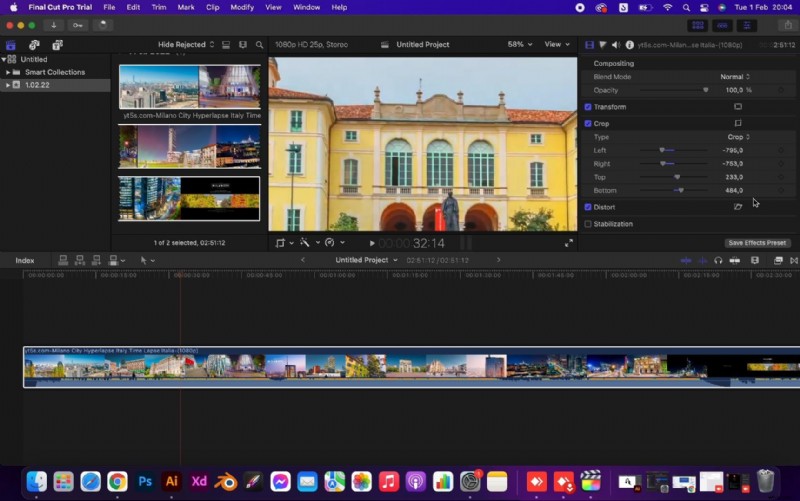
The Show toggle on the right side allows you to fine‑tune each edge individually. Uncheck Crop to preview the original clip side‑by‑side with the cropped version.
Exporting the Cropped Video
1. Click the Share button in the top‑right corner and choose Export File.
2. In the Export Settings dialog, configure your format, codec, resolution, color space, and audio settings under the Settings tab. The Info and Roles tabs provide additional metadata options.
3. Click Next, name your file, and select the destination folder.
4. Hit Save. Final Cut Pro will render the cropped clip to the specified location.
That’s all you need to crop a video within Final Cut Pro. The process is intuitive and fully customizable, allowing you to refine your footage precisely.
Alternative: Cropping with Wondershare Filmora on macOS
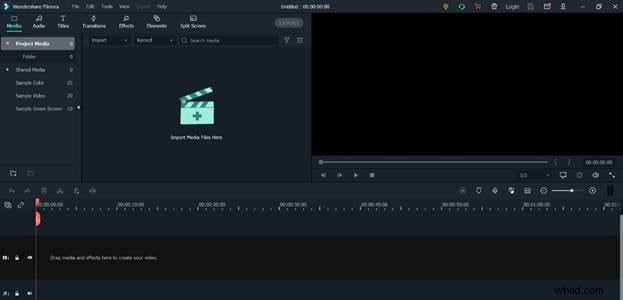
If you prefer a cross‑platform editor, Wondershare Filmora offers a user‑friendly interface for cropping as well. After downloading and installing Filmora, follow these steps:
- Import your media via Import Media Files Here and drag the clip to the timeline.
- Click the Crop icon above the video. A dialog will appear where you can select a preset ratio or choose Custom for manual adjustments.
- Confirm with OK and then export the result by clicking Export, selecting your preferred settings, and saving the file.
Whether you stick with Final Cut Pro or experiment with Filmora, both editors provide reliable cropping tools that can be integrated into any video production workflow.