Welcome to a concise, expert‑level tutorial on how to crop and fine‑tune your videos using KineMaster, the leading mobile video editing app. Whether you’re adjusting aspect ratios for social media or refining footage for a professional project, this guide covers every step with clarity and precision.

KineMaster offers an impressive suite of tools—over 2,500 effects, advanced blending modes, chroma key, high‑resolution export, and multi‑layer editing—all accessible on a handheld device. The app’s horizontal layout mimics desktop editors, making it intuitive for users familiar with traditional software.

While the platform boasts powerful capabilities, cropping a video may initially seem counterintuitive. Cropping is essential when you need to match platform‑specific aspect ratios, remove distracting elements, or simply zoom in for a tighter composition. With KineMaster, the process is straightforward once you understand the workflow.
Step‑by‑Step: Cropping in KineMaster
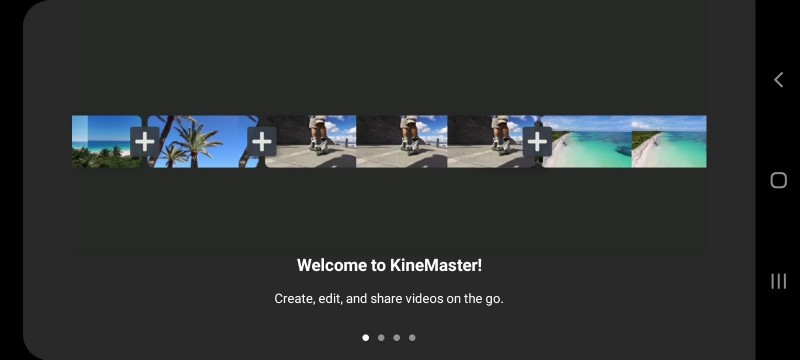
1. Launch the App: Download KineMaster from the Google Play Store and open it to view the welcome screen.
2. Create a New Project: Tap “Create New” to access the editor. Add a background layer first—use a black background to ensure a clean canvas.
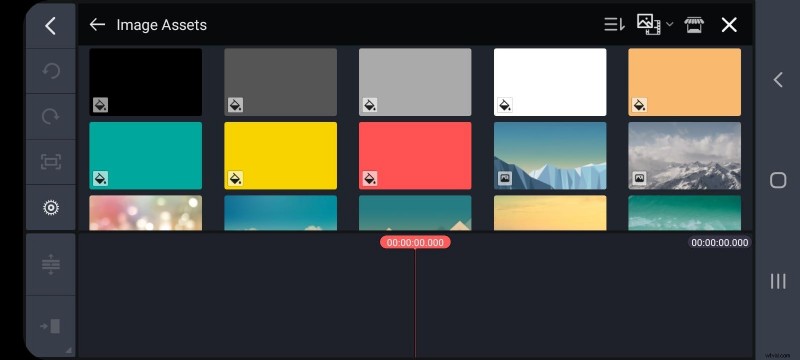
3. Add Your Video: Return to the media library, select your clip, and drag it onto the timeline.
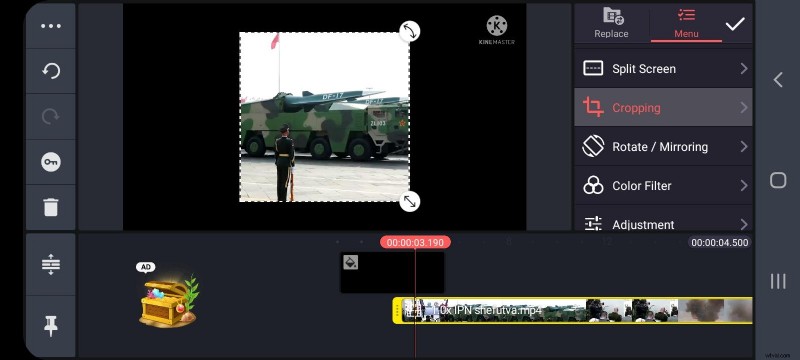
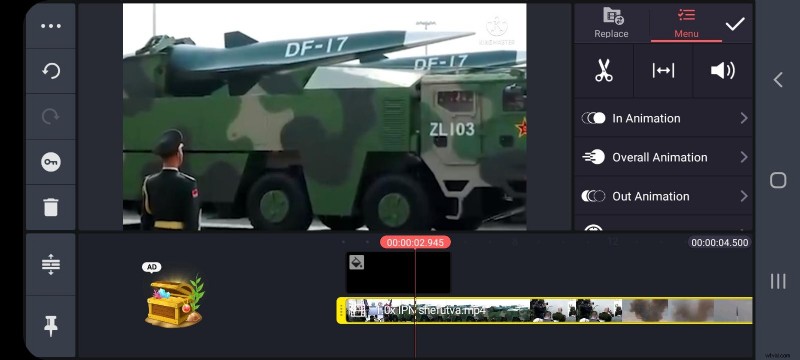
4. Select the Clip: Tap the video layer in the sequence to bring up the right‑hand toolbar.
5. Activate Cropping: Scroll down until you see the “Crop” option. Click it to open the cropping interface.
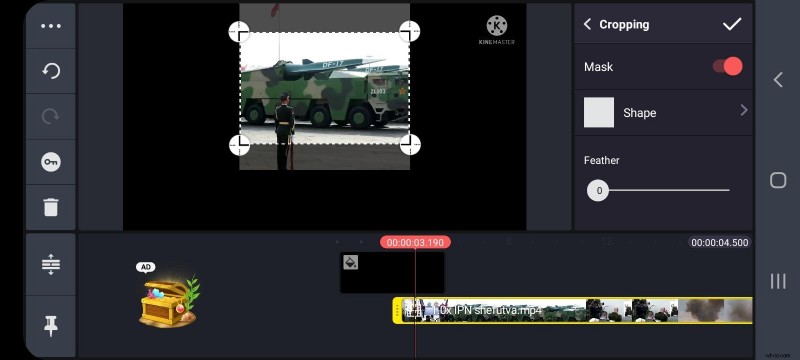
6. Enable Mask: To restrict editing to a specific area, toggle the mask switch on. Adjust the crop frame as needed.
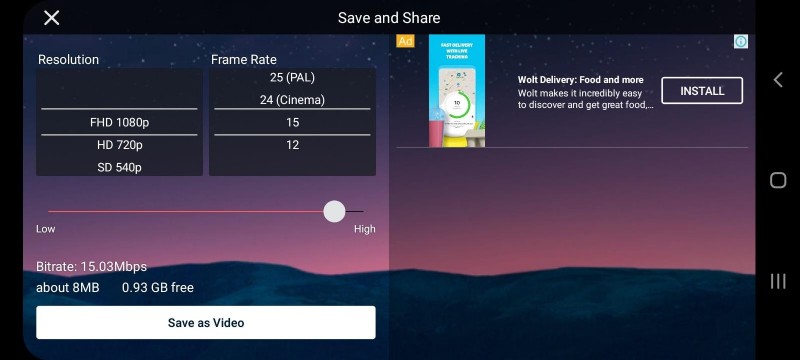
7. Finalize and Export: Tap the checkmark in the top‑right corner to confirm. Choose your desired resolution and frame rate, then click “Save as Video.” Your cropped clip will appear in your gallery.

Alternative: Cropping with Wondershare Filmora X on Desktop
For users preferring a desktop environment, Filmora X offers a similarly intuitive cropping workflow.
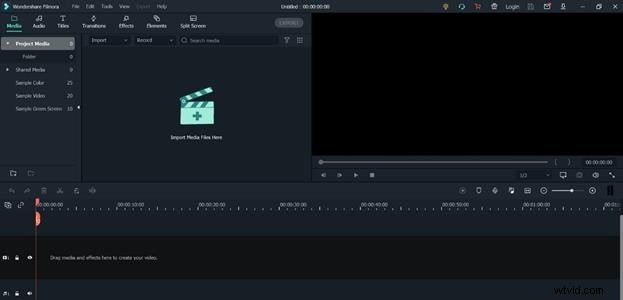
1. Install and Launch: Download Filmora X from the official website and open the application.
2. Import Media: Click “Import Media Files Here” and select your video(s). Drag the clip onto the timeline.
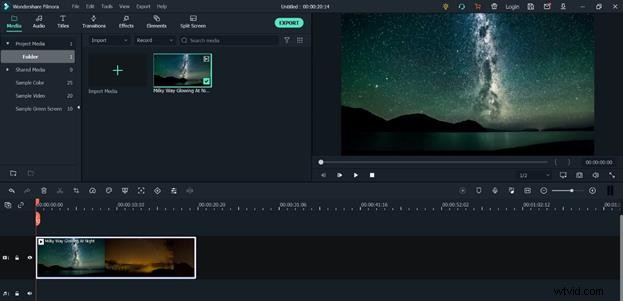
3. Open Crop Tool: Above the timeline, click the “Crop” icon. A dialog appears allowing you to choose preset ratios or a custom shape.
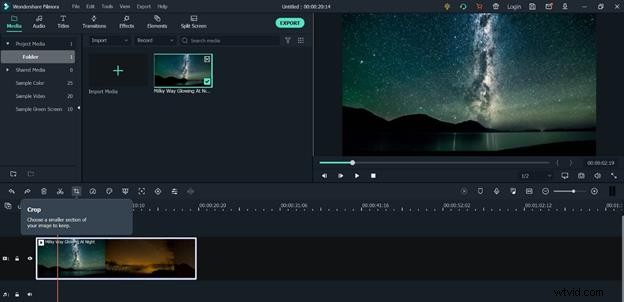
4. Apply and Export: Confirm your settings, then click “Export.” Select your format and destination to save the cropped video.

Both KineMaster and Filmora X provide reliable, feature‑rich solutions for cropping. Whether you’re editing on the go or in a studio, these tools empower you to deliver polished content across platforms—YouTube, Instagram, LinkedIn, or your own website.