When you’re editing a video, the sheer number of tools can be overwhelming. From web‑based editors to mobile apps and full‑blown desktop suites, choosing the right workflow often boils down to familiarity and the specific task at hand. One of the most common yet powerful editing moves is cropping: removing distractions, tightening composition, or fitting footage to a target aspect ratio.
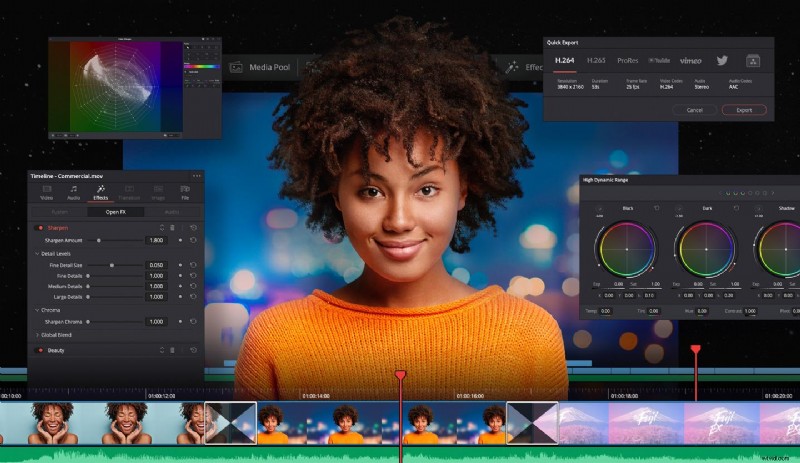
In this guide, we’ll walk you through how to crop a video in DaVinci Resolve—an industry‑grade, free, cross‑platform editor known for its color grading, audio mixing, and visual effects capabilities. We’ll also provide a quick alternative for those who prefer a more beginner‑friendly interface: Wondershare Filmora.
Part 1. How to crop a video in DaVinci Resolve
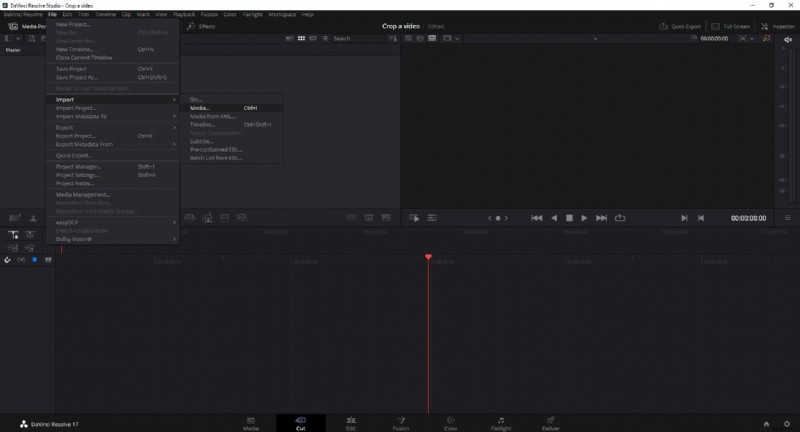
First, download DaVinci Resolve from the official website. The installer is available for macOS, Windows, and Linux. After installation, launch the application.
- Import your footage. Go to
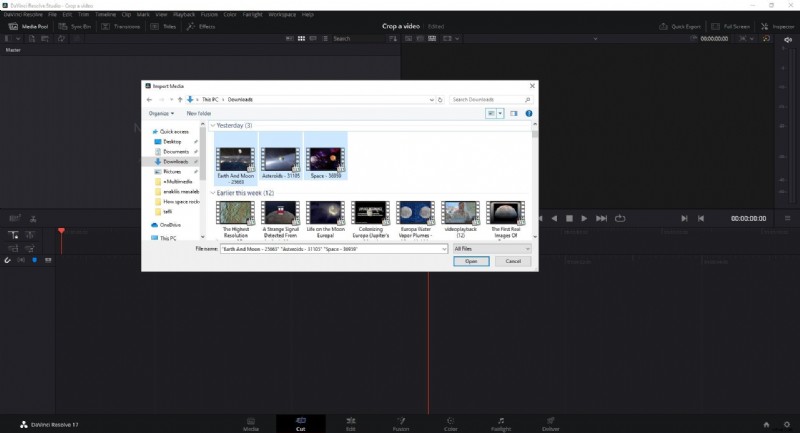
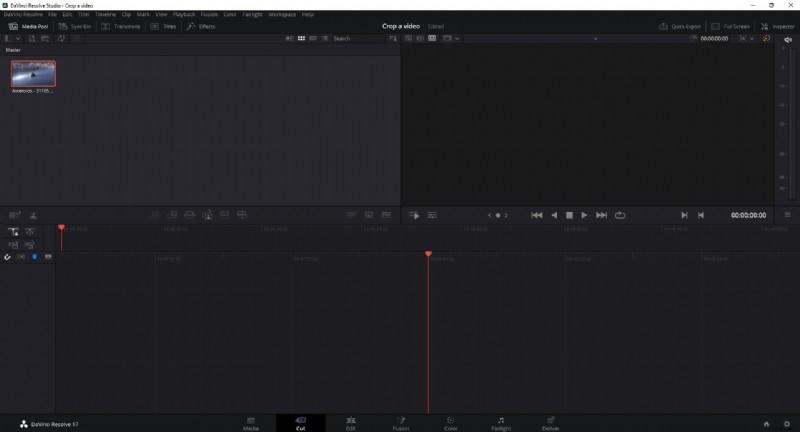
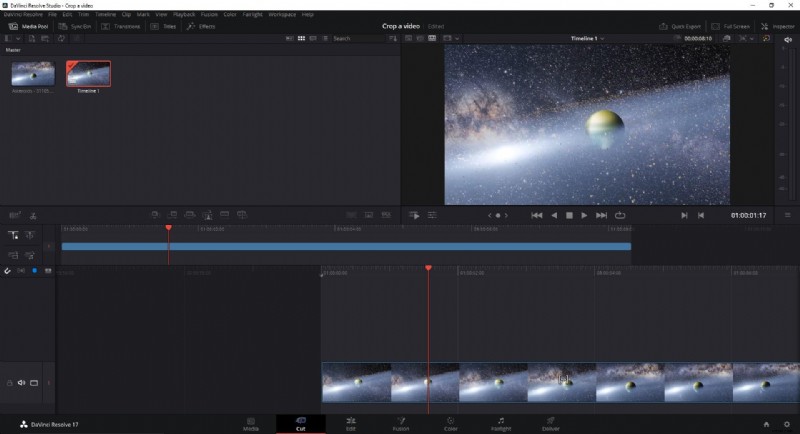
File > Import > Media, browse to your video file, and click Open. The clip will appear in the Media Pool. - Place the clip on the timeline. Drag the clip from the Media Pool to the Timeline panel.
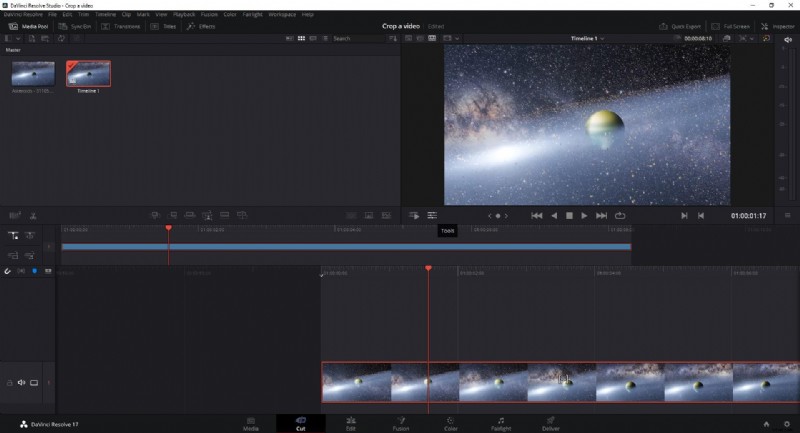
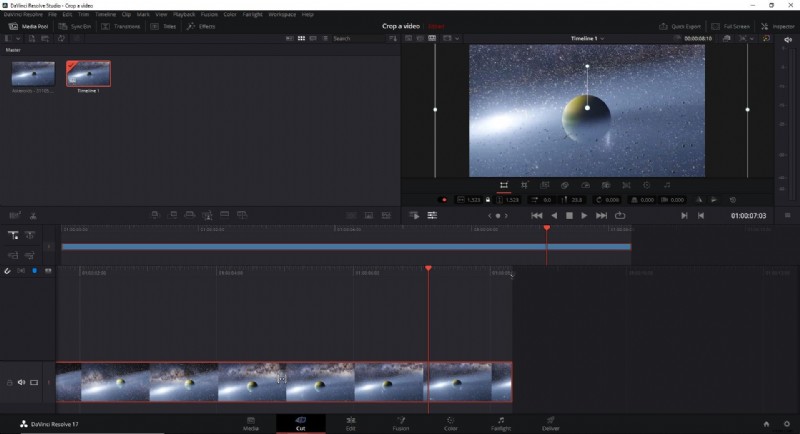
- Open the Tools panel. Below the preview window, click the Tools icon (the second icon from the left). The cropping controls will appear directly on the clip.
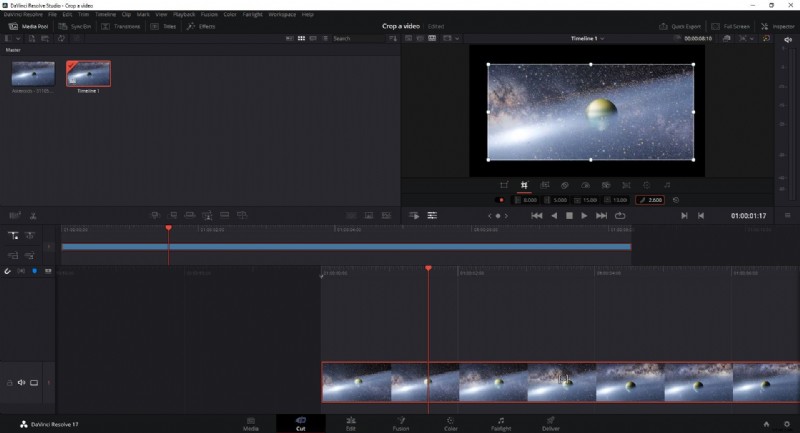
- Adjust the crop. Click the Crop icon. A new window shows four sliders—Left, Right, Top, Bottom—allowing you to trim each side. You can also enable Feather to soften the edges.
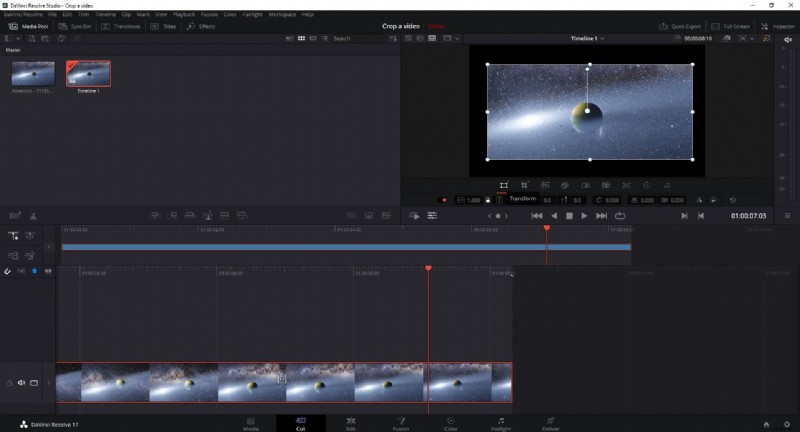
- Fine‑tune the scale. If you need to resize the remaining footage, click the Transform icon. Drag the corner handles or enter numeric values to achieve the desired frame.
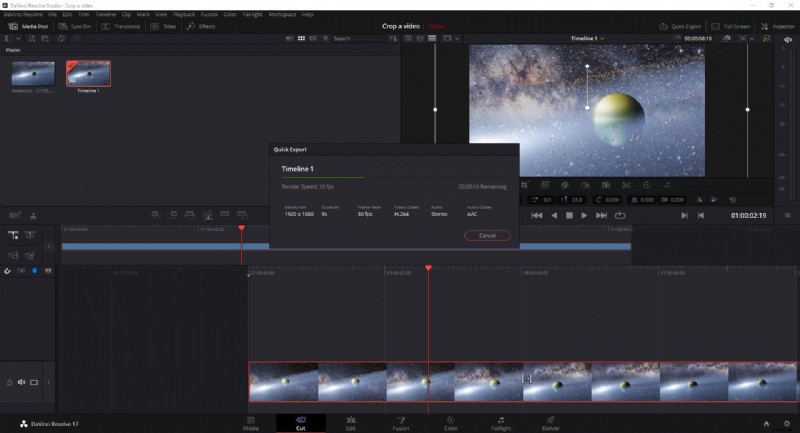
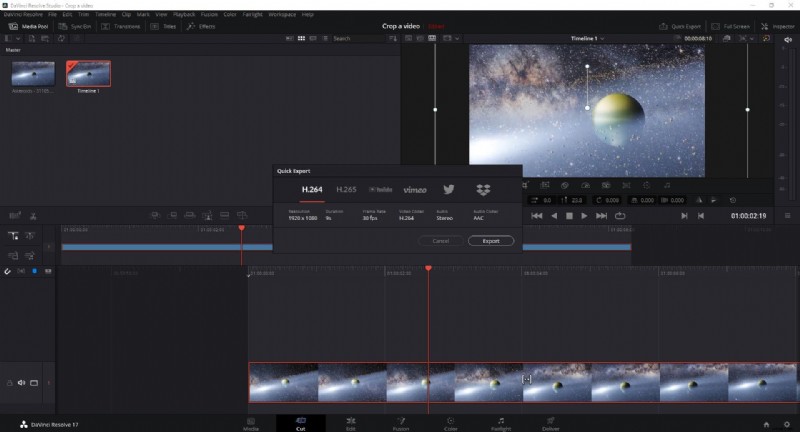
- Export your cropped video. With the clip still selected, click Quick Export in the upper‑right corner. Choose your preferred format and destination, then hit Export to save the file.
Part 2. Cropping with Wondershare Filmora
If you prefer a streamlined, beginner‑friendly editor, Filmora offers a very quick cropping workflow. After installing Filmora X, follow these steps:
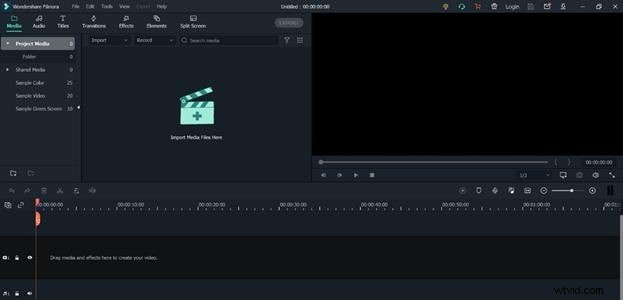
- Import media. Click Import Media Files Here, select your video, and press Open.
- Add to timeline. Drag the clip onto the timeline.
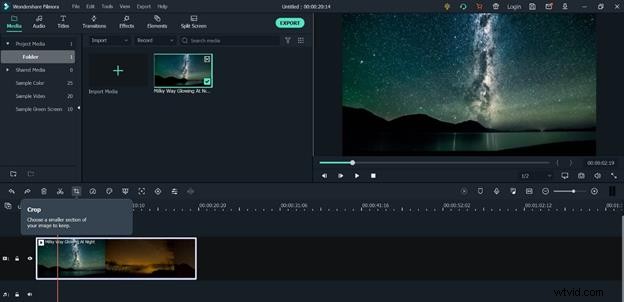
- Open the Crop tool. In the toolbar above the timeline, click the Crop icon.
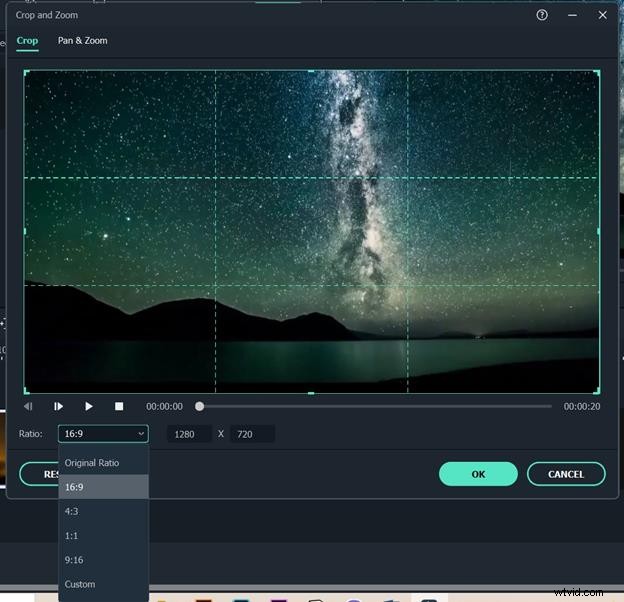
- Choose a ratio or custom size. The Crop & Zoom window appears; select a preset ratio or click Custom to input your own dimensions. Adjust the frame by dragging the edges.
- Apply changes. Click OK to crop the clip.
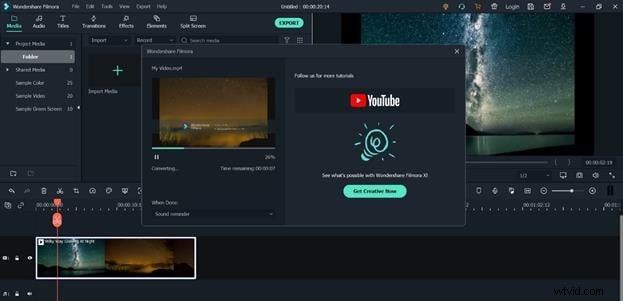
- Export. Click Export, set your output preferences, and choose a destination folder.

Both DaVinci Resolve and Filmora provide robust cropping tools, but the choice depends on your workflow preferences and level of experience. By mastering these techniques, you’ll be able to refine your footage and deliver polished, professional videos every time.