Adding titles and text overlays during post‑production is a standard practice for enhancing video storytelling. Whether you’re placing an intro title, an outro credit, or emphasizing key moments mid‑clip, dynamic text keeps viewers engaged.
Static text can feel stale, so most creators now use animated font effects to bring titles to life. From simple fade‑ins to elaborate kinetic typography, the right animation can elevate a clip’s professionalism.
There are many ways to apply these effects. Premium desktop editors such as Wondershare Filmora or Adobe After Effects offer a wide library of presets, while casual creators can rely on browser‑based tools like FlexClip. Below we walk through three common workflows.
In this article
- Part 1. Add Font Effects to Video on Windows PC
- Part 2. Add Video Font Effects on Mac
- Part 3. How to Add Font Effects Online
Part 1. Add Font Effects to Video on Windows PC
If you’re editing on Windows, the most user‑friendly choice is Wondershare Filmora. It’s a full‑featured editor with an intuitive interface that lets you animate text without prior experience.
Filmora’s library is organized by effect type, making it easy to find the right animation for your project. Follow these steps to add a font effect to a clip.
Step 1: Download and install Wondershare Filmora for Windows. Launch the application to begin a new project.
Step 2: Click New Project on the welcome screen, or choose File > New Project from the menu.
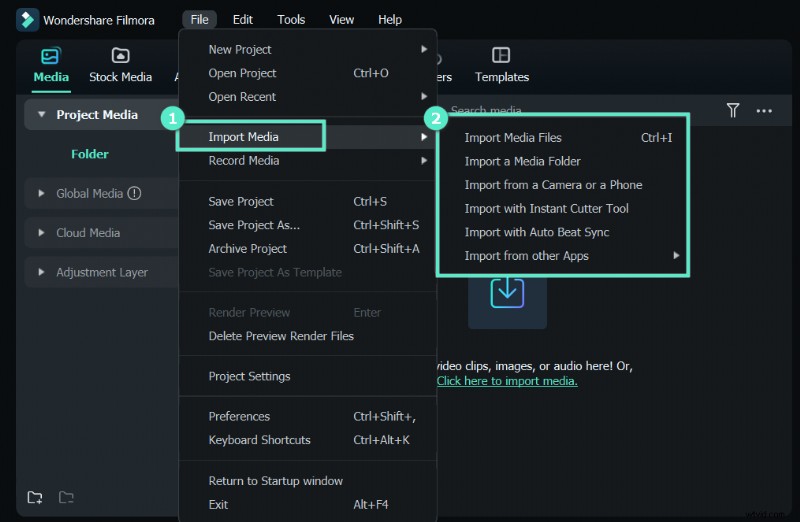
Step 3: Import your footage via File > Import Media > Import Media Files, or simply drag the file into the Project Media folder.
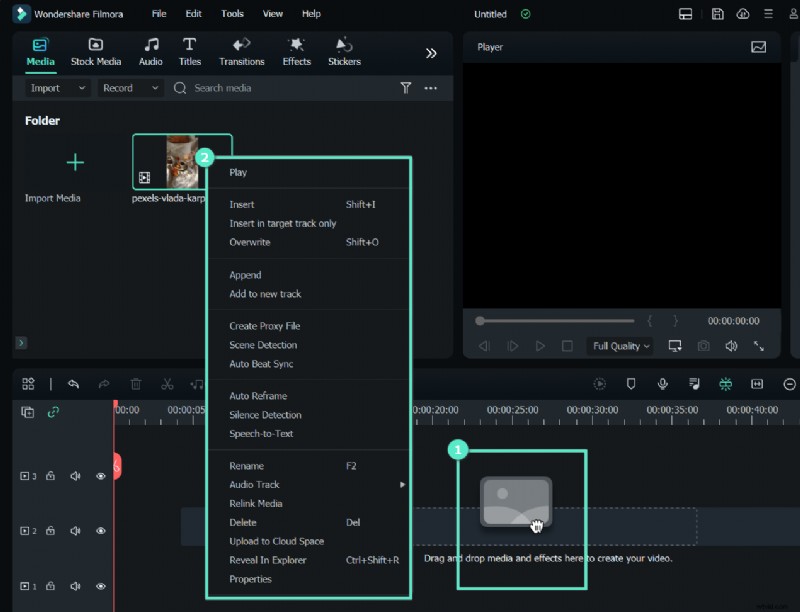
Step 4: Drag the video onto the timeline. Arrange multiple clips as needed and adjust their order.
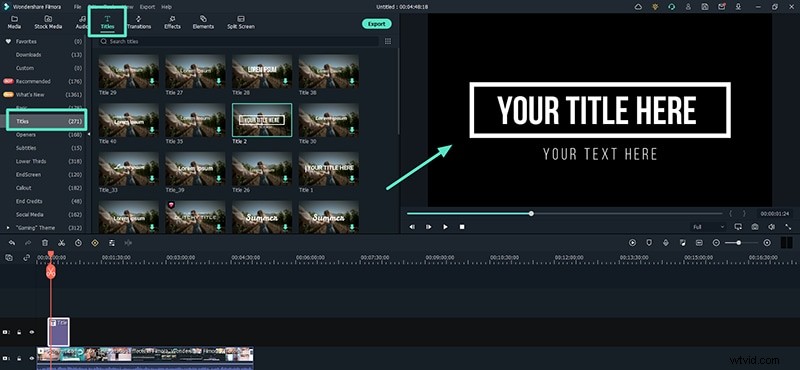
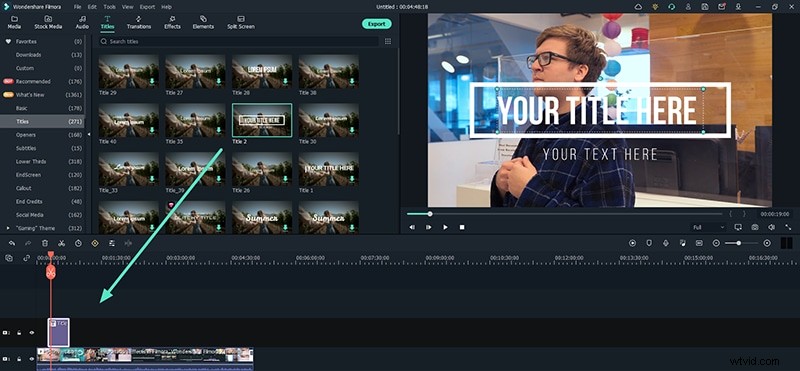
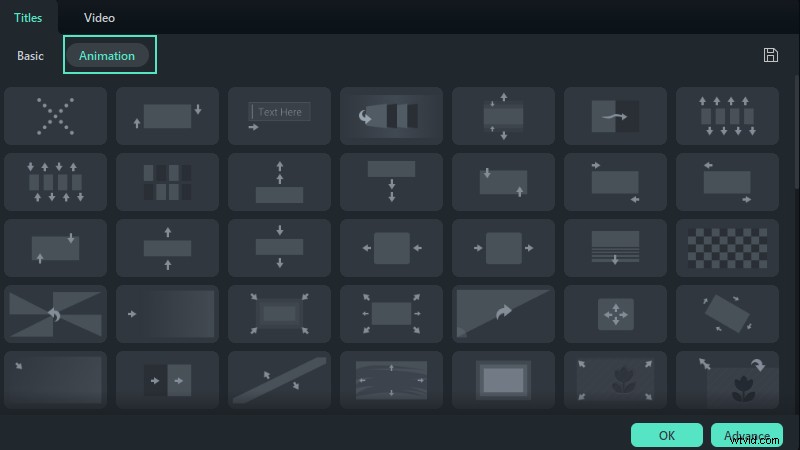
Step 5: Open the Titles panel, select a category, and drag your chosen text effect onto the timeline above the video clip. Position it where you want it to appear and stretch the duration to fit the clip.
Step 6: Double‑click the text layer to open the Preset tab. Edit the default text, choose a font, adjust size, color, and more. For deeper tweaks, click Advanced and modify keyframe settings.
Step 7: Preview your edits and then click Export. Pick the desired format and save the finished video to your hard drive.
Part 2. Add Video Font Effects on Mac
Mac users can take advantage of iMovie, the built‑in video editor that includes a range of animated title styles. No additional software is required.
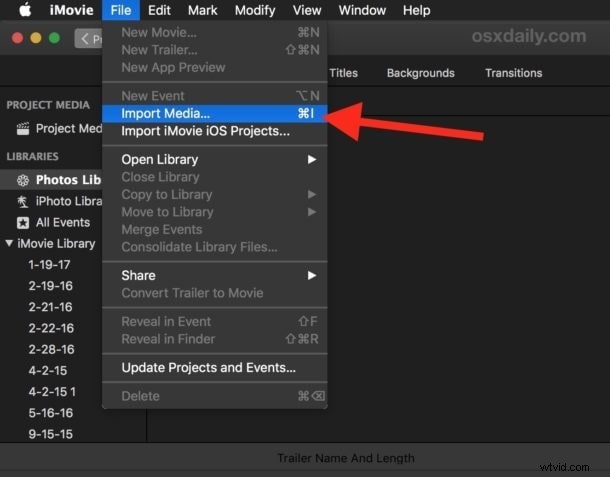
Step 1: Open iMovie from the Applications folder. Import your clip via File > Import Media and add it to the project timeline.
Step 2: Click the Titles tab, preview the available styles, and drag your chosen title onto the timeline above the video clip. Adjust the timing by resizing the title bar.
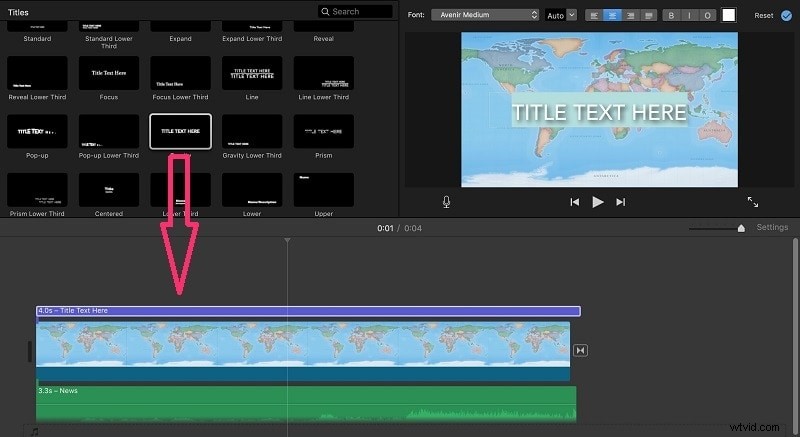
Step 3: Double‑click the title in the preview window to edit its text, font, size, and color. iMovie also offers quick preset options for layout and animation.

Step 4: After reviewing the playback, export the project by selecting File > Share > File and choosing your output settings.
Part 3. How to Add Font Effects Online
If you prefer a cloud‑based solution or only need a quick edit, FlexClip provides a free, watermark‑free online editor with a rich text animation library.
Step 1: Visit FlexClip’s text tool and click Browser Video to upload your file.

Step 2: The Text tab is selected by default. Browse the available font effects, then drag your chosen style onto the preview canvas.

Step 3: Double‑click the text layer to modify content, size, color, and animation parameters. FlexClip’s interface is straightforward and responsive.

Step 4: Once satisfied, click the Export button in the upper right corner to download the finished video.

Conclusion
Animated font effects are essential for making titles and subtitles pop, whether you’re producing a professional documentary or a casual vlog. If you need advanced control, choose a desktop editor like Filmora or iMovie; for quick, one‑time edits, an online tool such as FlexClip works well. By following the steps above, you can add engaging, dynamic text to any video project.