Are you working on professional video projects in Adobe After Effects? This powerful tool lets you add dynamic animations, transitions, intros, outros, and visual effects to any composition on both Windows and macOS. Its built‑in auto‑save and collaborative features make team workflows smooth and reliable.
One of the most efficient ways to apply effects across multiple clips is through Adjustment Layers. If you’re not yet familiar with this feature, this guide will walk you through its purpose, how to create it, and the most popular effects you can layer on top.

Table of Contents
- What is an Adjustment Layer in After Effects?
- How to Add an Adjustment Layer
- Popular Effects to Try with Adjustment Layers
1. What is an Adjustment Layer in After Effects?
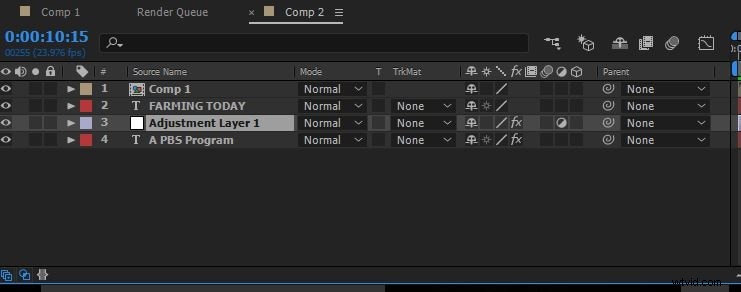
An Adjustment Layer is a transparent layer that sits above all the layers you want it to affect. Instead of applying the same effect repeatedly to individual clips, you place the effect on the Adjustment Layer and it propagates to every underlying layer. This saves time and ensures consistency across a sequence.
Typical uses include color grading, film grain, lens flares, and transition overlays. Positioning is crucial: anything below the Adjustment Layer is altered, while anything above remains untouched.
2. How to Add an Adjustment Layer
You can add an Adjustment Layer in two straightforward ways:
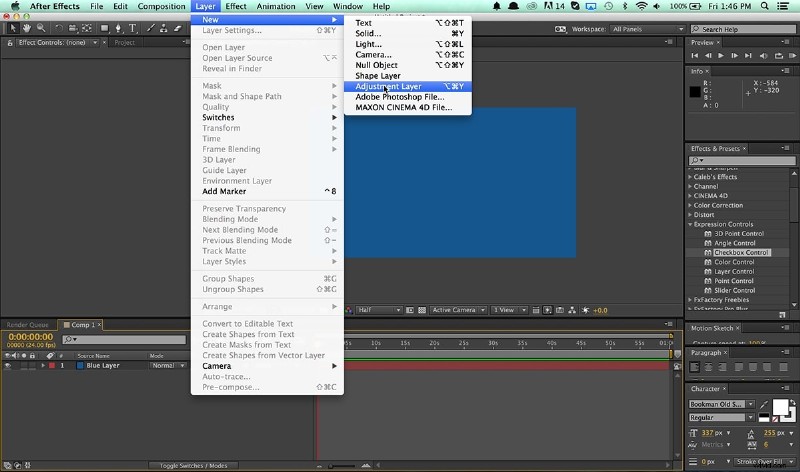
Method 1: Via the Layers Menu
After opening your project, navigate to Layer > New > Adjustment Layer. The layer will appear at the top of the stack.
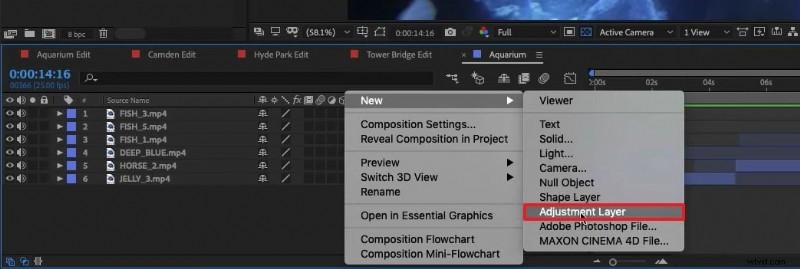
Method 2: Context Menu in the Timeline
Right‑click an empty area of the timeline, choose New, then Adjustment Layer. This is a quick alternative when you’re already in the composition view.
Keyboard Shortcuts
Speed up your workflow with these shortcuts:
| Windows | Ctrl + Alt + Y |
| Mac | ⌘ + ⌥ + Y |
3. Popular Effects to Try with Adjustment Layers
Below are three versatile effects you can apply via an Adjustment Layer, each with step‑by‑step instructions.
3.1 Animated Ink Text
This effect transforms standard text into a fluid, ink‑like animation.
- Open the composition settings and set width, height, frame rate, and background color.
- Choose a bold font and color. Navigate to Effect > Transition > Linear Wipe and adjust the settings.
- Add an Adjustment Layer and apply Distort > Turbulent Displace. Tweak evolution time.
- Apply Blur > Fast Box Blur and adjust threshold. Add Stylize > Roughen Edges for texture.
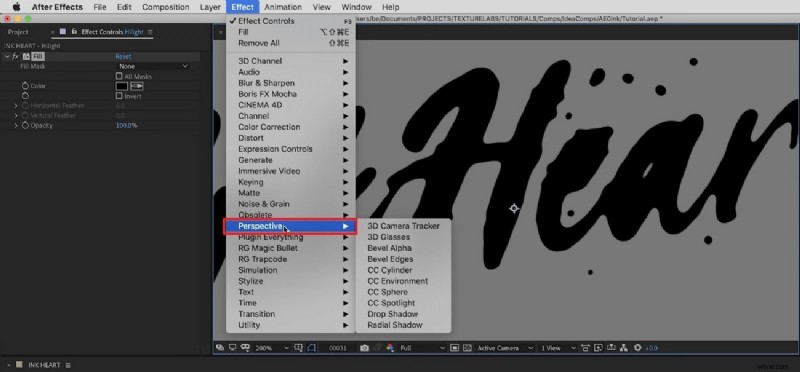
- For a highlight, add a second Adjustment Layer, select a dark text color, and apply Perspective with custom lighting.
- Fine‑tune with noise, matte, and blending modes to soften edges.
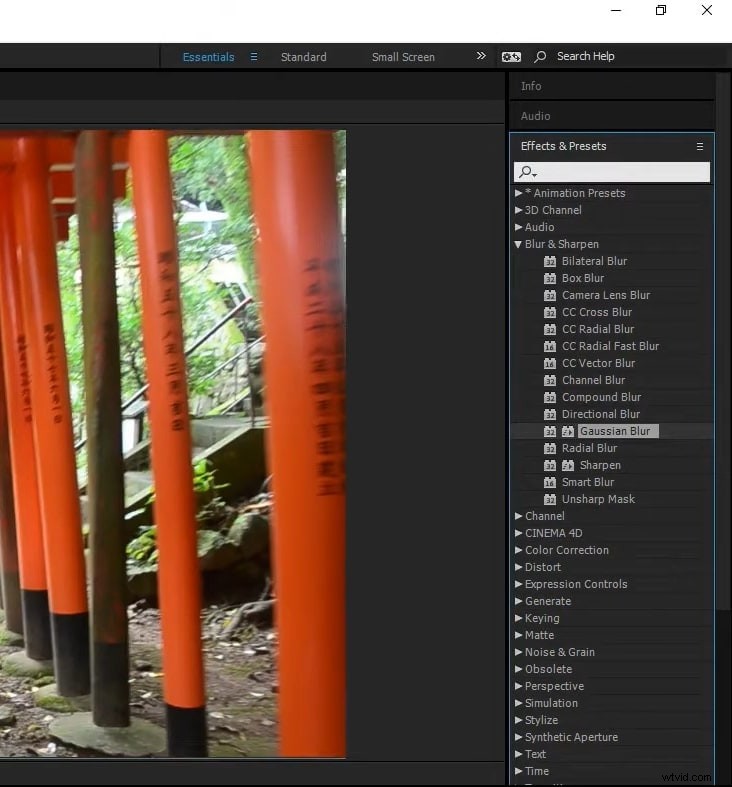
3.2 Blur Effect
Blur is a staple for smoothing or emphasizing motion.
- Add an Adjustment Layer to the timeline.
- Go to Effect > Blur > Gaussian Blur and apply it.
- Use the left panel to adjust blur radius and dimensions.
3.3 Color Correction
Adjust the tonal range of your footage with precision.
- Insert an Adjustment Layer from the Layer menu.
- Search for a color correction effect such as Lumetri Color and apply it.
- Modify brightness, contrast, hue, exposure, and highlights using the left‑hand controls.

Conclusion
Adjustment Layers are a game‑changer for anyone working in After Effects. They streamline your workflow, ensure consistency, and open up a world of creative possibilities. With the techniques above, you can master this feature and elevate the quality of your video projects.