The iPhone’s powerful 4K camera makes it a go-to device for creators and casual users alike. When it comes time to edit or share those high‑resolution clips on a Mac, many find the process frustrating—especially when file sizes exceed a few gigabytes. This guide presents five proven, easy ways to move large videos from your iPhone to a Mac while preserving quality and speed, plus a premium cloud solution that outperforms traditional methods.
In this article
- 5 Ways to Transfer a Large Video from iPhone to Mac
- The Most Efficient Way: Wondershare Filmora Cloud Storage
Part 1: 5 Ways to Transfer a Large Video from iPhone to Mac
Whether you prefer wireless or wired solutions, the following methods are reliable, secure, and designed to keep your footage intact.
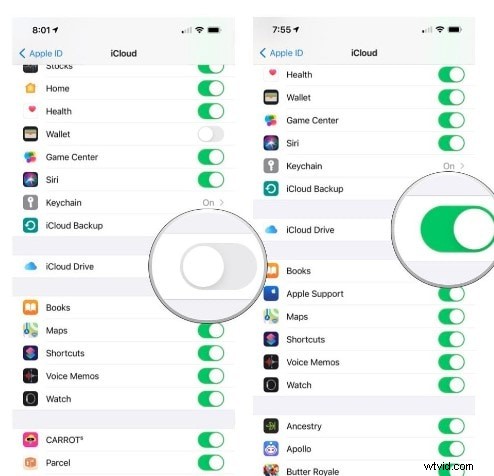
Using iCloud Photo Library
iCloud Photo Library stores your media in the cloud and syncs it across all Apple devices signed in with the same Apple ID. It’s ideal for large video files if you have ample iCloud storage and a stable Wi‑Fi connection.
- Step 1: Enable iCloud Drive on both your iPhone and Mac. On the iPhone, go to Settings > [Your Name] > iCloud > iCloud Drive and toggle it on.
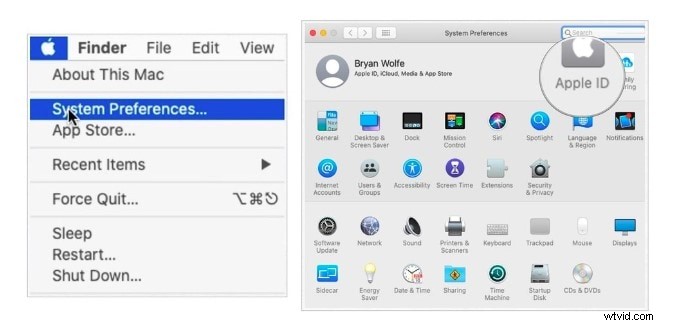
- Step 2: Sign in with the same Apple ID on your Mac and confirm iCloud Drive is active.
- Step 3: Connect the iPhone to Wi‑Fi to ensure a fast upload.
- Step 4: In the Photos app, select the video, tap the share icon, and choose iCloud Drive. Pick a folder or create a new one.
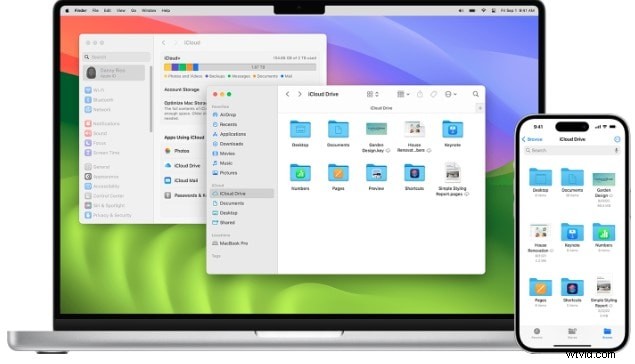
- Step 5: On your Mac, open the Finder, navigate to iCloud Drive, and locate the video file. Download or open it directly in your editing software.
Tip: iCloud offers up to 5 TB of family plan storage, but check that you have enough space before uploading very large files.
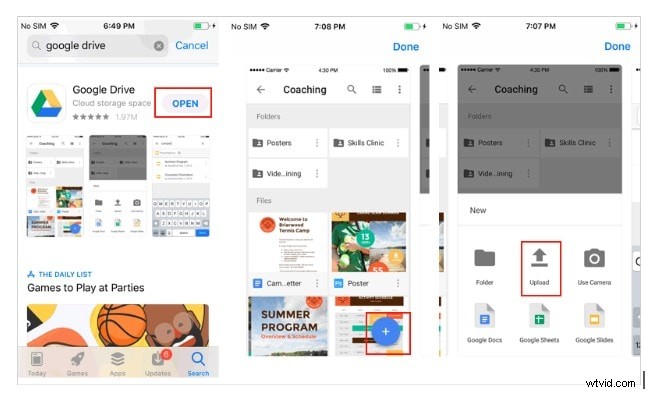
Using Google Drive
Google Drive offers 15 GB of free storage and is a great alternative if you prefer a non‑Apple solution. The upload process is straightforward via the Drive app.
- Step 1: Install the Google Drive app from the App Store and sign in.
- Step 2: Tap the + icon in the lower right corner, select Upload, and choose the video.
- Step 3: Once uploaded, open Google Drive on your Mac and locate the file to download or stream.
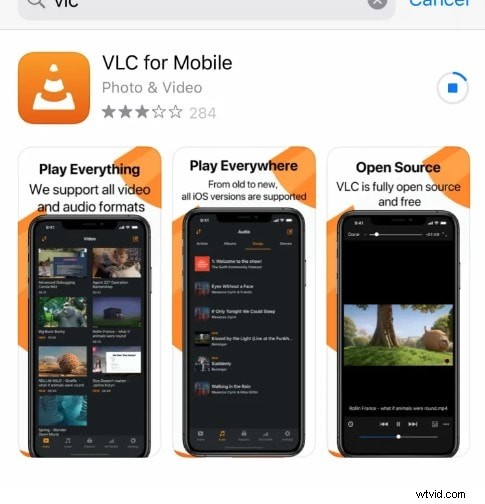
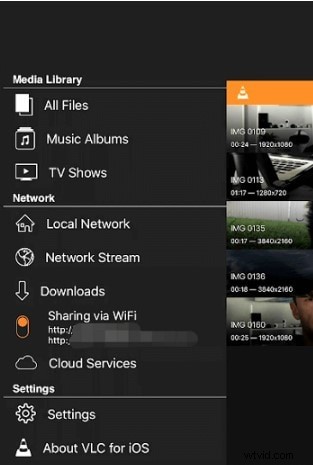
Using VLC for Wireless Transfer
VLC’s built‑in Wi‑Fi sharing lets you transfer files between devices without cables.
- Step 1: Download VLC from the App Store.
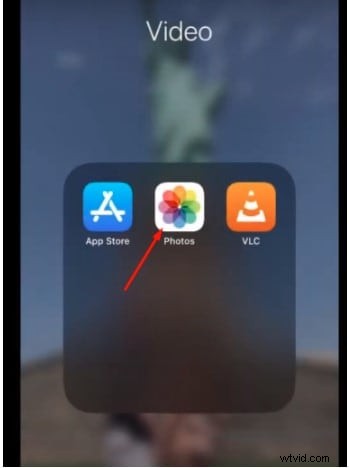
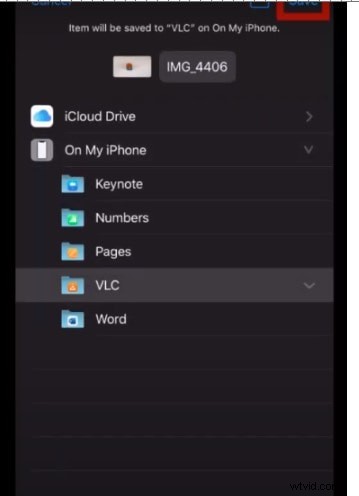
- Step 2: In the Photos app, select your video, tap share, then choose Save to Files → On My iPhone → VLC to import it into the app.
- Step 3: Open VLC, tap the top‑left icon, enable Sharing via Wi‑Fi, and note the displayed IP address.
- Step 4: On your Mac, enter the IP address in a browser. The VLC web interface will list your video.
- Step 5: Right‑click the video and select Save Video As… to download it.
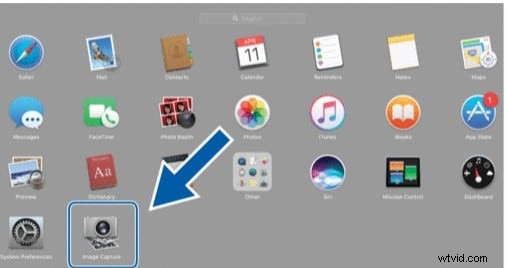
Using a USB Cable (Image Capture)
When Wi‑Fi isn’t an option, a wired connection offers the fastest transfer with no bandwidth limits.
- Step 1: Connect your iPhone to the Mac with a compatible USB cable.
- Step 2: Open Image Capture on your Mac.
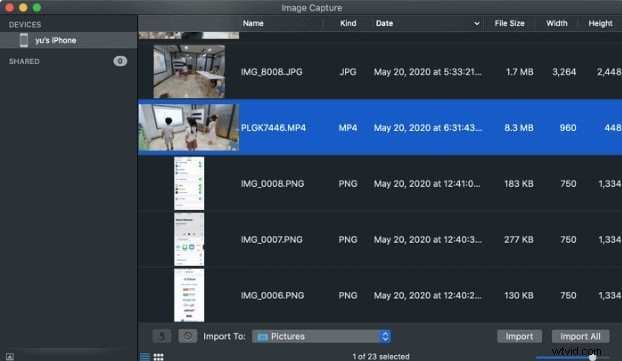
- Step 3: Select the desired video(s) from the device list and click Import to copy them to your Mac.
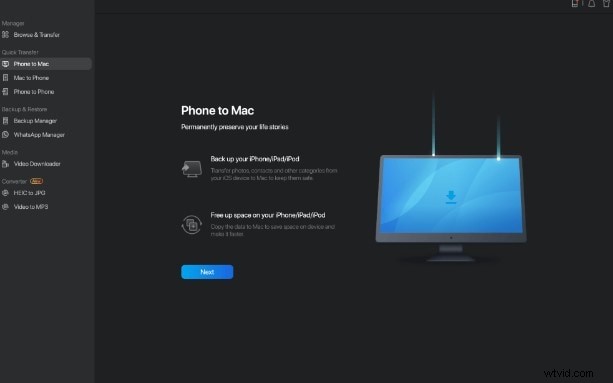
Using Third‑Party Apps (EaseUS MobiMover, AnyTrans)
These tools provide a dedicated interface for large‑file transfer, often with batch support and progress tracking.
- Step 1: Download and install the chosen app on your Mac.
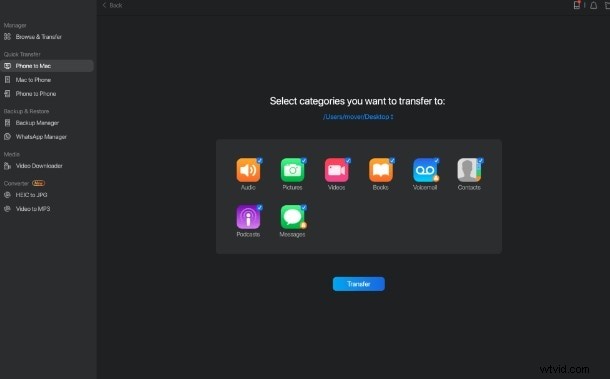
- Step 2: Launch the app, connect your iPhone, and select the Phone to Mac mode.
- Step 3: Choose the Video category, then hit Transfer.
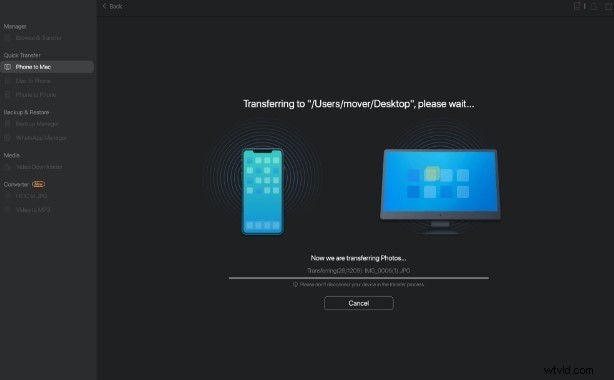
- Step 4: Wait for the transfer to complete; the app will display progress and completion time.
Part 2: The Most Efficient Way – Wondershare Filmora Cloud Storage
While the methods above work well, they can still be slow or limited by storage quotas. Wondershare Filmora’s cloud service provides a fast, unlimited‑capacity alternative, ideal for editors who need to move large project files between devices quickly.
Getting Started with Filmora Cloud
Free 1 GB Cloud Storage
- Step 1: Download and install Wondershare Filmora from the official website.
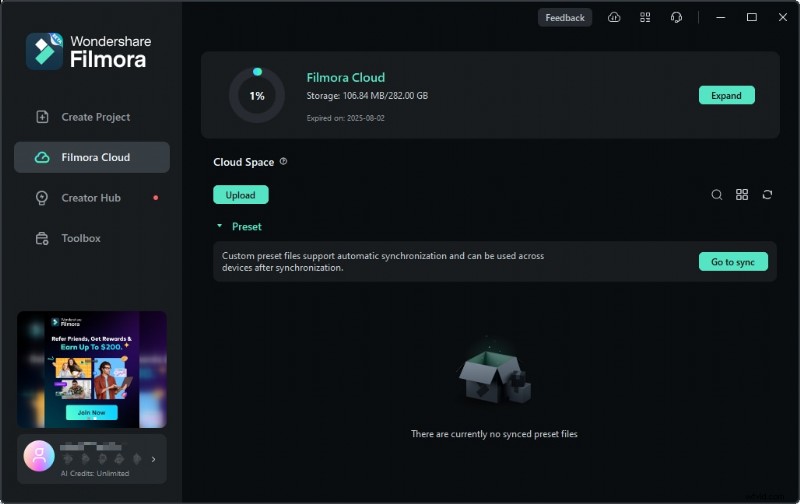
- Step 2: Open Filmora, click Filmora Cloud, and log in or create a new account. You’ll receive 1 GB of free cloud space.
Note: This free tier is enough for quick test uploads; upgrade to a paid plan for larger projects.
Uploading Projects to Filmora Cloud
Filmora offers two convenient methods: via the desktop app or through a web browser.
Method 1: Using Filmora Desktop
Open a recent video project, click the cloud icon, and the file will be uploaded directly to your Filmora Drive.


Method 2: Using the Web Browser
Navigate to https://drive-web.wondershare.com/, click Upload, and select the video or project folder from your Mac.

Sharing Files from Filmora Cloud
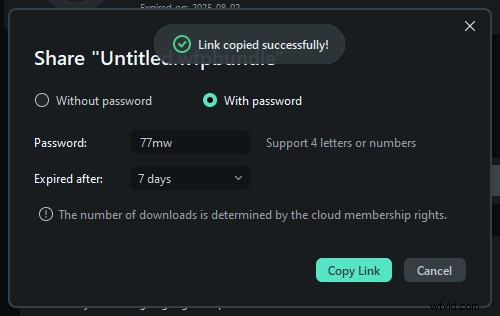
Filmora Drive makes collaboration simple: generate a secure link, set a password if desired, and choose a validity period.
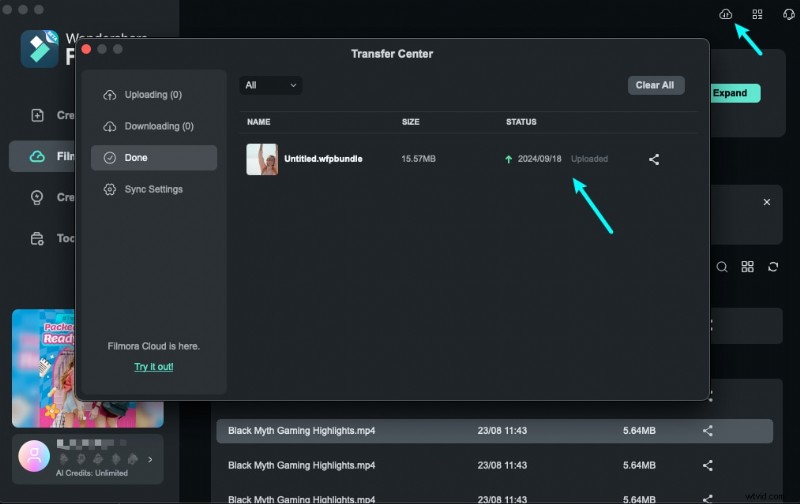
Step 1 – Back Up to Cloud
Click the cloud icon in Filmora to upload any local project. The file will appear in your Cloud Project folder.
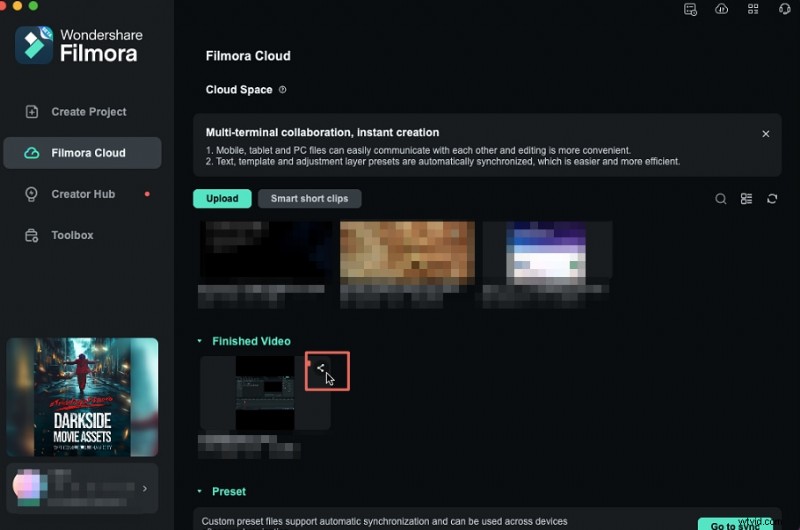
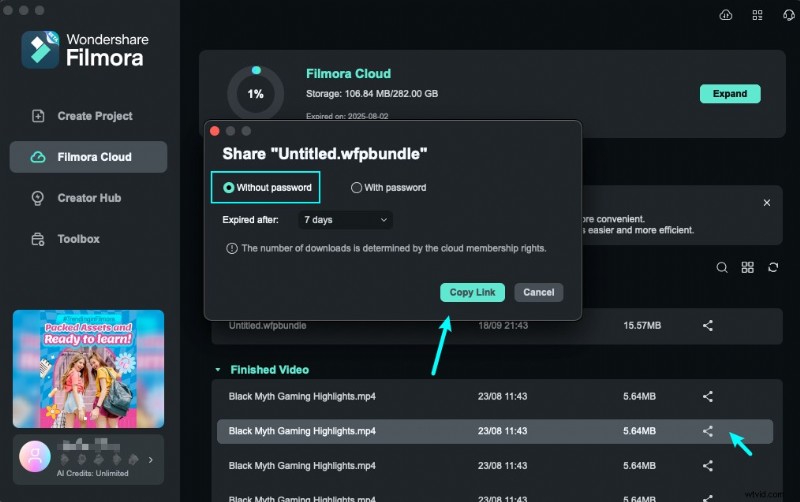
Step 2 – Share the Link
After uploading, locate the file in Cloud Project, click Share, then configure password and expiry settings. Copy the generated link and send it to collaborators.

Filmora’s cloud storage ensures that your footage retains its original resolution during transfer, and the editing suite’s integration means you can start editing almost immediately.
Conclusion
Moving large videos from iPhone to Mac no longer requires patience or technical workarounds. By selecting the method that best matches your workflow—whether iCloud, Google Drive, VLC, USB, or Filmora Cloud—you can transfer files quickly, securely, and without compromising quality.