Key takeaways:
- Record at the highest resolution and bitrate your equipment can handle, aiming for 4K at 30–60fps.
- Adopt a three‑point lighting setup to give your shots depth and clarity.
- Apply proper framing—center your subject and use stabilization to eliminate shake.
- Prefer software that records locally (e.g., Riverside) to protect quality from bandwidth hiccups.
High‑quality visuals capture attention and lend credibility to your channel or brand. By following these expert‑backed techniques, you can transform ordinary footage into polished, engaging content.
Why Video Quality Matters
Blurry or pixelated footage turns viewers away and can make your brand look unprofessional. Sharp, well‑lit videos signal that you’ve invested time and care into your production, encouraging higher engagement and shares.
Understanding Video Quality: Focus Areas
Improving video quality hinges on three core elements—resolution, bitrate, and frame rate. Adjusting each thoughtfully yields the most noticeable gains.
Resolution
Resolution is the number of pixels per frame. Higher resolution means more detail and better clarity. While 1080p is sufficient for most mobile‑first platforms, 4K offers four times the pixel count, giving you the flexibility to crop or zoom in post‑production without losing sharpness.
Bitrate
Bitrate measures data per second. A higher bitrate generally produces cleaner video, but it also increases file size. Choose a bitrate that balances quality with storage and editing ease.
Frame Rate
Frame rate, measured in FPS (frames per second), dictates how smooth motion appears. 24fps is standard for cinematic content, but 30fps or 60fps delivers a smoother look for fast‑action scenes such as gameplay or interviews.
7 Ways to Improve Video Quality
Lighting
Proper lighting is the cornerstone of professional video. Over‑dark scenes lose detail; over‑bright scenes wash out colors. Use a ring light or softbox to distribute light evenly and minimize harsh shadows.
Three‑point lighting—key, fill, and backlight—provides depth and separates the subject from the background. For budget‑friendly setups, position yourself facing natural daylight or use a $20 LED ring light with a white reflector.
Read more: Video Lighting: How to Setup & The Best Lighting Kits
Camera Settings
Set your camera to at least 1080p. If you’re using a DSLR or mirrorless body, set shutter speed to double your frame rate (e.g., 1/60s for 30fps) to avoid motion blur.
Smartphones can deliver impressive results—use Apple’s Continuity Camera or Android equivalents, lock exposure, and enable HDR for clearer shots. Riverside’s mobile app allows you to record on the go or use your phone as a secondary camera.
Framing
Apply the rule of thirds by aligning key subjects along intersecting grid lines. This visual cue draws viewers’ eyes naturally to focal points, creating a more engaging composition.

Internet Speed
For live streaming, aim for at least 25 Mbps upload. Use a wired Ethernet connection, move your router closer to your workstation, and close bandwidth‑heavy applications to maintain stability.
Platforms like Riverside bypass the internet for recording by saving locally, ensuring that a weak connection doesn’t degrade quality.
Edit for Pacing
Editing software—Adobe Premiere Pro, Flixier, Riverside—helps tighten your narrative. Remove long pauses and tangents to keep the pace brisk, which enhances viewer retention.
Advanced cuts like J‑cuts can improve continuity by overlapping audio from the preceding scene.
Further Editing Enhancements
Adjust saturation, contrast, and brightness to make footage appear crisp. Keep lighting balanced—avoid overly bright or dim scenes that lose detail.
Use subtle transitions and effects sparingly; excessive embellishments can distract from the content. Balance audio levels across all speakers to ensure clarity.
Adjust File Types
File format influences compression and quality. For maximum fidelity, use AVI, MOV, or MP4 for video, and WAV for uncompressed audio. Remember larger files require more storage and can slow down editing.
Step‑by‑Step: Improve Video Quality with Riverside
Riverside lets you record up to 4K video and 48kHz WAV audio, with separate tracks for each participant—ideal for interviews, podcasts, and remote collaborations.
Follow these streamlined steps to achieve studio‑grade results:
Pre‑Recording Checklist
- Choose a quiet, well‑ventilated room.
- Connect an external microphone—USB, XLR, or high‑quality earbuds.
- Use wired headphones to capture cleaner audio.
Recording Workflow
- Log in to Riverside and click Record to start a new session.
- In the lobby, select your equipment and click I am using headphones, then Enter the studio.
- Invite guests by sharing the session link. Each guest’s footage records as a separate track.
- If you hear echo, click the ellipsis beside the speaker and enable Echo Cancellation.
- Press Record. All footage is stored locally, protecting quality from internet fluctuations.
- When finished, click Stop, then View Recordings.
- Navigate to the editor: Go to editor opens a suite of AI‑powered tools.
- Choose aspect ratio, edit via AI transcript, add captions, apply branding, and auto‑clean audio.
- Click Export to render your final video; an email will notify you when it’s ready.

Other Tools for Enhancing Video Quality
Beyond Riverside, several editors and online platforms can boost your footage. Here’s a quick look at popular options:
Wondershare Filmora
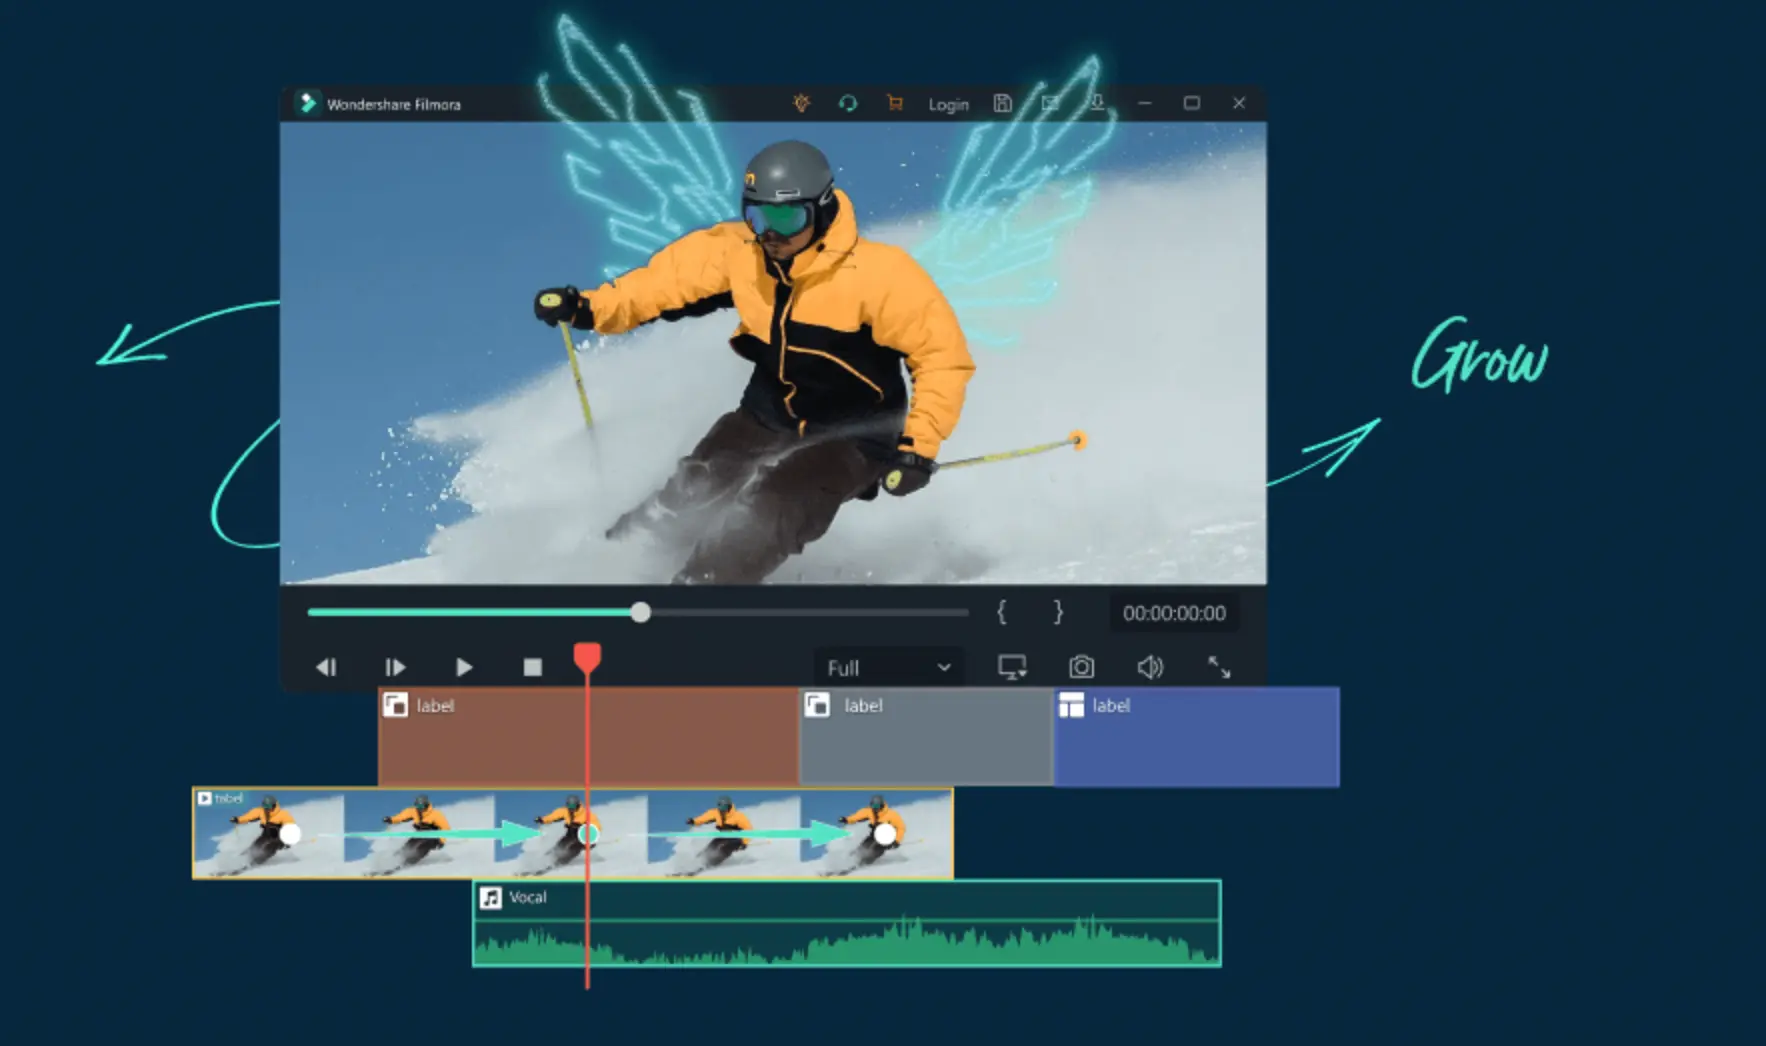
Filmora offers an intuitive, beginner‑friendly workflow. Key steps include:
- Open a new project and drag your clip into the timeline.
- Adjust color via the Color tab—tweak saturation, contrast, hue, and brightness.
- Refine audio with the Audio tab.
- Export to your desired format or upload directly to YouTube/Vimeo.
Kapwing
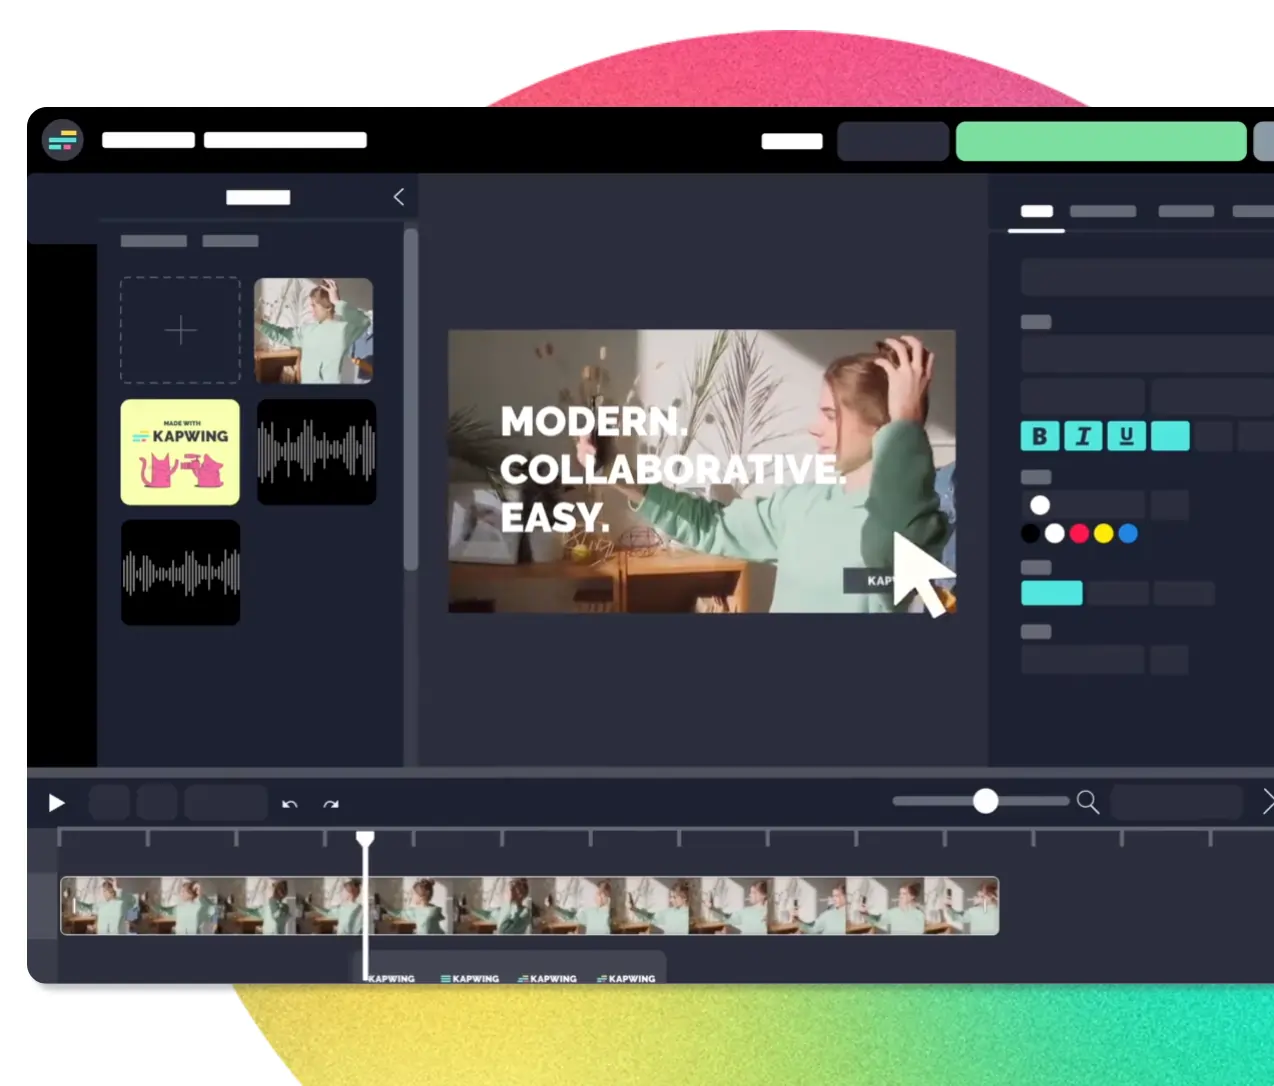
Kapwing’s online editor simplifies quick enhancements. Steps:
- Sign up and open the editor.
- Upload your video to the media panel.
- Use the Edit tab to fine‑tune opacity, brightness, contrast, and saturation.
- Export at 1080p or 4K.
FAQs on Improving Video Quality
Can I enhance video quality after recording?
Yes—editing tools can improve color, sharpness, and audio, but the best results come from optimizing settings during capture.
How do I increase a video’s resolution?
Recording at a higher resolution is the most effective method. Post‑production upscaling is limited and can introduce artifacts.
Is there an app for improving video quality?
Riverside is a top choice: it records locally in 4K, offers background noise removal, and includes AI captions.
How can I improve video conference recordings?
Use a wired Ethernet connection, close unnecessary apps, enable the highest resolution, disable bandwidth‑heavy features, and record locally with platforms like Riverside for studio‑grade quality.