
Capturing a single moment and turning it into a cinematic pause can elevate any video. Sony Vegas offers powerful tools for freezing frames, whether you prefer an automated shortcut or a hands‑on manual approach. This guide walks you through both methods and introduces a beginner‑friendly alternative in Wondershare Filmora.
Table of Contents
- What a Freeze‑Frame Is in Sony Vegas
- Automated Freeze‑Frame in Sony Vegas
- Manual Freeze‑Frame in Sony Vegas
- Using the Snapshot Feature
- Filmora: The Easy Alternative
- Conclusion
What a Freeze‑Frame Is in Sony Vegas
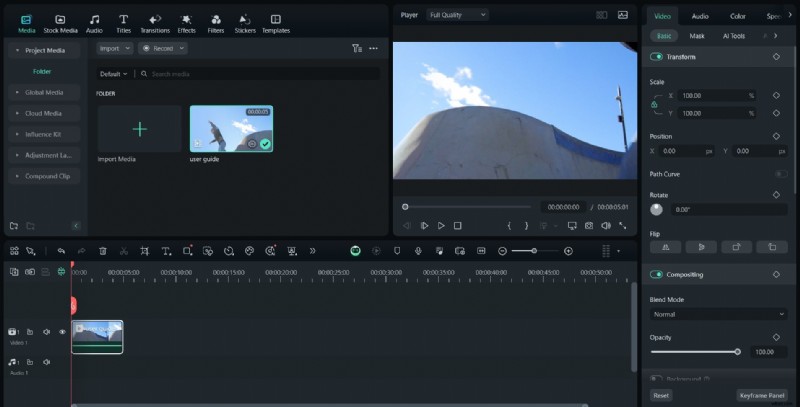
In Sony Vegas, a freeze‑frame is a still image embedded in your timeline that remains static for a set duration. The software lets you either let Vegas set the duration automatically or adjust it manually for precise control. Beyond the basic function, you can add transitions, keyframes, and even use the snapshot tool to capture a frame as a separate image file.
Pros
- Full control over duration and placement.
- Custom transitions create smooth visual flow.
- Snapshot tool turns moments into high‑resolution stills.
Cons
- Steep learning curve for new users.
- Real‑time editing of frozen frames is limited.
Automated Freeze‑Frame in Sony Vegas
For quick results, use the built‑in “Freeze Frame at Cursor” command. Follow these steps:
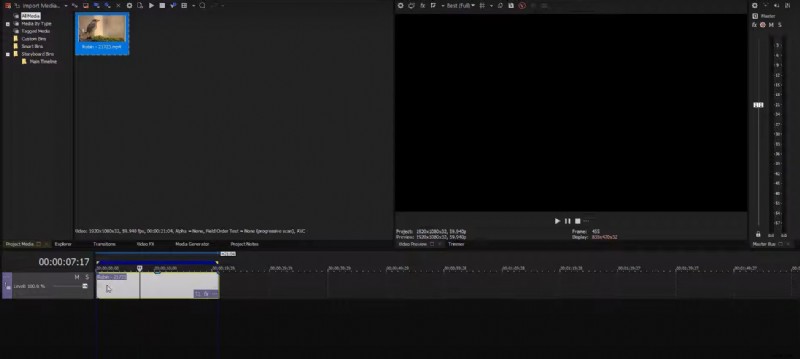
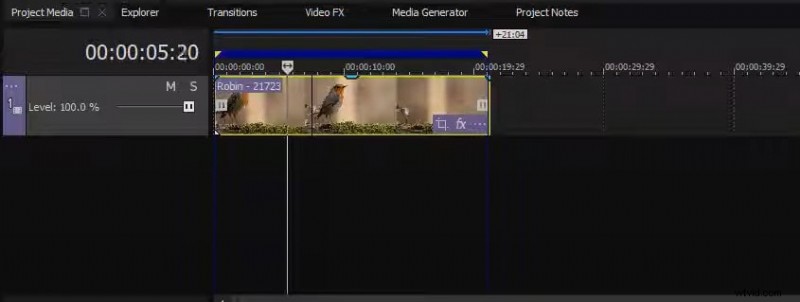
- Import your media and drag it to the timeline.
- Move the playhead to the exact frame you want to freeze.
- Right‑click the playhead and select Freeze Frame at Cursor from the context menu.


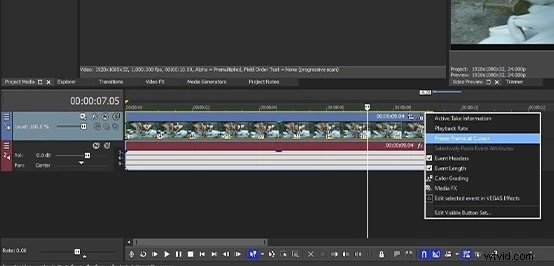
Vegas automatically inserts a still image and sets a default duration. This method is ideal for beginners or when you need a quick stop‑motion effect.
Manual Freeze‑Frame in Sony Vegas
Manual freezing gives you granular control over frame selection and duration. The process involves a few extra steps but rewards you with precision:
- Import your video and place it on the timeline.
- Position the playhead on the frame you wish to freeze.
- Split the clip at the playhead by pressing S.
- Right‑click the split segment, choose Insert/Remove Envelope → Velocity.
- Select Set to 0 % Velocity from the submenu.
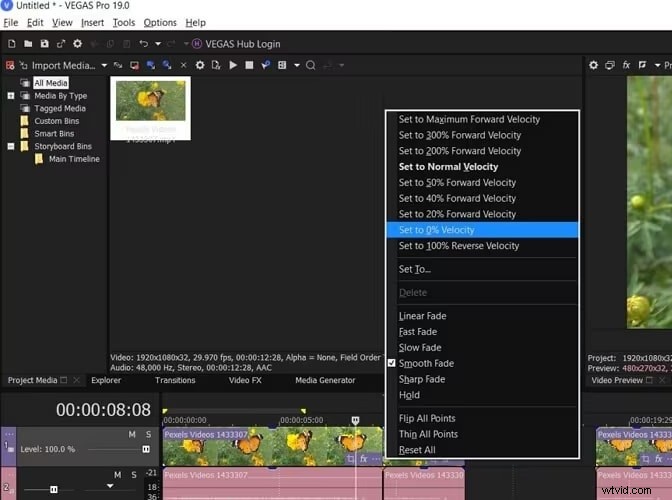
The segment now plays at zero speed, effectively freezing the frame. Adjust the length of this segment to control how long the still image appears.
Using the Snapshot Tool
For a higher‑quality still, capture a snapshot and insert it as a separate clip:
- Split the clip at the desired frame (press S).
- Click the Camera icon in the toolbar to take a snapshot.
- Import the snapshot into the project.
- Drag the image onto the timeline and set its duration.


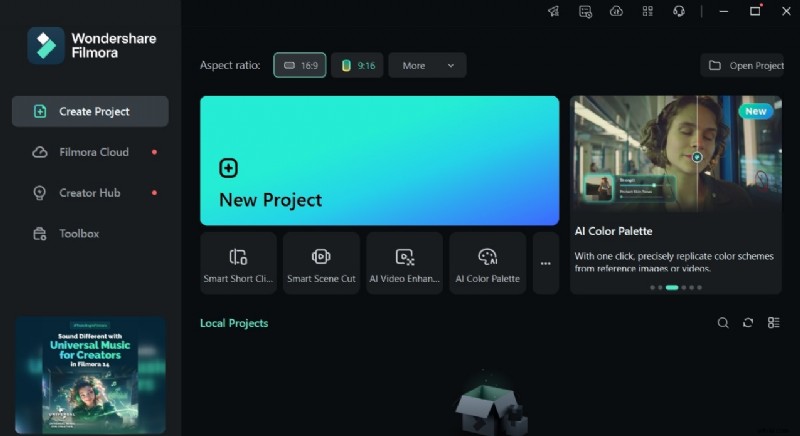
Filmora: The Easy Alternative
If Sony Vegas feels overwhelming, Wondershare Filmora offers a one‑click freeze‑frame feature plus AI‑enhanced tools. It’s ideal for beginners while still providing advanced options for seasoned editors.
- Fast, one‑click freeze‑frame and customizable transitions.
- AI Smart Cutout, background removal, and color palette tools.
- Cross‑platform support: Windows, macOS, iOS, Android.
- Intuitive interface with a gentle learning curve.
How to Freeze Frames in Filmora
- Open Filmora and start a new project.
- Import your video and add it to the timeline.
- Move the playhead to the frame you wish to freeze.
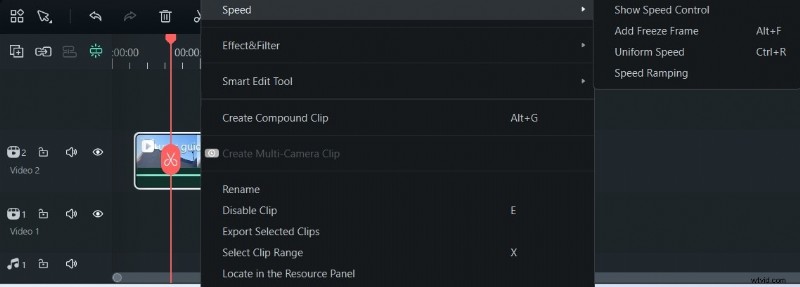
- Right‑click the clip, go to Speed → Add Freeze Frame.
- Apply a transition from the Transitions tab to smooth the entry and exit.
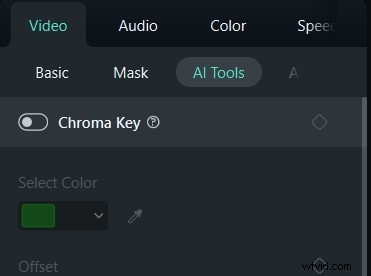
- Enhance the clip using AI tools in the AI panel if desired.


Filmora’s straightforward workflow lets you freeze frames in seconds while still offering advanced customization options.
Conclusion
Freezing a frame can emphasize key moments and add dramatic effect to your videos. Sony Vegas provides robust, feature‑rich tools for both automatic and manual freeze‑frames, though it may require practice to master. For a quicker, user‑friendly experience, Filmora’s one‑click freeze‑frame and AI enhancements are an excellent choice.
Whether you choose Sony Vegas for its depth or Filmora for its simplicity, mastering freeze‑frames can transform ordinary footage into compelling visual stories.

