Video creation is not just about editing alone. Another crucial step that must not be taken for granted is rendering. For many people, it’s just a quick step of exporting the output to their devices — and yes, that’s its core purpose. However, this procedure must be taken seriously to achieve the best result. Don’t worry. When you render a video in Adobe Premiere Pro, you’re given access to various adjustment options. Simply familiarize yourself with each and implement your desired changes accordingly.
In this article, we’ll discuss the render process in Adobe Premiere Pro and introduce a powerful alternative — Wondershare Filmora V15. Continue reading to learn more.
In this article
- The Render Function of Adobe Premiere Pro
- How to Render a Video in Adobe Premiere Pro
- The Video Render Process in Wondershare Filmora V15
- Conclusion
- FAQs
The Render Function of Adobe Premiere Pro
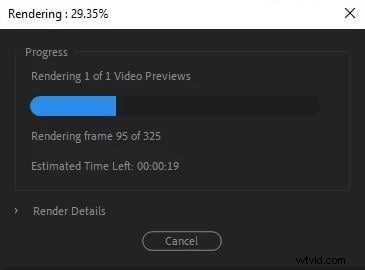
As mentioned earlier, the render process in Adobe Premiere Pro is not just exporting and saving the output. It’s about optimizing video content for better quality and playback experience. During editing, you can pre-render clips in Premiere Pro, combining assets into a smoother playback format so you can preview your progress accurately. When exporting, pre-rendered assets make the final export faster and more efficient.
Should you render your video in Premiere Pro? Definitely worth a try — it improves editing performance and saves time during export.
Pros
The render function in Premiere Pro is among the most advanced in professional video software. Here are its key advantages:
- Optimizes your timeline for smooth preview during editing.
- Allows you to check heavy effects and graphics without exporting the full project.
- Efficiently handles video projects with multiple layers of high-resolution clips.
- Saves time by rendering for playback instead of re-exporting repeatedly.
- Ensures accurate and real-time preview of your video output.
Cons
While helpful, some users find the rendering process in Premiere Pro complex or resource-heavy. Below are some of its drawbacks:
- Render settings can be confusing for beginners.
- Pre-rendering consumes large disk space, especially for 4K and high-resolution footage.
- The render process may take time depending on system performance.
- Requires learning about Premiere-specific render settings for optimal output.
- Needs an active Adobe Creative Cloud subscription, which can be costly.
How to Render a Video in Adobe Premiere Pro
If you want to render a video in Premiere Pro, follow these simple steps:
- Open your timeline and select the assets you want to render.
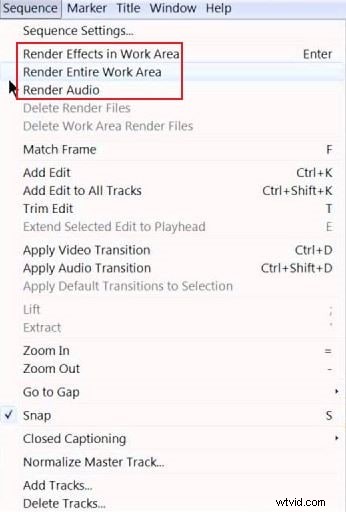
- Go to the top menu and click Sequence.
- Choose one of the render options:
- Render Effects In to Out – Renders only effects.
- Render In to Out – Renders the entire selected area.
- Render Selection – Renders specific clips.
- Render Audio – Renders only audio tracks.

Note: The steps above are for pre-rendering inside Premiere Pro. To complete the final render, you still need to export your sequence as the final output.
The Video Render Process in Wondershare Filmora V15
While Premiere Pro is powerful, it might not always be the easiest option. Some users find it overly technical or expensive. In such cases, Wondershare Filmora V15 offers an excellent alternative. This all-in-one video editing software handles both professional and basic workflows efficiently. Like Premiere, Filmora also supports advanced rendering options — but with a simpler, automated approach.
Why Choose Wondershare Filmora V15?
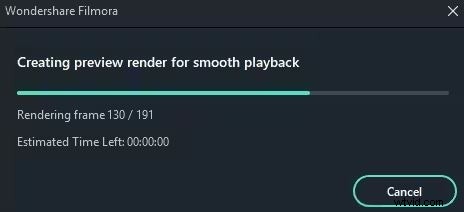
- Automatic Rendering Process: Filmora automatically optimizes your timeline and initiates pre-rendering as soon as you import media.
- Smooth Video Playback: Provides seamless preview even when working with heavy effects, transitions, or motion graphics.
- GPU Acceleration Support: Speeds up rendering by utilizing your system’s GPU.
- Editable Render Settings: Offers fully customizable export options with just a few clicks.
- Resource Management: Efficiently manages preview files to ensure smooth performance.
Other Features to Explore in Wondershare Filmora V15
Rendering is only one of many robust features available in Wondershare Filmora. The software offers several additional tools that enhance both productivity and creativity. Take a look at some of the most popular ones below.
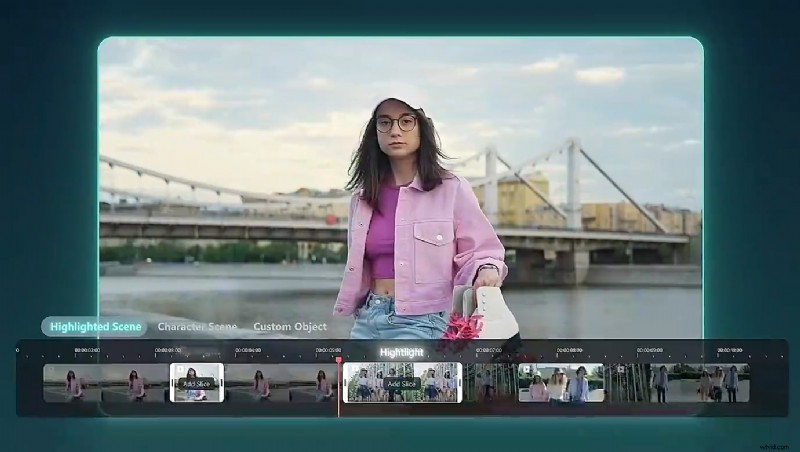
- Smart Scene Cut: Automatically detects and extracts highlight moments from your footage.
- AI Video Translation: Translates your video into multiple languages instantly.
- AI Sticker Generator: Converts text prompts into animated stickers for creative effects.
- AI Music Generator: Creates background music automatically based on mood and style.
- AI Mate Editing: Acts as your AI assistant to streamline workflow and enhance productivity.
Note: Wondershare Filmora regularly releases new updates. Keep your app up to date to enjoy new features, stability improvements, and performance enhancements.
Conclusion
Rendering is an essential part of the video creation process. It ensures smooth playback, accurate previews, and professional-quality exports. The render function in Adobe Premiere Pro is powerful and reliable, giving editors great control over performance and quality. However, for users seeking a simpler and more affordable alternative, Wondershare Filmora V15 is the perfect choice. It automates rendering, enhances playback, and provides a streamlined experience for all skill levels. Download Wondershare Filmora V15 today and take your editing workflow to the next level.
FAQs
-
Q1. Why is Premiere Pro not rendering smoothly?
There are several reasons, including insufficient system specs, low storage, or outdated GPU drivers. Ensuring proper hardware and software updates usually resolves the issue.
-
Q2. What does a red line on the timeline mean in Premiere Pro?
A red line indicates that the video cannot be played back smoothly. You’ll need to render the section for proper preview performance.
-
Q3. What are the types of render functions in Premiere Pro?
Premiere Pro offers multiple render options:
- Render In to Out: Renders the entire sequence from start to finish.
- Render Effects In to Out: Renders effects only.
- Render Selection: Renders selected sections of the timeline.
- Render Entire Work Area: Renders the full project workspace.