Video files are a powerful way to communicate, but their size can hinder sharing. Whether you’re uploading to social media, email, or cloud storage, reducing file size without sacrificing quality is essential. This guide walks you through two of the most popular tools—HandBrake and Wondershare Filmora—showing you how to resize videos efficiently, from single files to entire batches.
Part 1: Resizing Video in HandBrake
HandBrake is an open‑source, cross‑platform encoder that excels at batch processing. Follow these steps to resize a single file or a folder of videos.
Step 1: Import Your Video
- Open HandBrake and choose Open Source. You can import one file or click Folder for batch processing.

Step 2: Select a Resizing Method
- Preset (Option 1) – Ideal for beginners. Pick a preset that matches your target resolution (e.g., Fast 720p30 or Fast 1080p30).
- Custom Dimensions (Option 2) – Use the Dimensions tab to specify width and height manually. Maintain the original aspect ratio by toggling Keep Aspect Ratio.
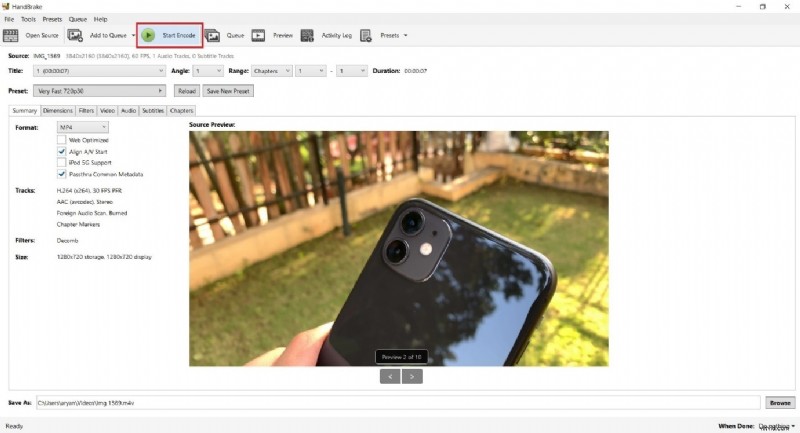
Step 3: Start Encoding
After choosing your preset or custom resolution, click Start Encode. The progress bar at the bottom will show encoding status.
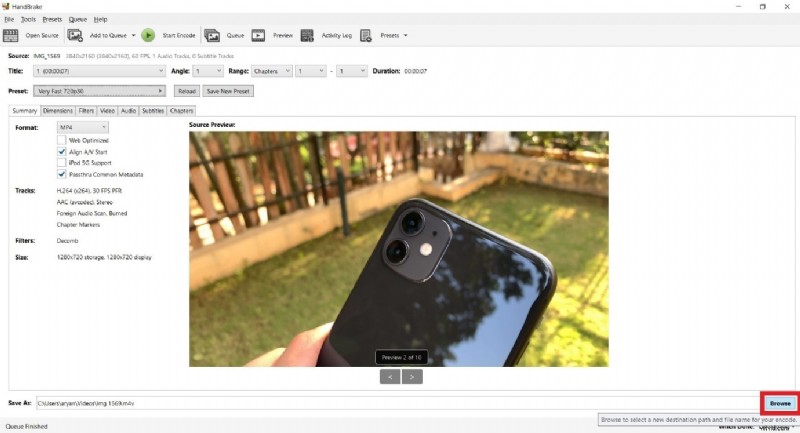
Step 4: Save the Output
When encoding completes, click Browse to set a file name and destination folder. Confirm the path and click Save.
Tip: Preserve Aspect Ratio
When manually adjusting dimensions, ensure the aspect ratio remains unchanged to avoid distortion. HandBrake also offers Letterbox or Pan‑Scan options for creative framing.
Part 2: Quick Resizing with Wondershare Filmora
Filmora is a user‑friendly editor that offers an intuitive compression workflow and Auto‑Reframe features. It’s especially handy when you need a single‑click solution.
Method 1: Advanced Video Compressor
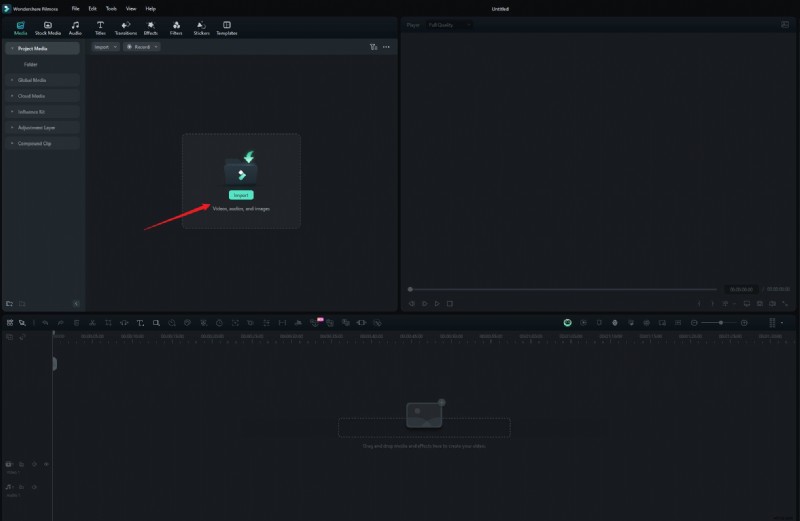
- Launch Filmora and create a new project. Drag and drop your video or use the Import button.
- Export – Choose Export → Advanced Video Compressor. Select By Quality or YouTube Upload presets.
- Adjust Quality – For “By Quality,” set a percentage (10‑90%) to control the final file size. The “YouTube Upload” preset automatically applies the recommended bitrate.
- Export – Click Export to save the resized video.
Method 2: Auto‑Reframe Feature
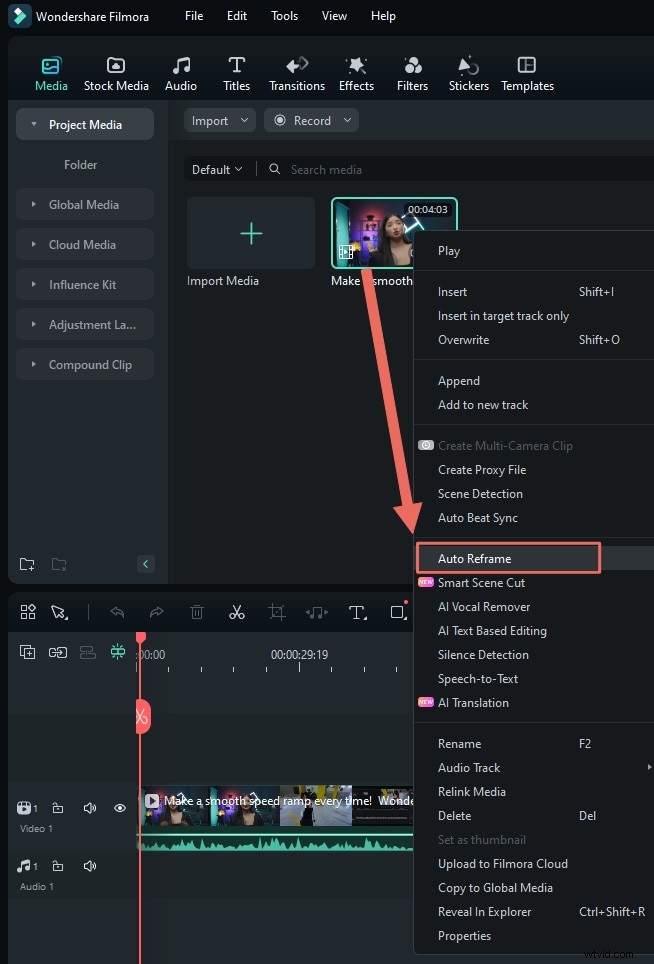
- Upload your video and right‑click it in the media library. Select Auto Reframe (or go to Tools → Auto Reframe).
- Choose Aspect Ratio – Options include 1:1, 4:3, 16:9, 9:16, and 21:9. Switching from 16:9 to 9:16 or 1:1 often reduces file size.
- Analysis – Click Analysis to let Filmora adjust the framing automatically.
- Export – After previewing, export the reframed video.
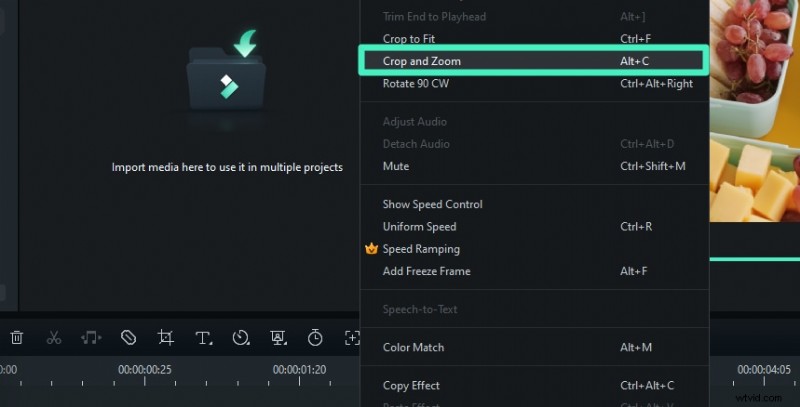
Method 3: Crop Tool
- Right‑click the video in the timeline and choose Crop and Zoom.
- Select a preset ratio or manually drag the crop box.
- Click Apply to commit changes.
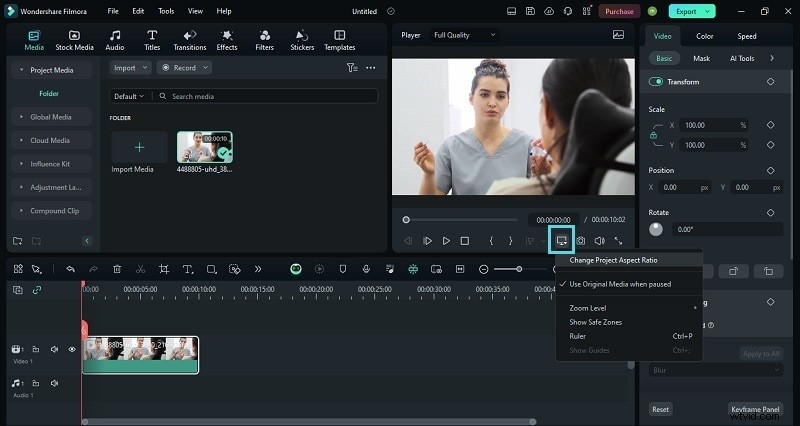
Method 4: Change Project Aspect Ratio
- In the Settings menu, choose Change Project Aspect Ratio.
- Adjust the resolution, frame rate, and aspect ratio to match your target output.
Bonus: Make Your Video Social‑Media Friendly
Filmora’s Smart Scene Cut feature automatically extracts key moments, creating a concise clip that’s perfect for mobile viewing. Combine this with compression and Auto‑Reframe for a polished final product.
Conclusion
Both HandBrake and Filmora are powerful in their own right. HandBrake shines for batch resizing and precise control over encoding settings, while Filmora offers a streamlined, visual workflow ideal for casual users and quick uploads. Choose the tool that fits your workflow and start compressing today.