“The task of keyframing comes with indisputable advantages in the subject arena of animation.”
You need to apply keyframes whenever you want to animate an object. The above is the simplest form of the definition of keyframing someone can ever provide you. The industry is full of many software products that can quickly help you do the exceptional task of keyframing in minutes. One such software is Final Cut Pro X that we will discuss here in the Final Cut Pro keyframing. As you proceed through different levels, you would find that keyframing could be slightly complicated, especially when you have several ways to do so. Please don't get confused as we tend to discuss it in the simplest way ever.
You can check out two primary ways of using keyframes in Final Cut Pro X as follows.
- By bringing the emphasis towards
- To slide in an overlay
So, let’s start without further ado on the Final Cut Pro keyframing tutorial!
Part 1: How to Add a Keyframe in Final Cut Pro X?
Let’s study the Final Cut Pro keyframing tutorial regarding the first way of bringing in the emphasis. From there, you get the basic idea of how to use keyframes in Final Cut Pro X.
What we are going to do here is to apply the Gaussian blur over a specific section of the video while bringing in the emphasis of viewers towards the text. So, let's do that!
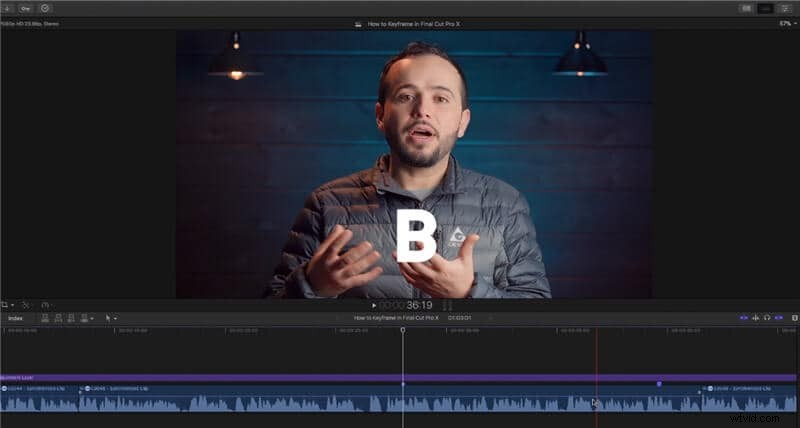
Step 1: Separate the video
After you are over with uploading the video in Final Cut Pro X, it is advisable to cut out the video section separately that you want to apply keyframes above. Hit the B button for the blade and apply cuts to the area of the video.
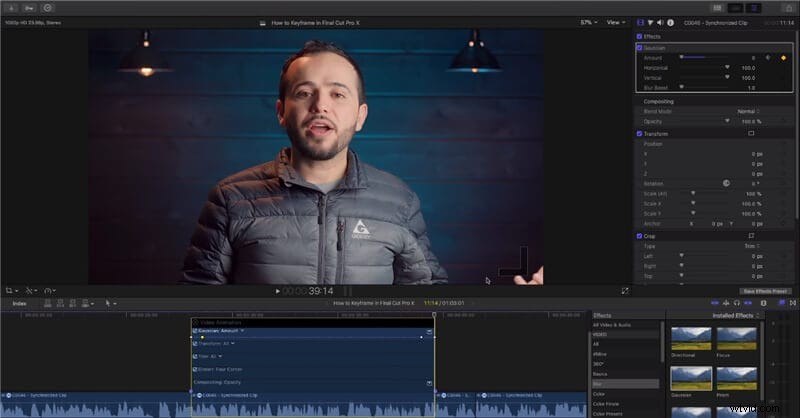
Step 2: Drop in the Gaussian blur
Go back to the select the A button and select Gaussian blur from the Effects bar, as shown in the image below.

Step 3: Create build-in and build-out effect on both sides
Hit Ctrl + V button and adjust the keyframe "build in" effect for Gaussian blur. You have to make it from 0% to 50%. Go to the Inspector tab and add keyframe along with the Gaussian blur at 50%.
Now, you need to add the "build-out" effect for another side of the video. Move your playhead to the end of the video and hit the keyframe tab in the Inspector section. At the same time, move the Gaussian effect to 0% here.
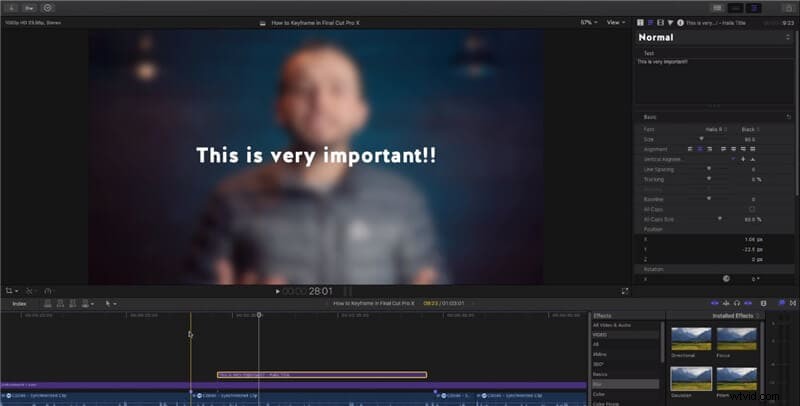
Step 4: Add the title
Hit Ctrl + T, drag the title bar. You can change the font from the Title bar given above. And, you are good to go with the Gaussian blur emphasis effect.
Part 2: How to Fade Audios In/Out with Keyframes in Final Cut Pro X?
After learning how the Final Cut Pro adds a keyframe, it’s time to study how you can fade audios in/out with keyframes in Final Cut Pro X. The fade-in effect is like a welcoming entrance, whereas the fade-out effect is similar to an outro.
So, let’s do it in the simple steps with the Final Cut Pro audio keyframe!
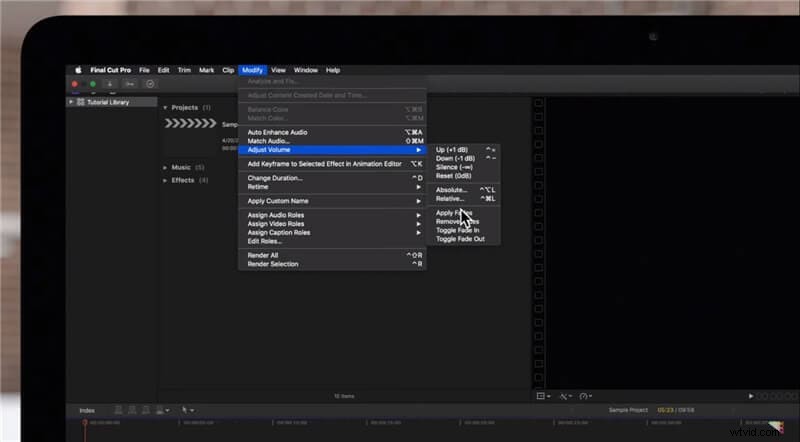
Step 1: Apply fades
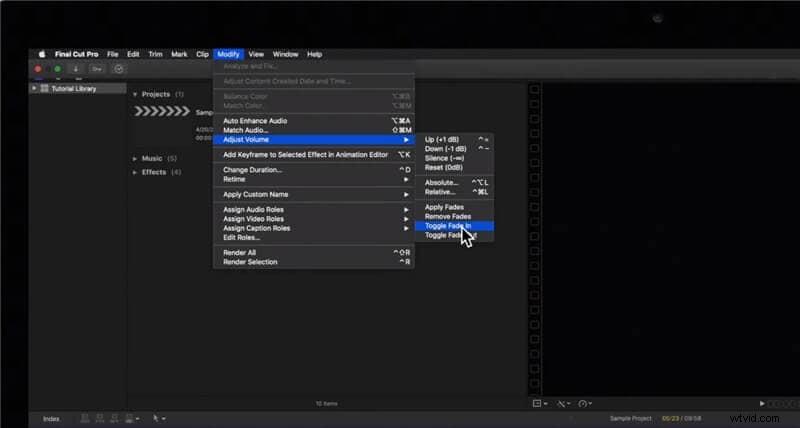
Firstly, select the entire video section where you want to apply the "fade-in" and "fade-out" effect. You need to do it by using the menu command. Select the clip, and go to the top menu bar. Select the Modify tab and hit Adjust Volume > Apply Fades.
Step 2: Do it another way like this
You can also do it by selecting Toggle Fade In and Toggle Fade Out effect in the Modify tab and below the Apply Fades effect.
You have to choose the clip beforehand to fade in and fade out effect on both sides of the video.
Part 3: How to Zoom Videos In/Out with Keyframes in Final Cut Pro X?
The process of zooming videos in and out with keyframing is comparatively easy and less time-consuming than doing it another way.
Step 1: Create the Zoom-in keyframe
Scroll the playhead to the location where you wish to begin the Zoom In effect. Go to the Inspector > Transform tab. Now, you need to hit the small diamond-shaped keyframe icon along the Scale (All) tab. Hit the keyframing icon at both the beginning of the Zoom In and end of the Zoom In.
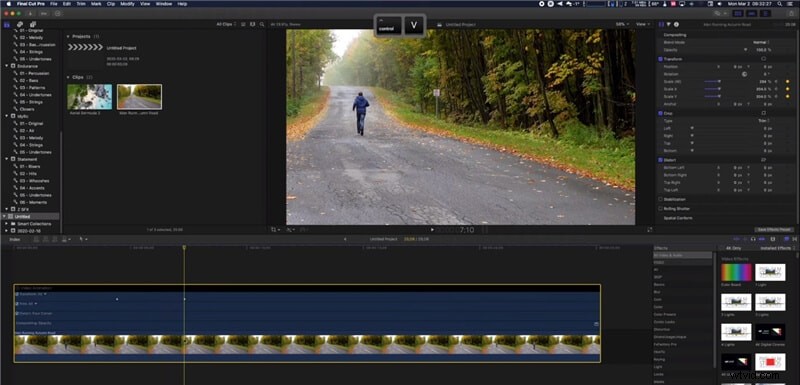
Select your clip and hit Ctrl + V if you want to see the location of your keyframes.
Step 2: Make the scale linear
You are required to make the option of scale linear for easy in and out. To do it, select the keyframe besides the Position in Inspector tab. Move the X and Y sliders of Position. It should be to what you see in the image below for easy in and out.
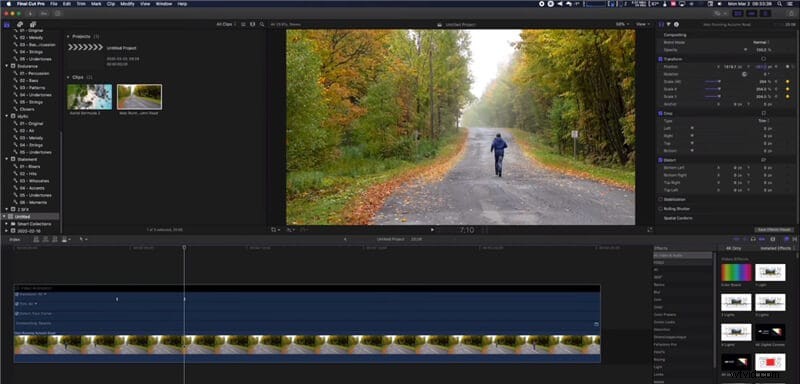
So, this is all way you need to do for Zoom out effect as well.
Final Words
Thus, here is our conclusion to the whole Final Cut Pro keyframing tutorial. Even though it seems pretty straightforward, you always need a bit of practice to get proficient over a specific thing. No matter where you do the task of keyframing, do it right to make your final video look truly cinematic and professional. These are just a few simple steps regarding keyframing shortcuts of Final Cut Pro which you can use in the early stages of being a beginner. However, as an expert, you can do a little more experiments with these steps over different kinds of videos to apply various special effects to your videos.