Recording high‑quality gameplay is essential for gamers, streamers, and content creators alike. On Windows 10, the built‑in Xbox Game Bar offers quick, lightweight captures, while Wondershare Filmora delivers advanced recording and editing tools for professional‑grade videos.
In this article
- Enable & configure the Xbox Game Bar
- Record gameplay using the Game Bar (screen‑only or with audio)
- Why choose Filmora for game recording
- Step‑by‑step Filmora gameplay capture guide
- Optimizing Windows 10 for lag‑free recording
Below is a concise comparison of the two primary recording options, followed by detailed instructions for each.
| Tool | Ease of Use | Features | OS Compatibility |
| Wondershare Filmora | Easy | Advanced editing, AI tools | Windows, macOS, Mobile |
| Xbox Game Bar | Very easy | Basic recording & screenshots | Windows |
Part 1. Getting Started with the Xbox Game Bar
The Xbox Game Bar is a native Windows 10 feature that lets you capture gameplay, take screenshots, and monitor system performance—all without installing third‑party software. It’s ideal for users who need instant, hassle‑free recordings.
Enabling the Xbox Game Bar
Follow these steps to activate the Game Bar:
- Open Settings → Gaming → Xbox Game Bar and toggle the switch to On.
- Configure shortcuts by selecting Shortcuts to open the Game Bar with Windows + G during gameplay.
- Customize widgets, audio settings, and layout to streamline your recording workflow.
Part 2. Recording Gameplay with the Xbox Game Bar
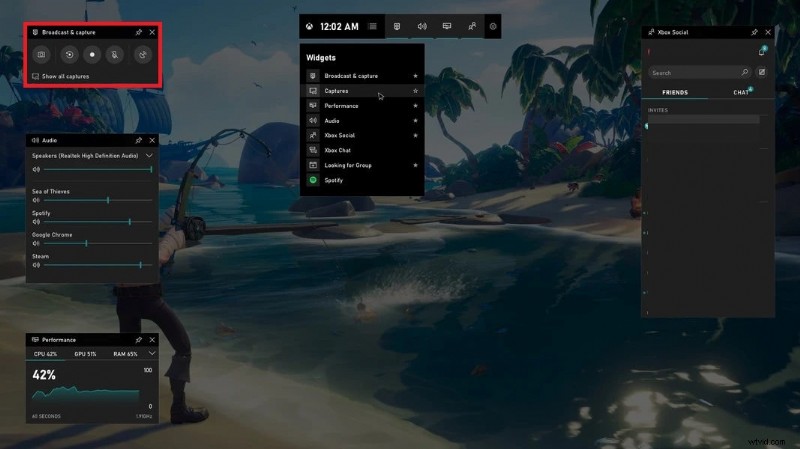
The Game Bar offers two straightforward recording modes: screen‑only or screen with audio. Both are accessible via the Broadcast & Capture widget.
Screen‑Only Capture
- Press Windows + G to open the Game Bar.
- In the Broadcast & Capture widget, click the Record (circle) button. A timer will appear to indicate active recording.
- Stop recording by clicking the Stop button or using Windows + Alt + R.
- The video is automatically saved to Captures in your Videos folder.
Recording with Audio
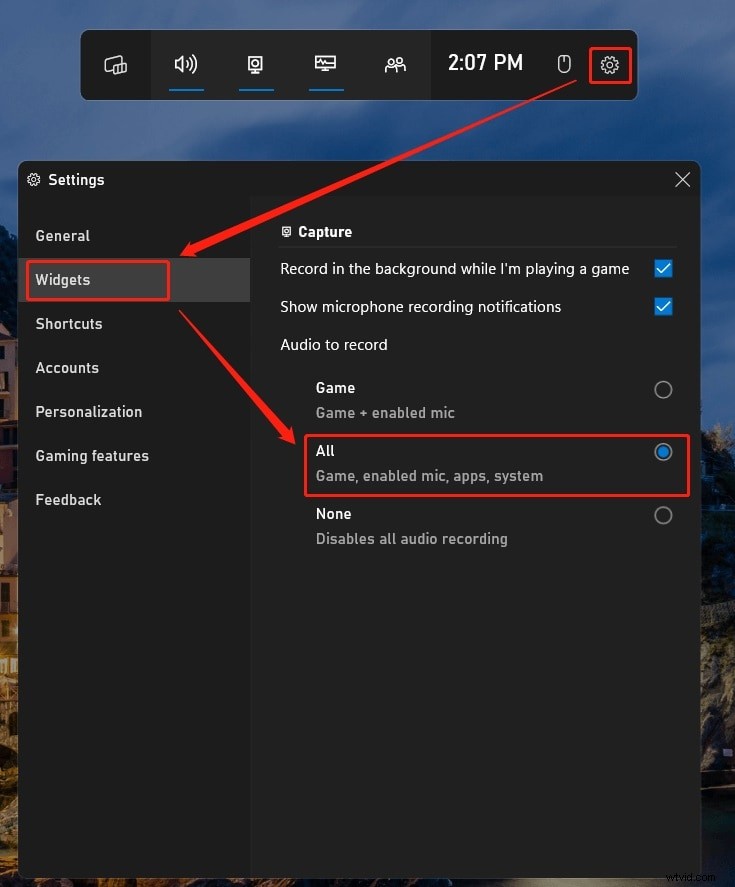
- Open the Game Bar and navigate to Settings → Widgets. Enable the All option to capture game and system audio.
- Connect a microphone; the Game Bar will automatically detect it.
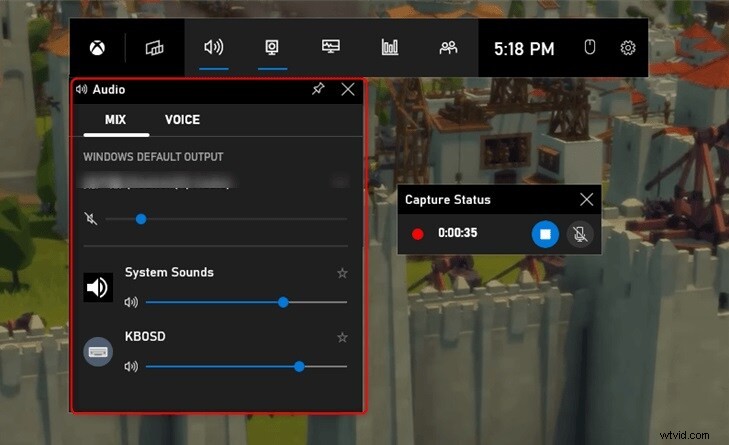
- Use the Audio widget to balance system audio and microphone levels.
- Start and stop recording as described above. Files are stored in the same Captures folder.
While the Game Bar is excellent for quick captures, creators seeking advanced features should consider a dedicated tool like Wondershare Filmora.
Part 3. Filmora: A Dedicated Game Recording Solution
Filmora combines screen recording with powerful editing capabilities, making it a popular choice among gamers and streamers who want polished, professional‑grade videos.
Why Filmora Stands Out
- AI‑Powered Editing – One‑click effects, motion tracking, and green‑screen support.
- Extensive Asset Library – Over 10,000 templates and 10 million creative assets.
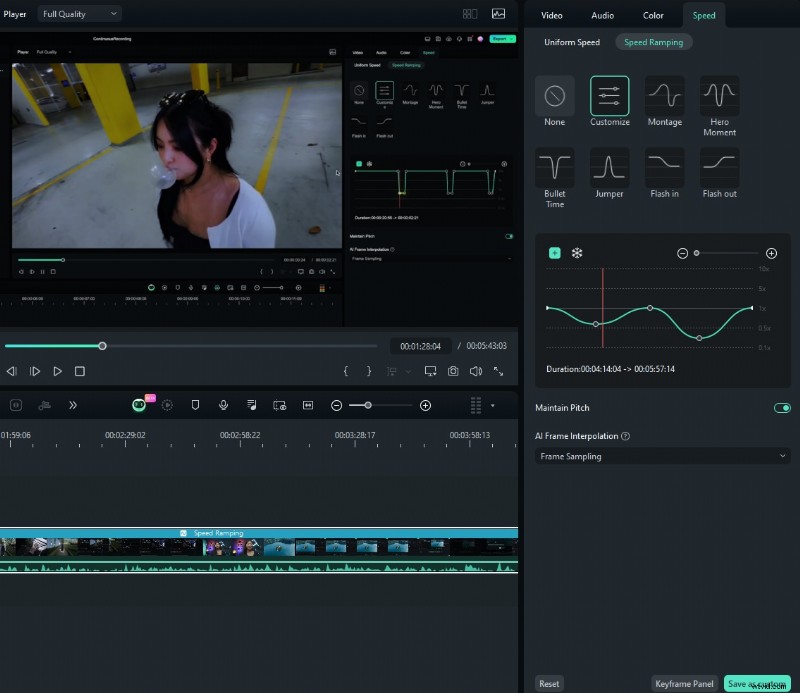
- Advanced Editing Tools – Keyframe animations, split‑screen, speed ramping, and more.
- Professional Audio Features – Auto‑enhancement, visualization, and audio remixing.
Recording Gameplay with Filmora
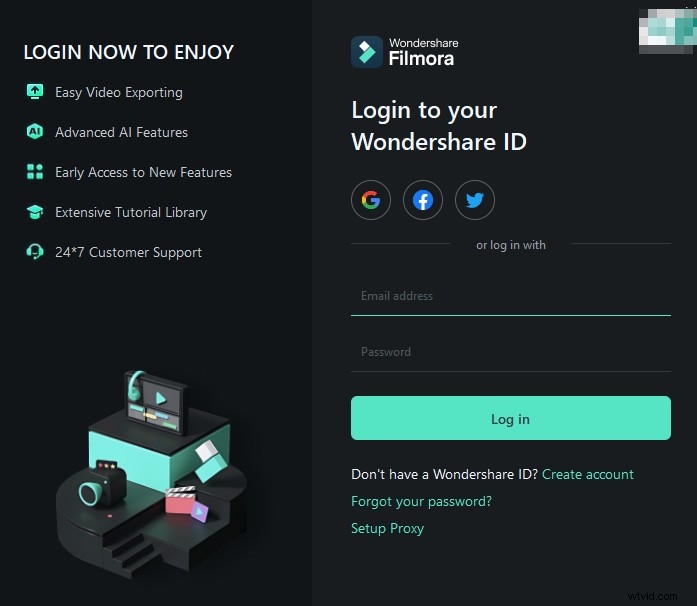
- Download and install Filmora; create or log in to your Wondershare account.
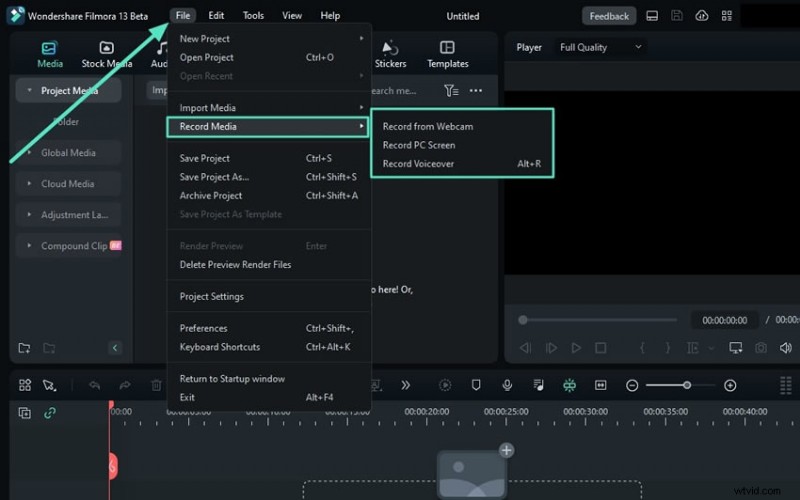
- Navigate to File → Record Media → Record PC Screen to open recording options.
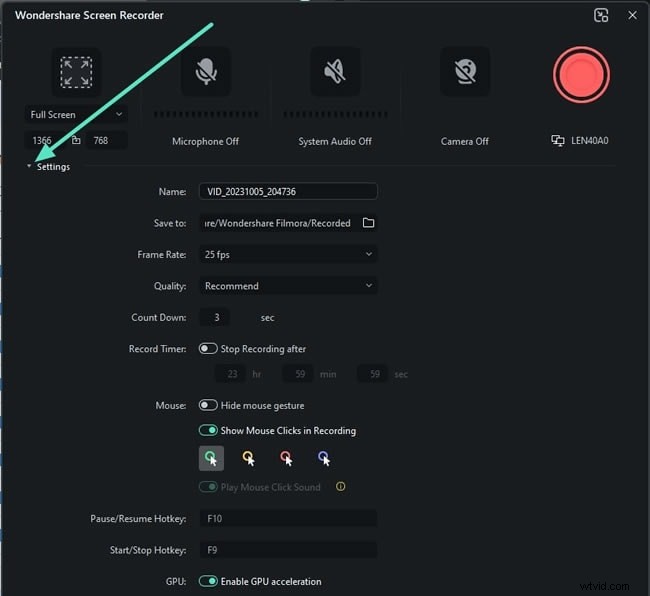
- Define the capture area (full screen or custom region) and select audio sources: in‑game sound, system audio, and microphone.
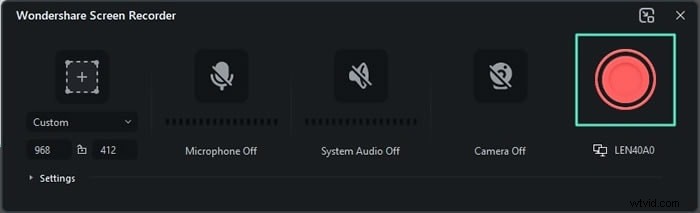
- Click the red Record button to begin. Use the same button to pause or stop.
- After stopping, the footage opens in Filmora’s editor. Apply effects, speed changes, or split‑screen layouts as desired.
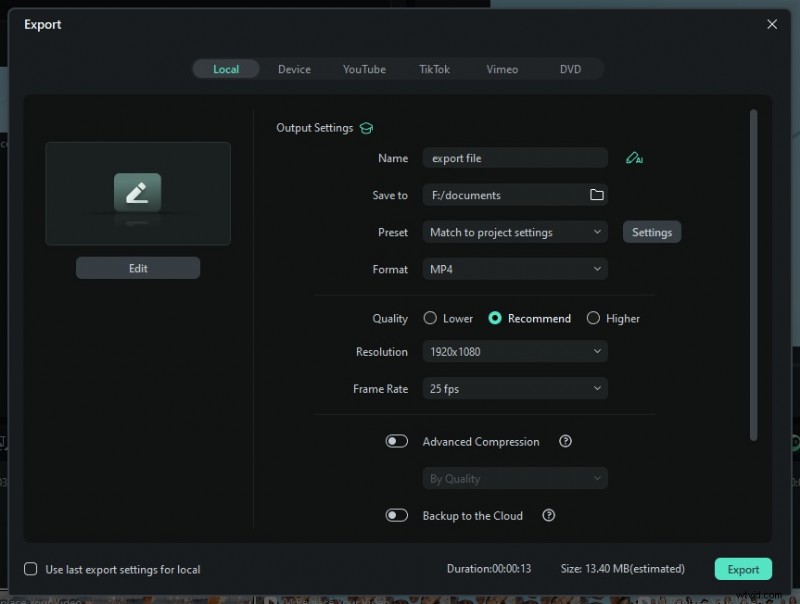
- Export the final video in your preferred format, or share directly to social platforms.
Why Filmora Is Ideal for Gamers
Filmora’s intuitive interface, combined with a rich set of creative tools, enables users to transform raw gameplay into engaging, high‑impact content with minimal effort.
Part 4. Keeping Your Recordings Lag‑Free on Windows 10
Optimal performance requires fine‑tuning system settings. Apply these practices to maintain smooth recording:
- Adjust in‑game graphics to medium or low, and reduce shadows, textures, and anti‑aliasing.
- Close background applications (web browsers, chat clients, etc.) to free CPU and RAM.
- Check storage space – Ensure the primary drive has ample free space to prevent mid‑recording drops.
- Test recording settings – If lag appears, lower resolution or switch from 60 FPS to 30 FPS.
- Monitor system performance using Task Manager or the Game Bar’s performance widget, and adjust settings if usage peaks.
These adjustments help deliver crisp, uninterrupted gameplay footage.
Conclusion
Recording gameplay on Windows 10 is straightforward with the Xbox Game Bar for quick captures or Filmora for advanced production. Both tools let you produce high‑quality videos that showcase your skills. Embrace the right workflow, optimize your system, and elevate your content to the next level.
Ready to capture like a pro? Start with Filmora’s dedicated recorder and explore its creative possibilities to make your gameplay truly shine.