How to take screenshots in Sims 4 on Windows 10? You can follow this quick method:
Step 1. Set the custom hotkey as you like in Settings. Make it from F1 to F12.
Step 2. Choose Region from the four options. To take it, press the hotkey you set just before.
Step 3. Also, you can take screenshots of Sims 4 as well as recording the game... Read More>>
Generally, in this post, the best screenshot tool will be introduced, and you can also know how to operate them in a step-by-step guide and where are Sims 4 screenshots saved in those utilities.
Make Screenshots from Sims 4 with Built-in Tool
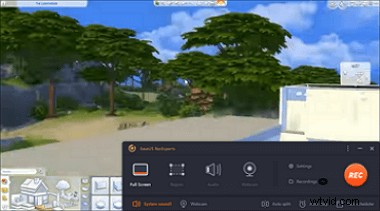
Sims 4 is such a beautifully designed game that has many attractive things. The charming scenery makes you want in-game screenshots to record your virtual lawns and houses. To take a shot, there are many built-in methods like using the Tab key, UI Board, and "C" on the keyboard. You won't need third-party software.
1. Use UI Board to Take a Snapshot in Sims 4 Gameplay
When playing Sims 4, you can see the control board located at the bottom of the screen. It is the user interface board that allows viewing modes, controlling time, and even taking a snapshot in Sims 4 easily.
In the UI Board, you should find a camera icon. That's the option you can use to save a photo from Sims 4.
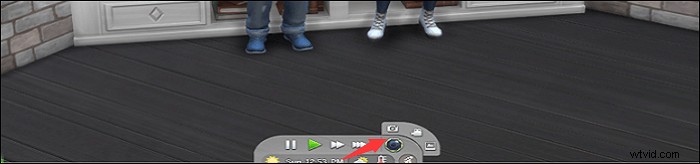
2. Press C in the Keyboard to Take Sims 4 Screenshot
When finish fixing your house and want to take a photo as a record, try the default hotkey method. "C" stands for printscreen method in Sims 4. It usually records the full screen in static.
By using the hotkey "C", you can take a snapshot from the Sims 4 game immediately. To find the image in the Sims 4 screenshots folder, go to \My Documents\Electronic Arts\The Sims 4\Screenshots.
Take Sims 4 Screenshots with EaseUS RecExperts
The benefits of EaseUS RecExperts are its flexibility and customization. Firstly, you can custom the hotkey you like, using your keyboard from F1 to F12. Here, you don't need to remember any combo rule. If you like F1, always use it to screenshot your gameplay. And the screencasting size of the Sims 4 image is customized as you like.
Besides, it's a functional tool to record screens, audio, and webcam. You can even record Sims 4 game while taking a snapshot. The in-game screenshots will be saved in PNG format.
Key Features:
- Take a snapshot with a custom hotkey
- Get a snapshot when recording the Sims 4
- Customize the capturing area freely
- Record the gameplay and the game audio with ease
Now, you can screenshot on Sims 4 for free! In the trial version, you don't need to register an account.
Follow the steps to take screenshots from Sims 4 on Windows 10 using this fantastic tool, EaseUS RecExperts.
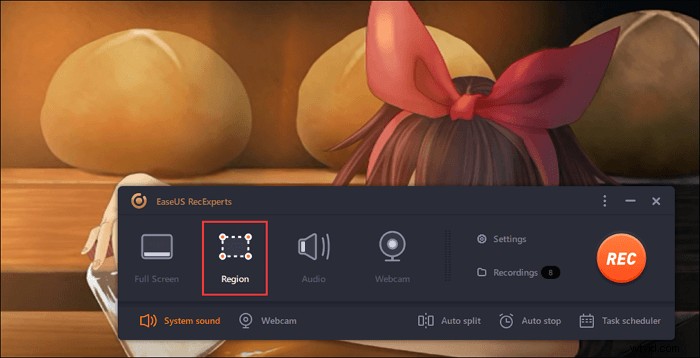
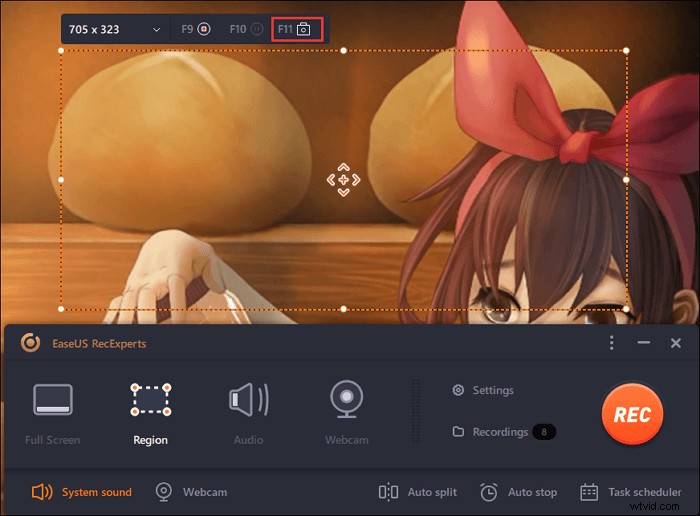
Step 1. Open this screen recorder. To take a snap for your screen, select "Region" from the main interface.
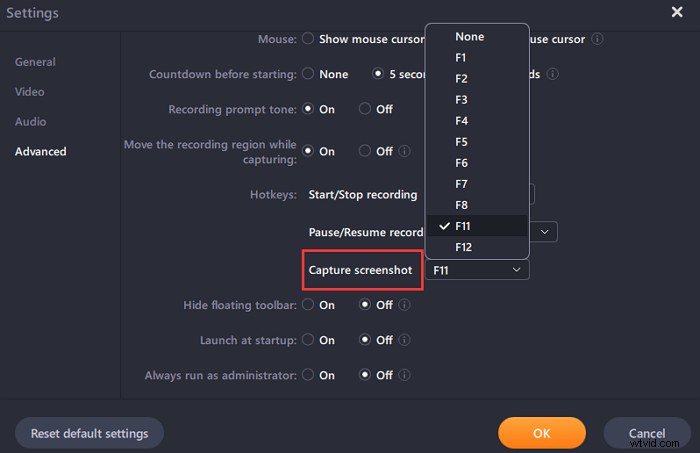
Step 2. Also, you can customize the hotkey of taking a screenshot. Click "Settings" to choose "Advanced". Then, change the hotkey from "Capture screenshot".
Step 3. Now, drag your mouse to select the desired screen area. Then, release the mouse and press the hotkey.
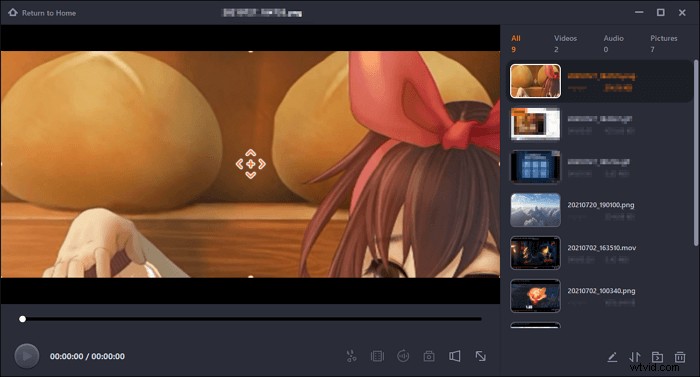
Step 4. After pressing the hotkey, the image is automatically saved on its "Recordings" and you can view it.
Screenshots on Sims 4 with Keyboard
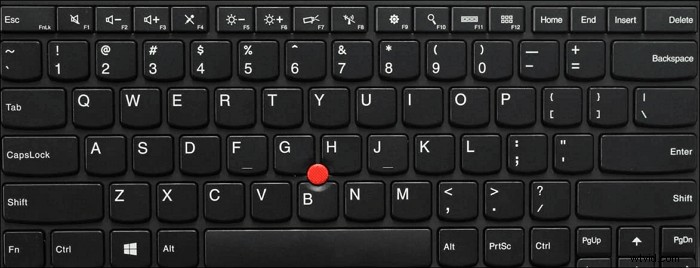
When you have a swimming pool in your house of Sims 4, be sure to take a screenshot to commemorate this precious moment. Apart from the above methods, don't forget you have the Windows keyboard. Depending on your computer model, find the PrintScreen on it. Then, follow the combo rules provided below.
- Take a full-screen: Press and hold down the Windows logo key + PrintScreen
- For part of screen/window on Windows 10: Hold down Alt + PrintScreen
- Customize the size of the Sims 4 screen: Use Windows logo key + Shift + S to select the target area
Take Sims 4 Screenshots via Snipping Tool
As a default tool, Sims 4 is a dedicated utility to save a favorite photo from your games. In this tool, you can choose the size, including a window, full-screen, custom size, and so on.
What's more, you can use the Delay function to make perfect work. Sometimes the delay can prevent you from taking the wrong place from the screen. Only need to open this tool and find the place to save the Sims 4 image.
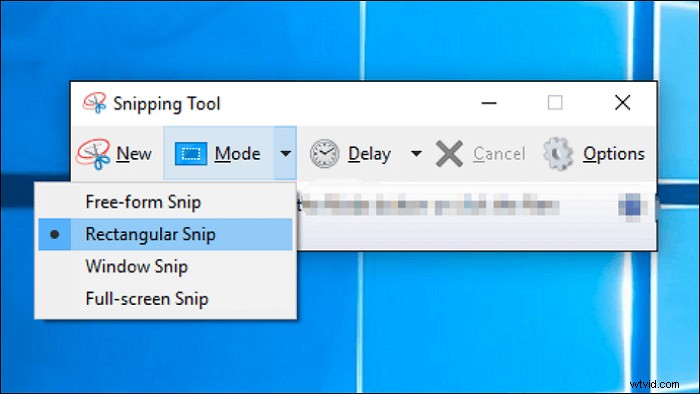
To open Snipping Tool on Windows 10: Type its name on the Windows searching bar(Open with the Start button). Then, click "Mode" and hit the arrow-down button or press Alt + M to choose the screenshot size.
Where are Sims 4 snapshots saved? It's usually be saved in a clipboard. Use Ctrl + S to save the snapshot and press Ctrl + C to pass it to the clipboard. You can try tools like Paint.
FAQs About Sims 4 Screenshots
Keep on reading these frequently-asked questions gathered from the public.
1. Where are my Sims 4 screenshot?
Try UI Board or C key when playing Sims 4 can provide you with screenshots of the Sims 4 game. If you finish playing and want to find the saving images, go \My Documents\Electronic Arts\The Sims 4\Screenshots. It is automatically saved in this gameplay screenshots folder.
2. How do you take high-quality screenshots on Sims 4?
You need to adjust your camera of the UI Bar. Firstly, use the Tab key to select the Camera mode. Then, for you to move the shooting position, you can use w,a,s,d,q,e keys to adjust it. Also, if you want to keep the position, try Ctrl + 5, 6, 7, 8 to fix the position. Finally, just hold down the C key to save it.
3. How to take Screenshots from Sims 4 on Mac?
For Sims 4 default methods, you can try them as well. The same operation as Windows in this game. Also, you can use Shift + Command + 5. However, the screenshots folder on Mac will be different. In most cases, you can find the in-game screenshots on the desktop.
Besides default methods, you can use EaseUS RecExperts to take a screenshot as well. It's more efficient and has more useful functions.