Google Earth offers a unique way to bring geographic data to life. Whether you’re creating travel intros, educational demos, or social‑media highlights, a well‑made Earth video can add a professional touch to any project. This guide walks you through the most reliable methods for recording Google Earth footage—using Earth Pro’s built‑in recorder, professional screen‑recording tools like Filmora and OBS—and then polishing the clip into a cinematic final product.
Part 1 – Record Directly in Google Earth Pro
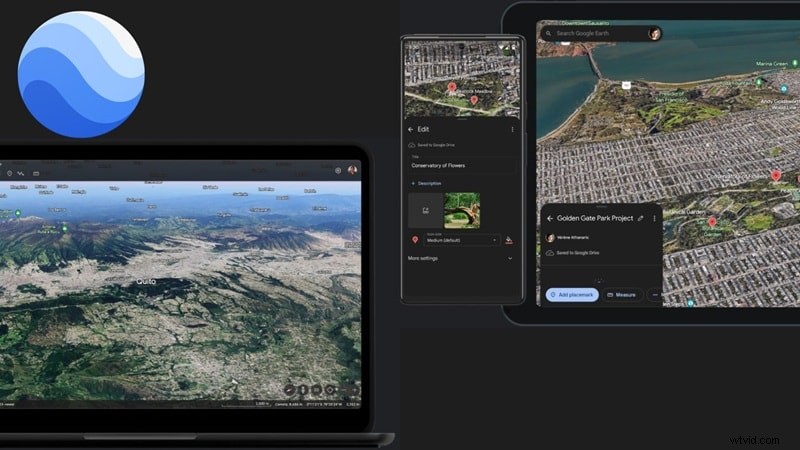
Google Earth Pro’s native recording feature is designed for beginners who want a clean, cinematic result without any post‑processing. It’s free, cross‑platform, and ships with intuitive controls for creating custom tours.
- Built‑in tour recording – Capture smooth camera movements.
- Custom path design – Plan fly‑over routes or point‑to‑point journeys.
- Automatic transitions – Cinematic fly‑overs for polished output.
- Easy export – Export as MP4, M4V, or WebM directly from Earth Pro.
Available on Windows, macOS, Linux, Android, iOS, and the web.
Step‑by‑Step Recording
- Install Earth Pro – Download for free from the official Google Earth website and launch the app.
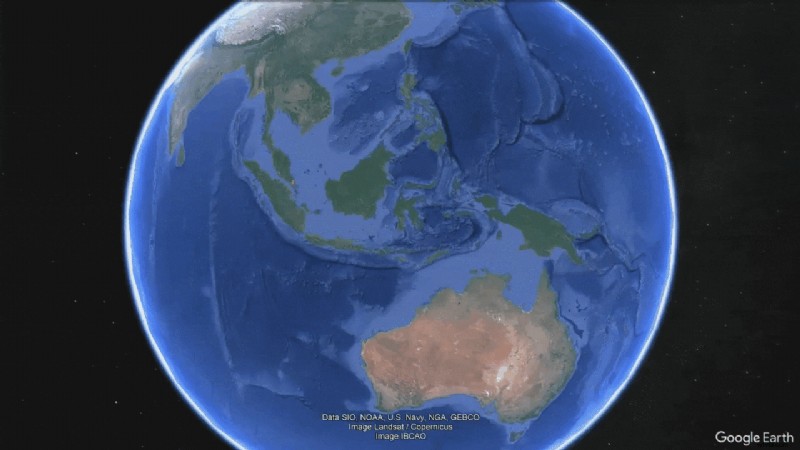
- Locate Your Destination – Use the search bar to fly to your chosen place. Save it to My Places with the yellow pin icon for later use.
- Start Recording – Click the camera icon, hit the red record button, and trigger the zoom animation by selecting your saved location.
- Save the Tour – After stopping, click the disk icon, then navigate to Tools → Movie Maker. Choose resolution, format, and destination, then hit Create Movie.
Part 2 – Capture with Professional Screen Recorders
While Earth Pro’s recorder is straightforward, it offers limited flexibility. Dedicated screen‑recording software lets you adjust resolution, frame rate, and capture only the Earth window—great for higher‑quality footage or creative overlays.
Option A – Filmora Screen Recorder
Filmora combines a user‑friendly recorder with an integrated editor, making it ideal for those who want a single‑app workflow.
- Stable recording with full resolution control.
- Instantly drop footage into the timeline for quick edits.
- Built‑in text, transitions, and cinematic filters.
- Pen Tool for drawing animated travel paths.
Recording Workflow
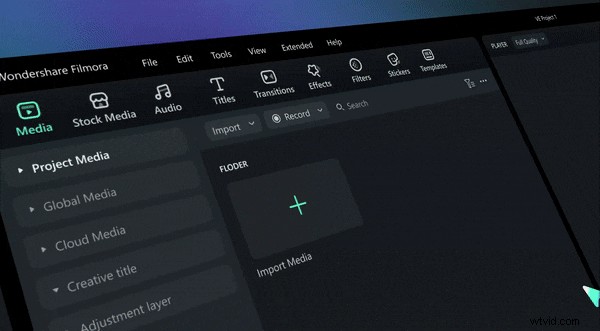
- Open Filmora – Go to Toolbox → Screen Recorder.
- Set Capture Area – Choose full screen or the Earth window; disable webcam if not needed.
- Record – Click the red button, play your Earth animation, then stop.
- Edit – Trim, add music, filters, or text directly in the timeline.
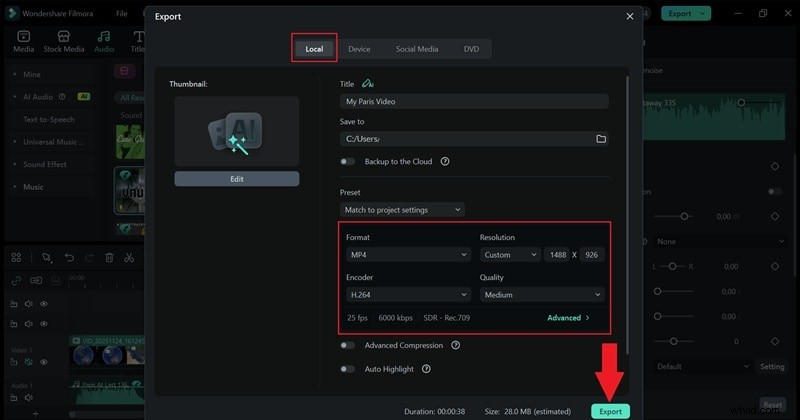
- Export – Choose format, resolution, and destination; export locally or share to social platforms.
Option B – OBS Studio
OBS offers granular control for power users who want to tweak bitrate, add multiple sources, or set up complex scenes.
- Open‑source and watermark‑free.
- Customizable bitrate, resolution, and encoding.
- Scene‑based setup for multi‑source captures.
- High‑quality recording of demanding Earth animations.
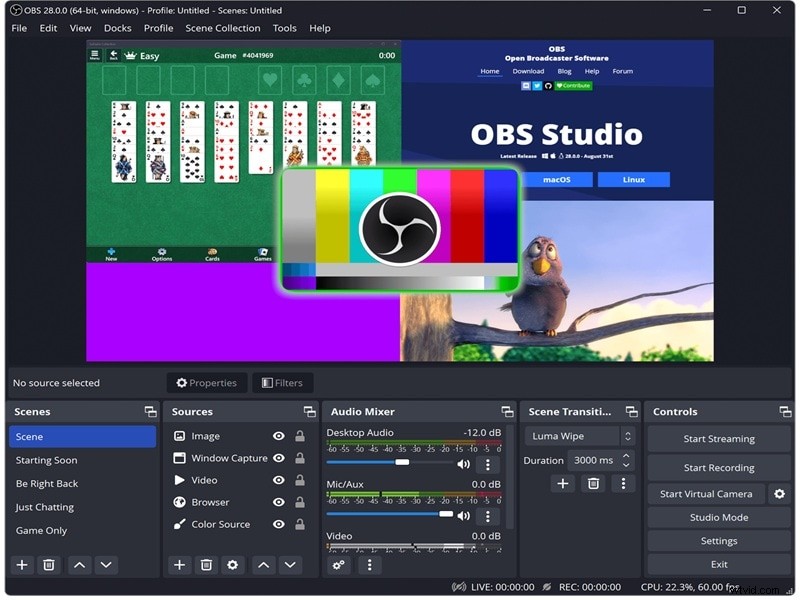
OBS Recording Steps
- Launch OBS – Add a Display Capture source.
- Configure – Name the source, confirm display settings, then click OK.
- Start Recording – Hit the Start Recording button, switch to Earth Pro, and play your animation.
- Stop and Save – Click Stop Recording; the file is saved to your recordings folder.
Part 3 – Transform Your Footage into a Cinematic Travel Video
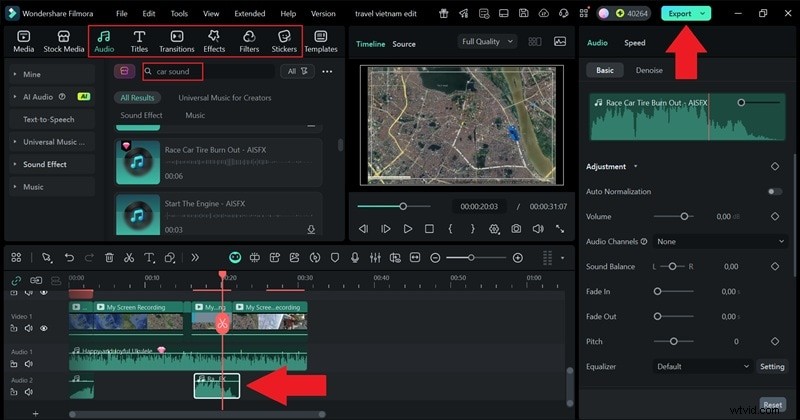
After capturing the raw footage, the real creative work begins. Filmora’s integrated editor and Pen Tool make it simple to overlay animated paths, add cinematic effects, and produce a polished final product.
Editing Workflow with Filmora
- Record Your Route – Use Filmora’s screen recorder to capture the desired Earth movement.
- Trim and Arrange – Drag the clip to the timeline and trim unwanted sections.
- Freeze Frame – Place a freeze frame at the point where you’ll start drawing the path.
- Draw Path – Open the Pen Tool from the Drawing Tools panel and trace your route on the freeze frame.
- Animate Path – Apply the Trim Path effect to reveal the line gradually, then link a travel icon (plane, car, etc.) using the Path Follow preset.
- Enhance – Add music, sound effects, or color filters to match the video’s mood.
- Export – Save the final video in your preferred format and resolution.
Conclusion
Creating a Google Earth video is a straightforward way to elevate any visual project, from travel vlogs to educational content. Whether you choose Earth Pro’s native recorder, the versatile Filmora workflow, or the powerful OBS setup, you’ll be able to capture stunning, smooth footage and turn it into a cinematic masterpiece. For a one‑stop solution that covers recording, editing, and creative enhancements, Filmora remains the most efficient choice—especially with its Pen Tool for dynamic travel path animations.

Filmora – ⭐⭐⭐⭐⭐
Best AI‑powered video editing software and app.