You can transfer photos from your computer to a Sony PSP so that you can view them on the portable gaming device. It's even possible to move PSP wallpaper to a memory stick and change your system's background.
Instructions in this article apply to both older and more recent PSP firmware versions.
What You Need to Transfer Photos to a PSP
To transfer files from a PC or Mac to a PSP memory card, you'll need the following:
- PSP
- Computer
- Memory Stick Duo or Pro Duo (usually included with the PSP)
- USB cable with a Mini-B connector on one end
How to Transfer Photos to a PSP Memory Stick
Follow these steps to move photos from your computer to your PSP:
-
Insert a memory stick into the slot on the left side of the PSP. Depending on how many photos you want it to hold, you may need one with a larger capacity than the one that came with your system.
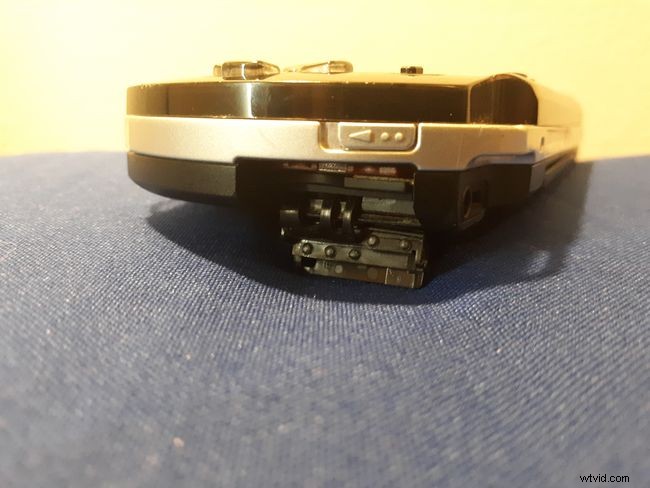
If you decide you need more memory, make sure you purchase a PSP-compatible memory card.
-
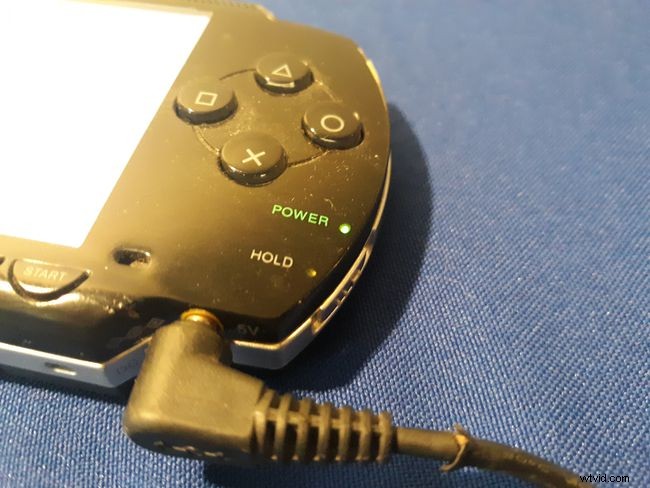
Turn on the PSP.
-
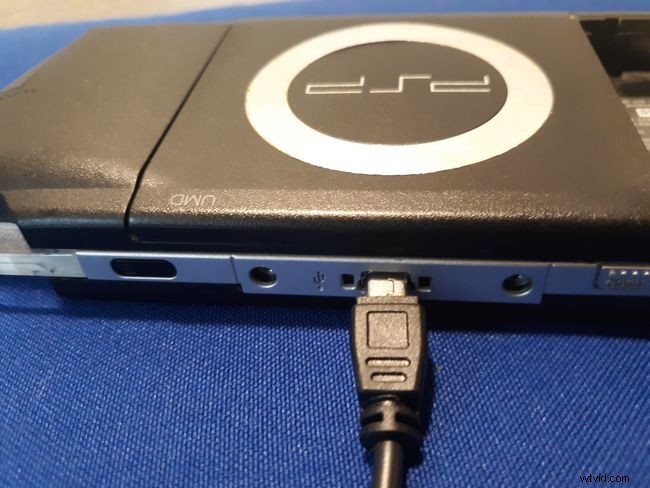
Plug the USB cable into the back of the PSP and into your PC or Mac. The USB cable needs to have a Mini-B connector on one end (that plugs into the PSP) and a standard USB connector on the other (that plugs into the computer).
-
Go to Settings > USB Connection on the PSP home screen and press the X button. Your PSP will display the words USB Mode, and your PC or Mac will recognize it as a USB device.
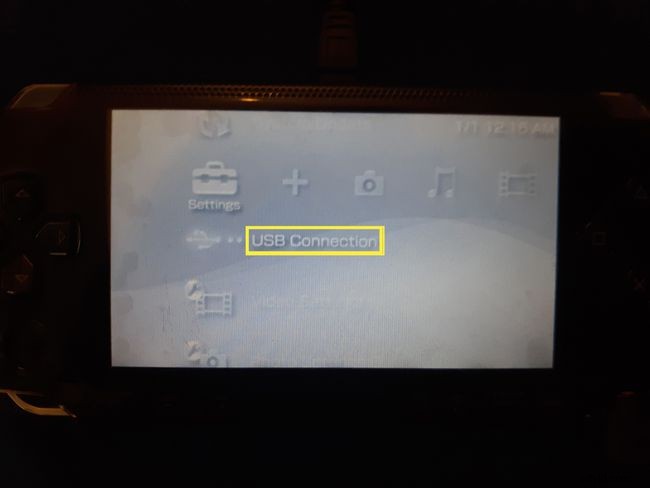
Your PSP may automatically go into USB mode when connected to a computer.
-
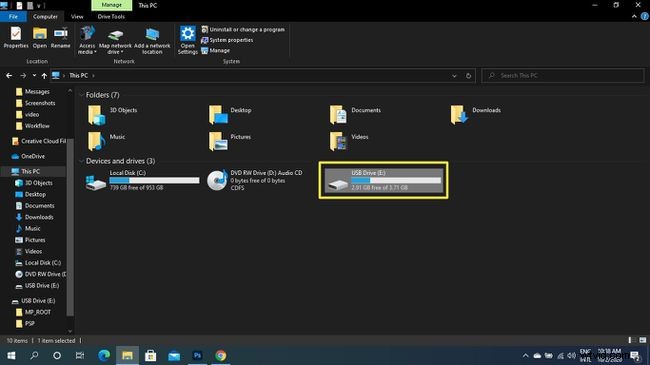
Open the PSP memory card on your computer. It may be listed as a new drive or as a Portable Storage Device.
-
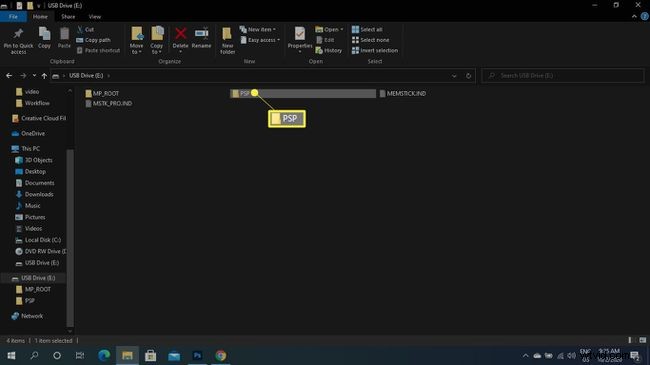
Create a folder named PSP on the memory card (if there isn't one already) and open it.
-
Create a folder named Photo on the memory card (if there isn't one already) and open it.
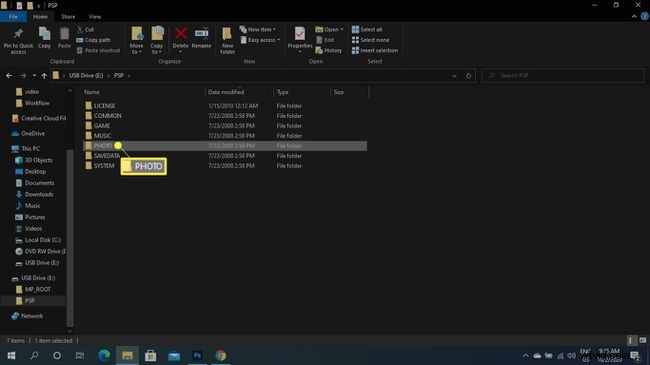
On newer firmware versions, the folder may be named Picture.
-
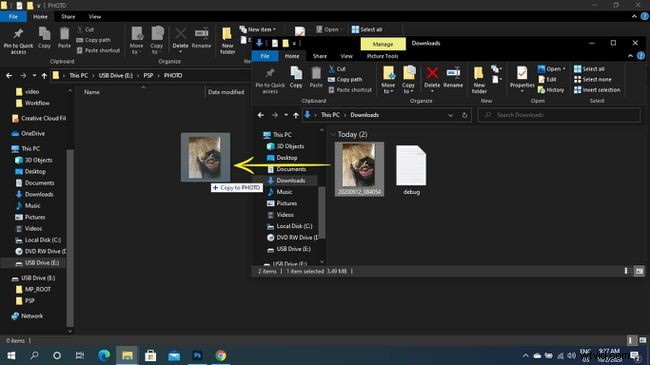
Drag-and-drop image files into the Photo or Picture folder.
-
Select Safely Remove Hardware on the bottom menu bar of a PC, or drag the USB storage device icon into the trash on Mac.

-
Unplug the USB cable and press the circle button on the PSP to return to the home menu.
-
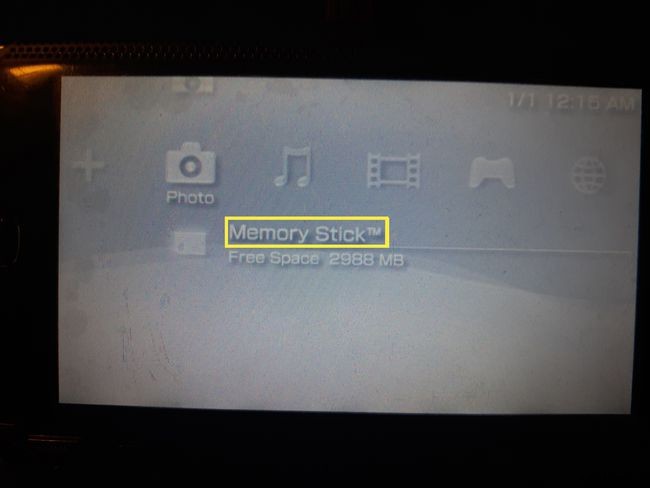
To view your photos, go to Photos > Memory Stick on the PSP home screen.
Setting the PSP Wallpaper
Select your photo to view it. To set it as the background for the home screen, press the Triangle button on the PSP, then select Set as Wallpaper. You can find custom PSP wallpapers online, transfer them to your system, and then set them as your background following the steps above.
Which Image Formats Can You View on a PSP?
You can view JGEP, TIFF, GIF, PNG, and BMP files on a PSP with firmware version 2.0 or higher. If your machine has firmware version 1.5, you can only view JPEG files. With recent firmware versions, you can also create subfolders inside the Photo folder, but you can't create subfolders within other subfolders.
In addition to photos, you can transfer and watch videos on your PSP as well.