
Loop lighting is an easy pattern to master and implement
Off‑camera flash can feel intimidating, but it doesn’t have to be. First, expose for your subject. Then, learn a few core lighting patterns. Once you’re comfortable with basics like loop lighting, you can shape the portrait to your exact vision.
Loop lighting is a straightforward technique that requires just one light and a clear sense of placement. In this tutorial, we’ll cover what it is, when to use it, and how to set it up step‑by‑step.
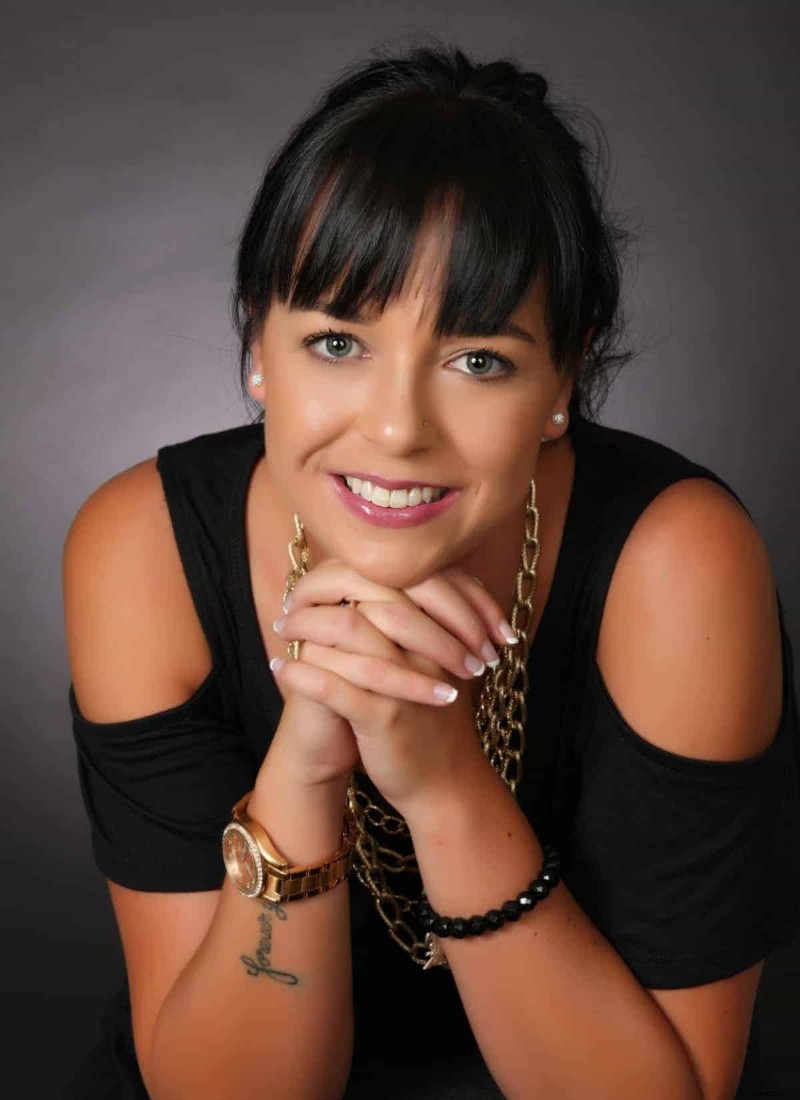
What is loop lighting?
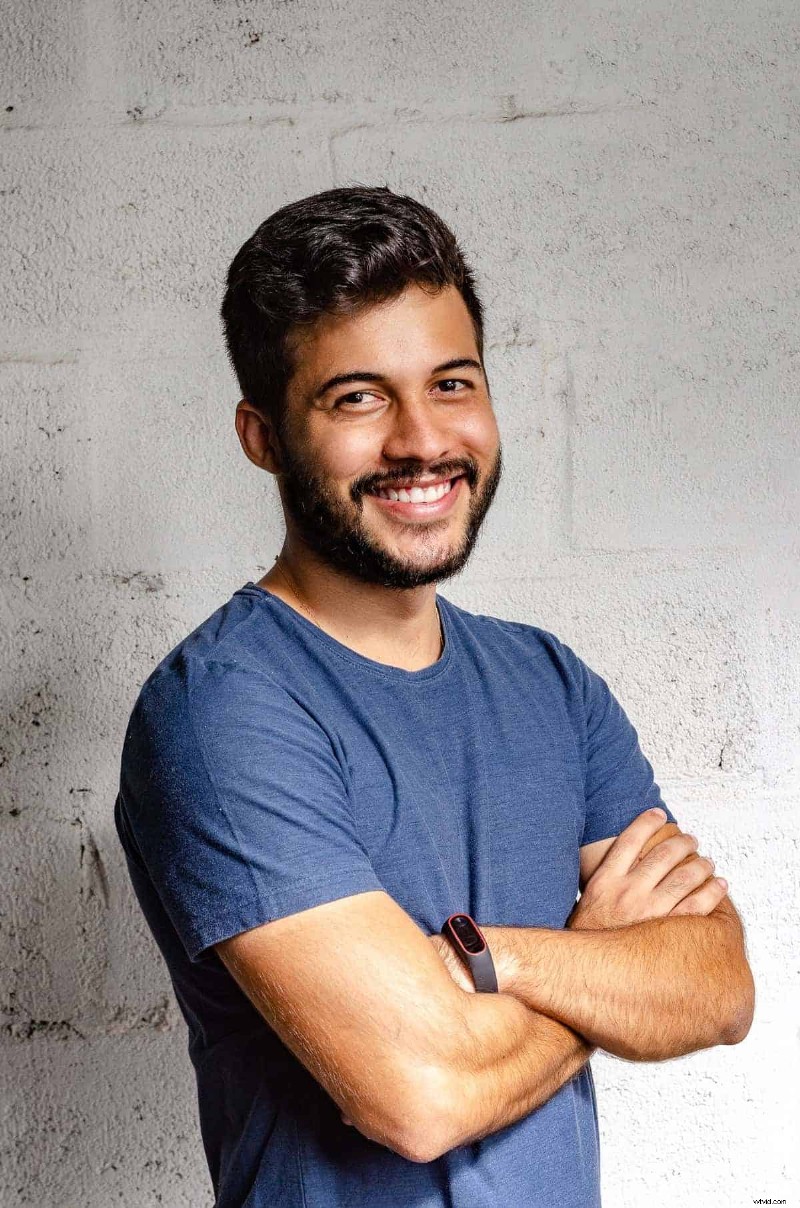
The name comes from the “loop” shadow that appears on the subject’s face—specifically the small, rounded shadow cast by the nose. When positioned correctly, the shadow starts near the tip of the nose and extends down the cheek, stopping short of the opposite cheek. This distinguishes it from Rembrandt lighting, where the cheek shadow touches the nose shadow.
The loop can be tight and sharp or soft and elongated toward the mouth, depending on the light’s angle, distance, and modifier. Many photographers unknowingly create loop lighting when they set a flash at roughly 45° to the subject.
Want to sharpen your portrait skills? We’ve compiled 18 actionable tips.
When should I use loop lighting?
Loop lighting is universally flattering. It offers more depth than flat lighting but is less dramatic than split or Rembrandt setups, striking a balanced middle ground. The technique subtly emphasizes cheekbones and can elongate an oval face, making it a go‑to for portraiture.
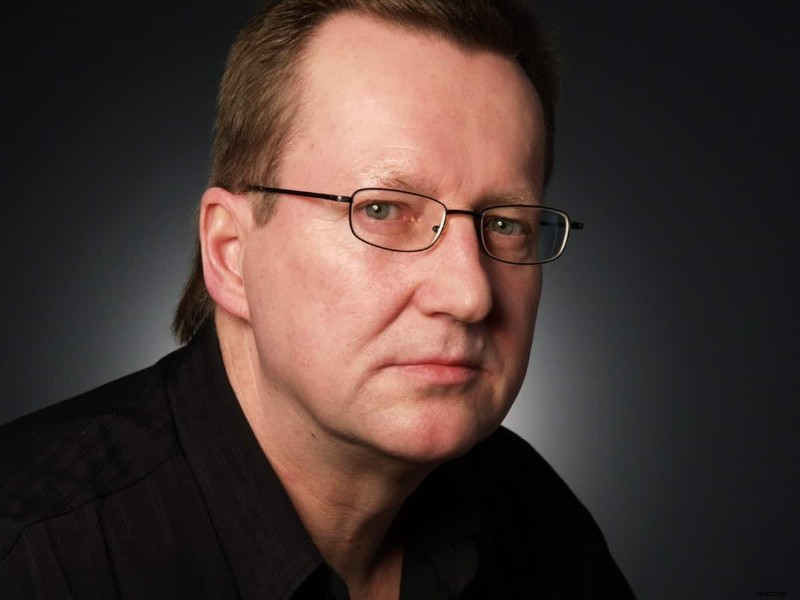
How to achieve loop lighting
1. Pose your model. 2. Position the light slightly above eye level and angle it downward so the shadow falls across the face. 3. Place the light at about 45° relative to the subject. Adjusting the angle to 30° or moving the light closer/further can fine‑tune the shadow’s shape and intensity.
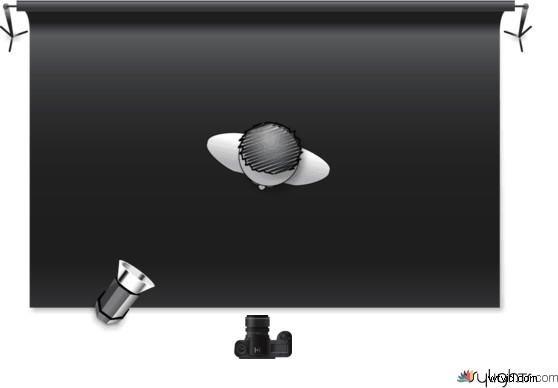
For softer shadows, add a reflector or a second light on the opposite side. A reflector closer to the model produces gentler light. When using a second flash, start at half power and dial in until the shadows retain definition without flattening the portrait.
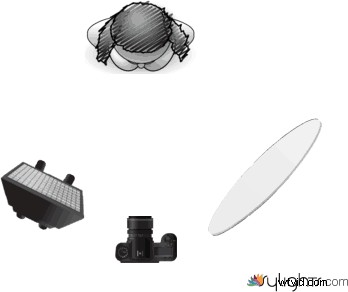
Remember: the main light controls the loop. Any additional lights—such as a background fill or a hair light—enhance the image without altering the core pattern.
Adding extra lights to loop lighting
Layering additional lights can create depth or highlight features. For example, a flash behind the subject can light the background or serve as a hair light pointing toward the back of the head. These elements are optional and do not change the fundamental loop effect.
What equipment do I need?
Loop lighting works with any light source—natural, flash, or continuous. A single light, whether a speedlight, strobe, or even a flashlight, is sufficient. Flash or continuous lighting is preferred because you can reposition the source easily, whereas natural light requires more environmental control.
Speedlights and strobes are ideal because many come with a modeling light, letting you preview the pattern before firing. Modifiers such as umbrellas, softboxes, beauty dishes, or the MagMod sphere can all produce loop lighting when positioned correctly; the light type is secondary to its placement.
[ad id=’1′]
Other common lighting patterns
In addition to loop, photographers often use:
- Butterfly lighting
- Split lighting
- Rembrandt lighting
- Broad lighting
- Short lighting
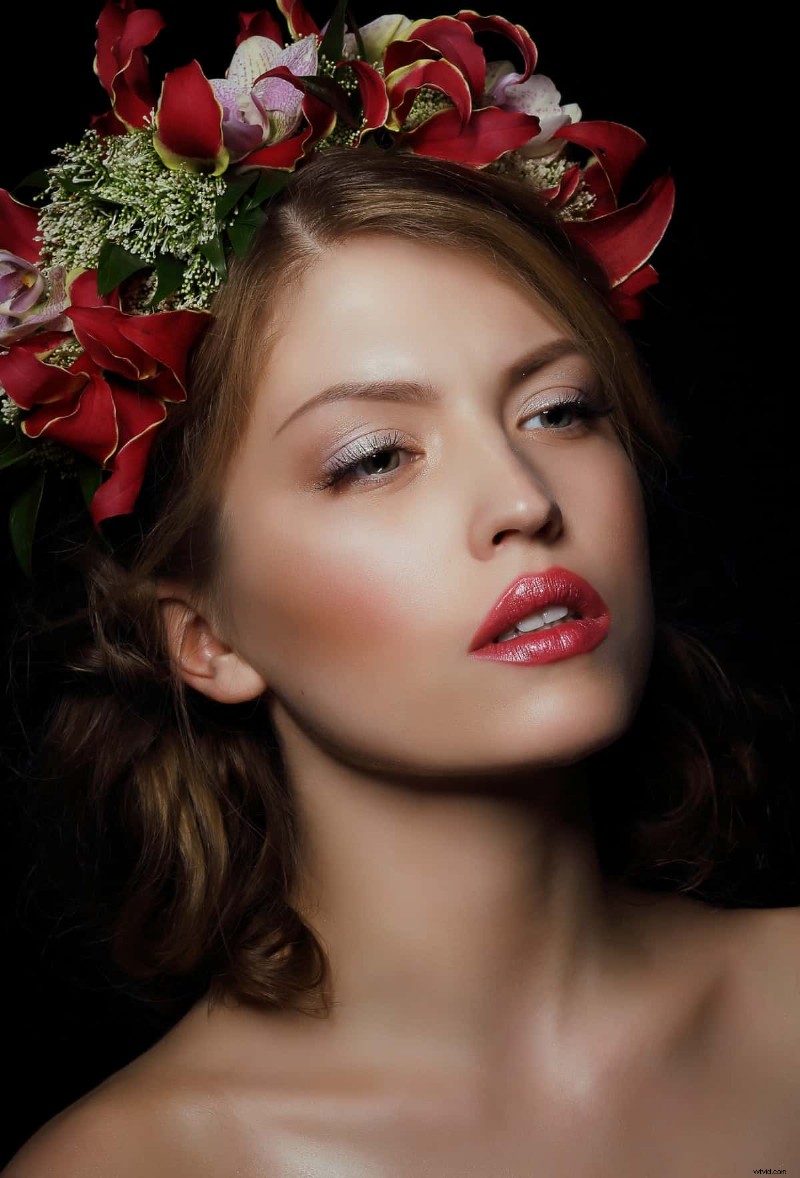
Rembrandt lighting positions the light at a 45° angle to create a triangle of light on the cheek opposite the light—a moody, high‑contrast look.
Split lighting divides the face in half, with one side fully lit and the other in shadow.
Butterfly lighting places the main light directly above and behind the camera, producing a butterfly‑shaped shadow under the nose.
Loop and Rembrandt often get mixed up, but the key difference is that the nose shadow in loop lighting never touches the cheek shadow. While terminology matters, the visual result is what ultimately counts.
Broad and short lighting refer more to style than a distinct pattern; they describe which side of the face is illuminated.
Mastering one light at a time
When beginning with off‑camera flash, it’s easy to feel overwhelmed by complex setups. Start with a single light and modifier, learn the fundamentals, then progressively add accents. Mastering loop lighting first gives you a solid foundation to explore split, Rembrandt, and other patterns with confidence.
Once you’re comfortable with the basics, expanding your setup becomes a natural progression.