
Elevate Your Portraits with Butterfly Lighting
Using a camera flash for portraits doesn’t have to feel intimidating. Butterfly lighting is one of the simplest and most joyful patterns you can master. With a single light and a reflector, you’ll quickly gain confidence shooting off‑camera flash.
In this article we explain why the name “butterfly” is used, how to set it up, and three compelling reasons to adopt this lighting pattern for your portraits.
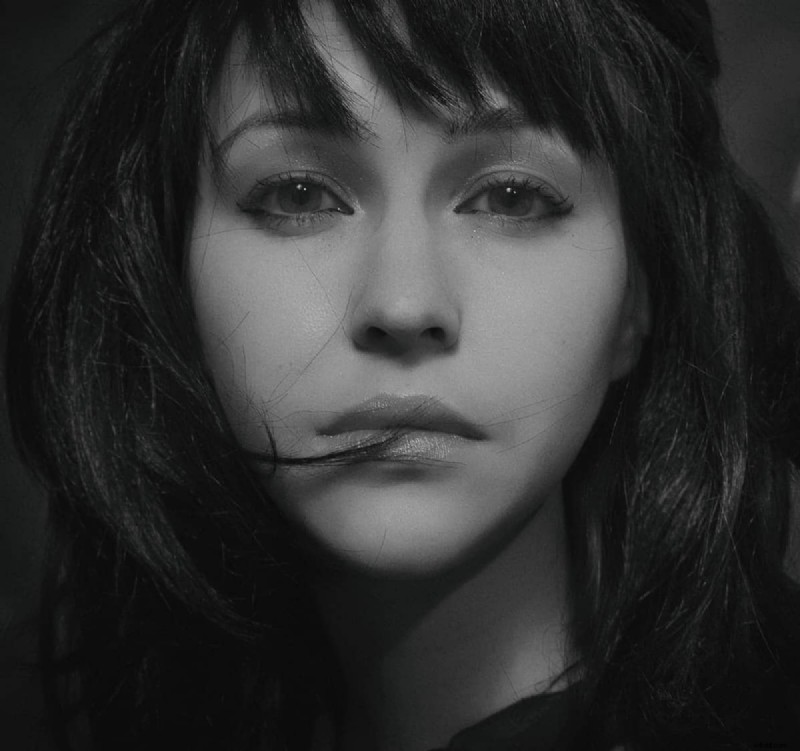
What Is Butterfly Lighting?
Butterfly lighting is a straightforward portrait technique. The name comes from the butterfly‑shaped shadow that appears beneath the subject’s nose when the light sits directly above and behind the camera.
If you can’t see the shadow, imagine a butterfly flying toward you with its wings spread; that’s the shape the light creates.
What Is Butterfly Lighting Used For?
This pattern is a staple in portrait photography and is also known as “Paramount Lighting,” a nod to its popularity at early Hollywood’s Paramount Studios.
It excels in beauty, fashion, and glamour shoots that require soft, flattering illumination.
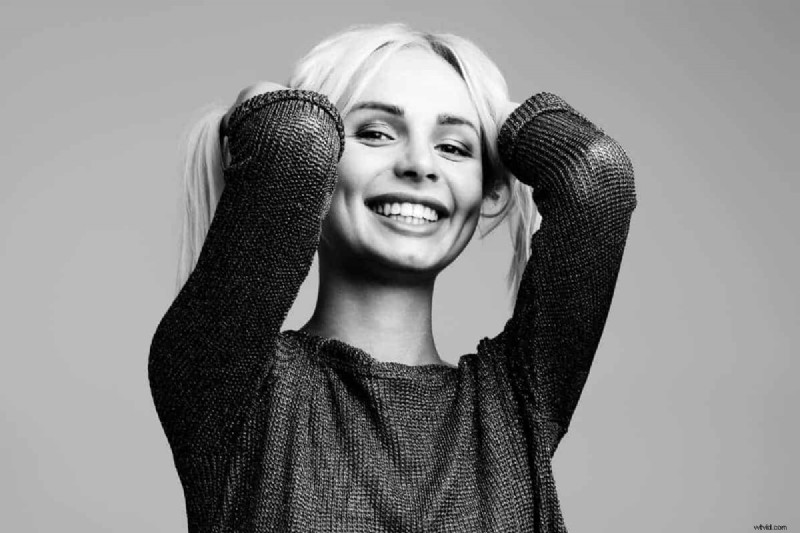
Three Reasons to Master Butterfly Lighting
#1. It Is Incredibly Flattering
Butterfly lighting accentuates cheekbones and delivers a glamorous, high‑end look—an effect that Hollywood’s leading ladies once prized.
#2. It Works Well on Older Subjects
While the light casts shadows under the cheeks and chin, it floods the rest of the face with brightness. This balance helps soften double chins and diminishes the appearance of wrinkles, giving older models a brighter, more youthful glow.
#3. It Is Simple to Set Up and Master
With just a single Speedlight and a reflector, you can create a professional‑looking portrait in studio or on location. Below is a quick guide to the core setup.
Explore our studio lighting basics tutorial for deeper insight.
How to Achieve Butterfly Lighting
A 1‑Light Setup
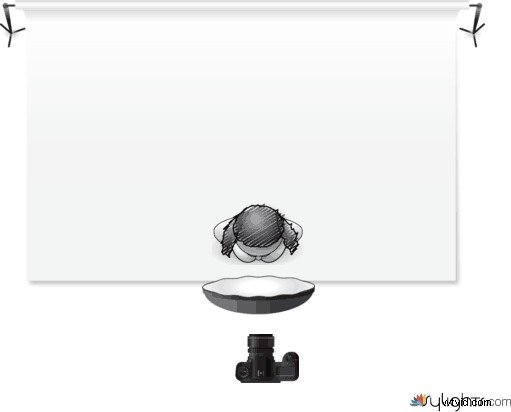
Begin with one light source—either a strobe or a Speedlight—paired with a modifier of your choice (softbox, beauty dish, or shoot‑through umbrella). Position the light directly behind the camera, slightly above the subject’s eye level. The light should sit about a foot above the subject’s head and a few feet in front of them, creating the signature butterfly shadow under the nose.
Fine‑tune contrast by moving the light closer or farther from the model and adjust flash power to maintain proper exposure.
Rotating the subject a few degrees will not alter the shadow as long as the light remains on the same axis as the camera.
Below is an example of a single‑light butterfly setup.
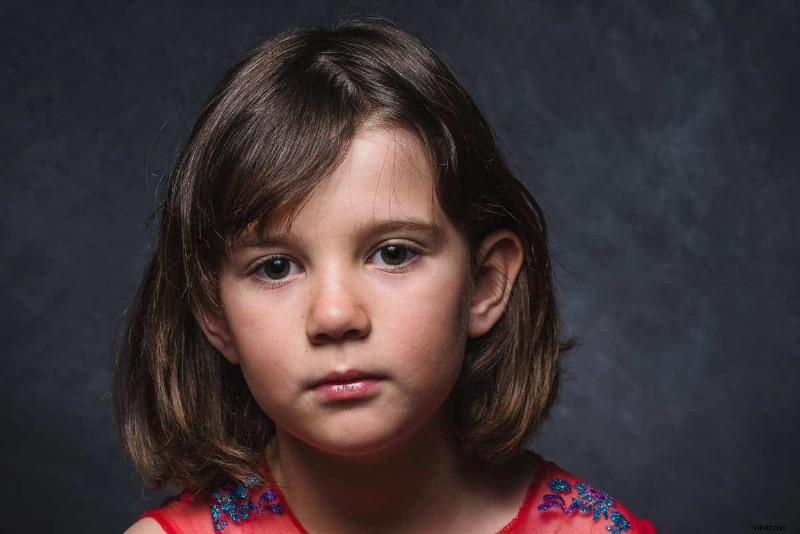
1 Light + Reflector
If the initial portrait looks good, you may keep the setup simple. However, to soften the chin shadows, add a reflector.
Place the reflector just in front of the subject, below the face and slightly outside the frame. The bounced light will illuminate the eyes and fill the lower facial shadows.
Closer reflectors produce softer shadows, so adjust flash power downward if necessary.
Below is an example with a reflector positioned just below the model’s chest.
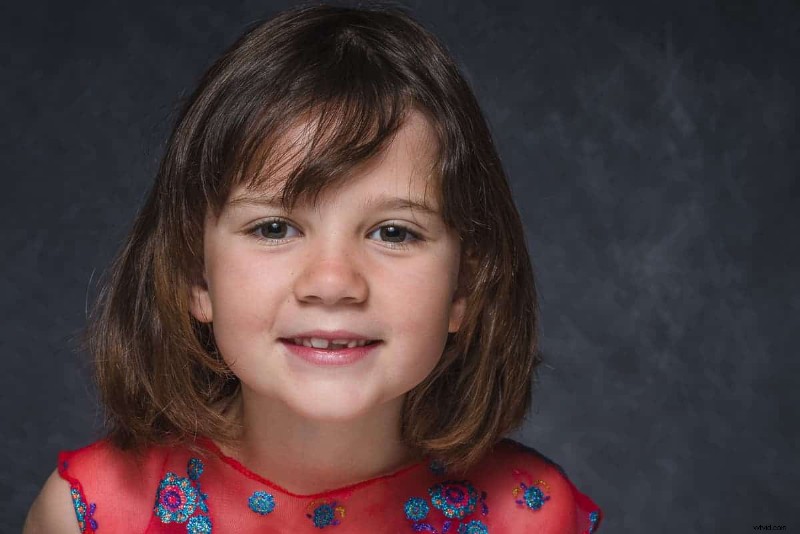
Two Lights (Clamshell)
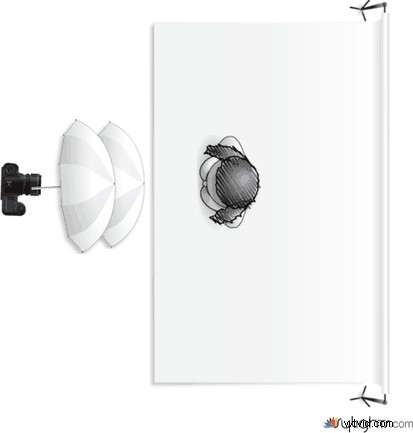
Some photographers prefer a true clamshell arrangement: the main light sits above and behind the camera, while a lower fill light points upward toward the model. Keep the fill light at least two stops weaker to preserve the butterfly shadow.
With careful positioning, this creates two catchlights in the eyes. If the double catchlights feel over‑dramatic, the reflector remains a solid alternative.
Watch Your Catchlights
Ensure the model’s chin stays slightly elevated so the catchlights remain within the eye openings.
Adding Extra Lights
Feel free to layer additional lights—such as a hair light, rim light, or a background light—to enhance depth and texture. The core butterfly pattern remains centered on a single main light aligned with the camera axis.
Butterfly Lighting for Group Portraits
For group shots, a single large on‑axis light positioned above the camera works beautifully. The uniform illumination keeps shadows from falling across different corners, resulting in balanced, professional portraits.
Do I Need a Strobe?
Butterfly lighting can be achieved with any light source: strobe, Speedlight, continuous lamp, or even natural light. The key is placing the light above and behind the camera. While natural light offers this position when the sun is overhead, controlling its intensity and direction is more challenging. Most practitioners therefore rely on artificial lighting to maintain consistency.
When to Avoid Butterfly Lighting
Butterfly lighting is ideal for women and subjects with a fuller face. It may not provide the slimming effect of shorter Rembrandt lighting for very thin or heavily defined faces. Experimentation is essential to discover which clients and looks benefit most from this technique.
Other Common Portrait Patterns
Beyond butterfly, photographers often employ:
- Rembrandt
- Split
- Loop
- Broad
- Short
Rembrandt uses a 45‑degree angle, producing a triangle of light on the cheek opposite the light source—a moody, high‑contrast option.
Split lighting divides the face in half, exposing one side fully while leaving the other in shadow.
Loop lighting places a small shadow of the nose on the cheek, distinct from Rembrandt’s shape.
Broad and short are stylistic descriptors that can apply to any of the above setups.
Butterfly lighting remains one of the most approachable patterns for new photographers. Its non‑intimidating name, ease of setup, and flattering results make it a valuable addition to any portraitist’s toolkit.
Keep the butterfly shadow in mind, practice with flash and models, and soon you’ll wield this pattern with confidence in any season.