
When and How to Use Rembrandt Lighting
If you hear the word "Rembrandt," you might think of a Dutch painter, a toothpaste brand, or a lighting technique. For photographers, the latter is the most relevant. In this guide we explain what Rembrandt lighting is, how to achieve it, and when it’s most effective.
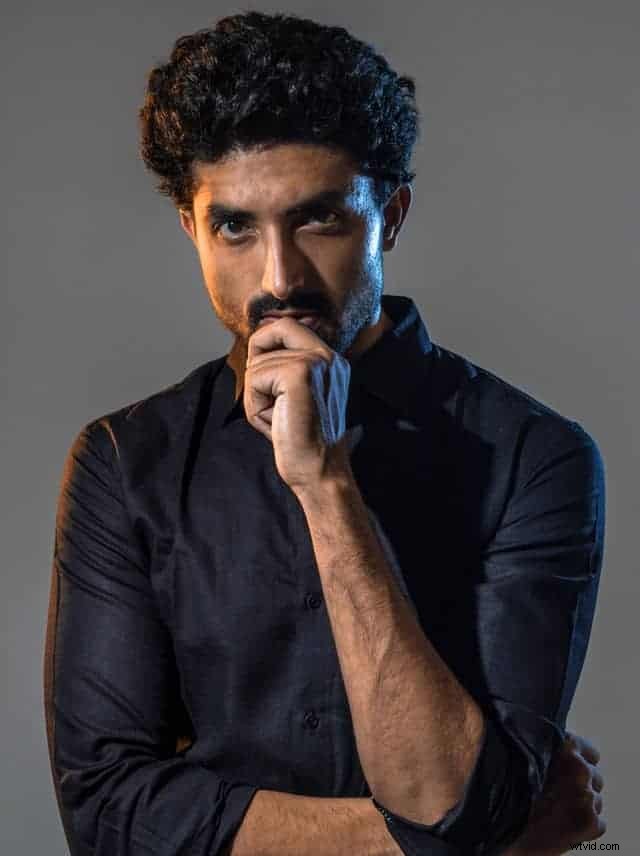
What is Rembrandt Lighting?
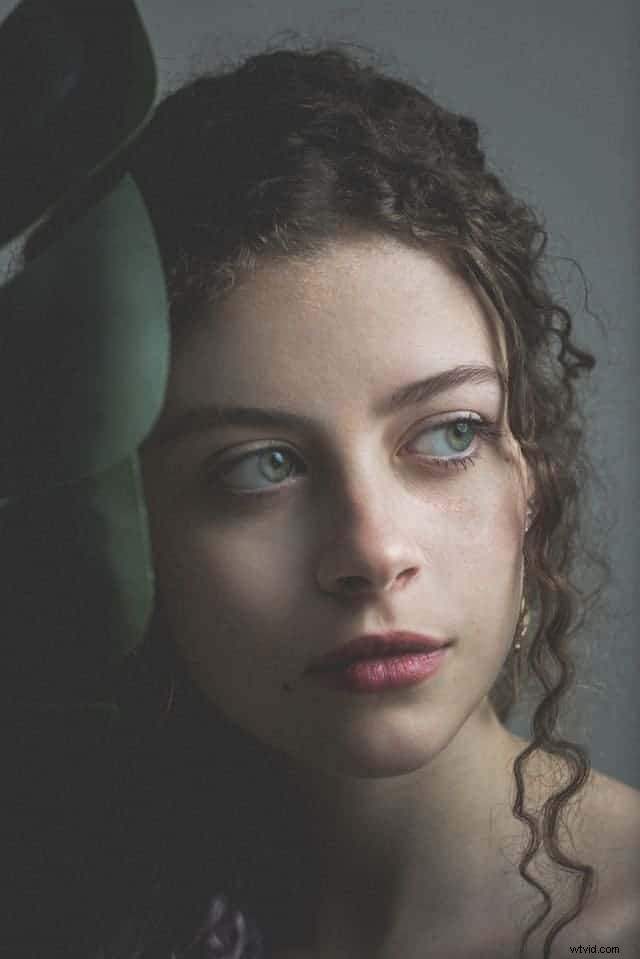
Rembrandt lighting is a classic portrait setup that typically uses a single off‑camera light. The key feature is a small triangle of light on the shadowed side of the face, illuminated from the far side of the camera. In a true Rembrandt, the triangle should be no wider than the eye and no longer than the nose, and catchlights in the subject’s eyes often mirror the same shape.
Want to master the flash buttons that make this possible? We’ve got a tutorial for you.
Why the Name Rembrandt?
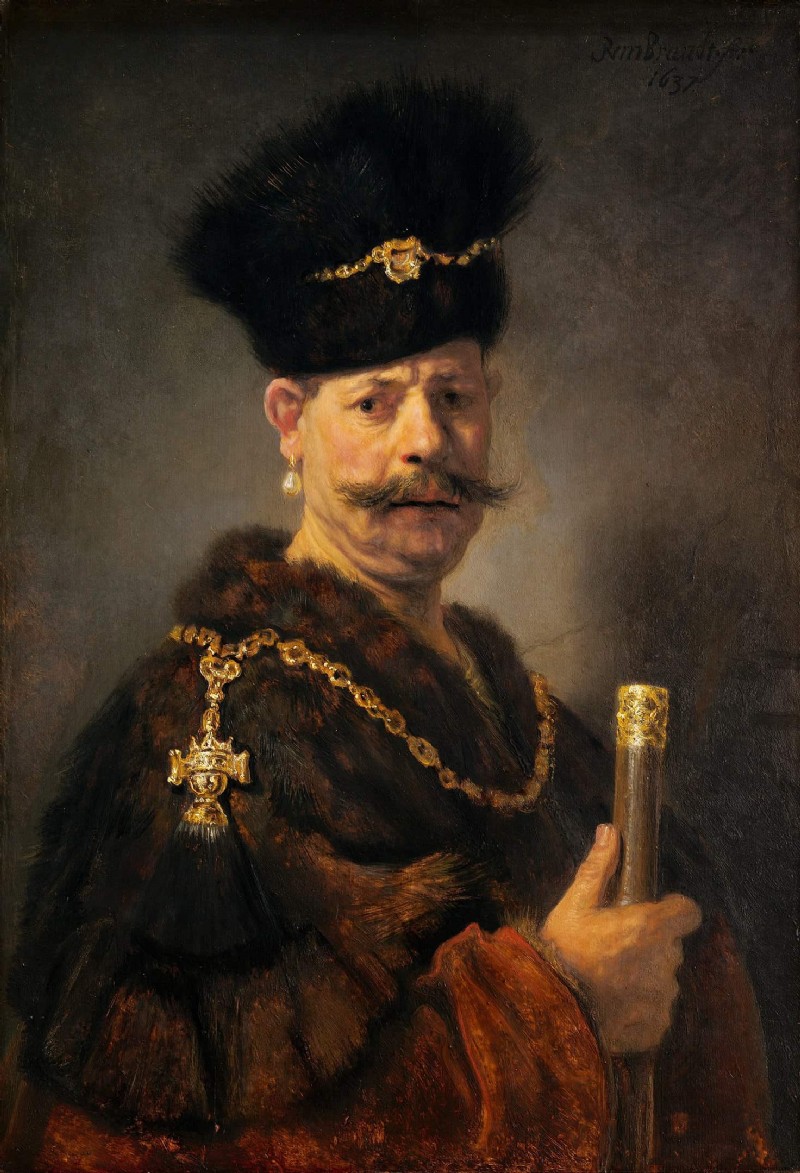
The style is named after 17th‑century Dutch master Rembrandt Harmenszoon van Rijn, whose self‑portraits and portraits frequently used this lighting. According to legend, filmmaker Cecil B. DeMille coined the term in 1915 on the set of “The Warrens of Virginia.”
You can see the technique in action in Rembrandt’s Polish Nobleman (courtesy of the National Gallery of Art, Washington, D.C.).
Why Use Rembrandt Lighting?
Rembrandt lighting adds drama and mood to portraits. The contrast between light and shadow draws the viewer’s eye to the illuminated triangle, creating a compelling and mysterious visual narrative.
How to Achieve Rembrandt Lighting
Rembrandt is one of the first patterns studio photographers learn because it requires minimal gear—just a single flash or any controllable light source.
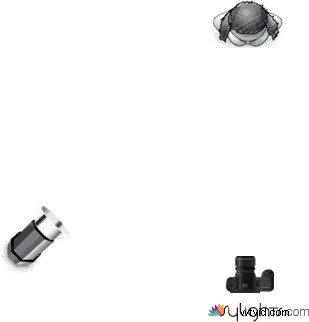
Single‑Light Rembrandt Setup
Place your key light at a 45‑degree angle to the subject, slightly above eye level and angled downwards. Adjust the subject’s position until the light triangle appears correctly on the cheek. The setup works best against a dark or neutral background to emphasize contrast, though it can be adapted for high‑key portraits.
Because the light must be off‑camera, a hot‑shoe speedlight alone won’t produce the classic Rembrandt effect.
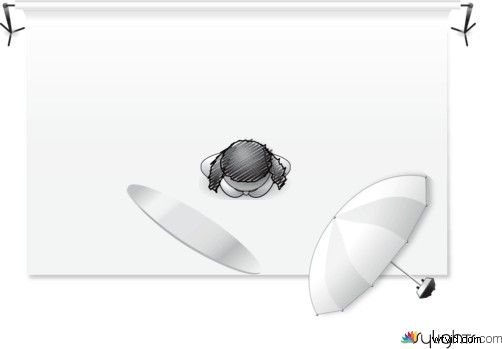
Two‑Light or Light & Reflector Setup
To soften the drama, add a fill light or reflector on the shadowed side at 45° to the main light. Set the fill to roughly half the power of the key light, preserving some shadow for depth.
Creating Separation
For background separation, introduce a third light behind the subject aimed at the backdrop. This lights the background without affecting the face, whether you’re using the single‑ or dual‑light Rembrandt setup.
Click here for more simple off‑camera lighting techniques!
Do You Need Strobes?
Rembrandt lighting isn’t limited to strobes. Continuous lights, natural light, even a flashlight or table lamp can produce the effect—what matters is how you control and position the light.
 Perfecting the Technique
True Rembrandt demands a triangle no wider than the eye and no longer than the nose. Adjust your subject’s head angle or the light’s angle to fine‑tune the shape. Practice is key; perfecting the triangle takes time, but the overall mood remains the goal.
Remember: art is subjective. As long as your portrait meets your creative intent, the exact triangle size is secondary.
Other Common Lighting Patterns
Rembrandt is just one of many studio lighting styles. Others include:
- Butterfly lighting
- Split lighting
- Loop lighting
- Broad lighting
- Short lighting
Split lighting divides the face into two halves—one fully exposed, the other in shadow.
Butterfly lighting produces a butterfly‑shaped shadow under the nose by positioning the light directly above and behind the camera.
Loop lighting creates a small nose shadow that does not touch the cheek shadow, differing from Rembrandt where the two shadows meet.
Broad and short lighting are styles rather than patterns. They refer to lighting the side of the face closest to or farthest from the camera, respectively.
 Mastering Lighting
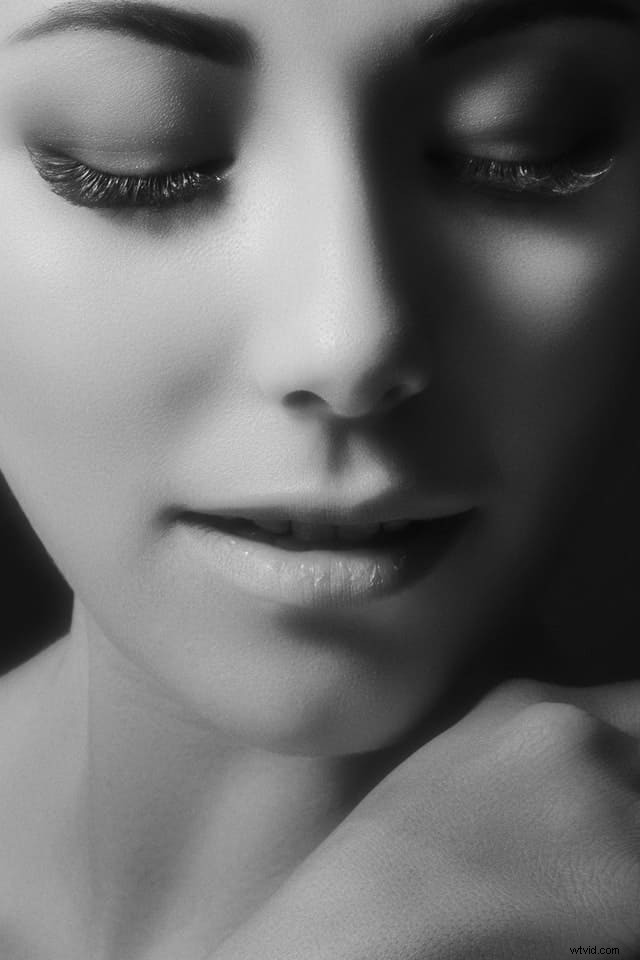
Mastering diverse lighting patterns elevates portrait work from good to extraordinary. Study each pattern, practice setting them up, and recognize their impact on form and mood. Once you grasp these fundamentals, spotting them in other photographers’ work becomes intuitive.
Start with Rembrandt lighting and progress to other styles. Whether you use off‑camera flash, continuous light, or natural light, the key is to understand and wield light strategically to create portraits that honor the legacy of Rembrandt himself.