
Flat light, golden hour, dappled shade—photographers talk about a wide range of lighting. In this guide we’ll break down what each term really means and why it matters to your work.
As you start your professional photography journey, you’ll encounter terms like flat light, skunky light, open shade, dappled light…and many more. The terminology can feel overwhelming, but understanding it helps you evaluate and use light to your advantage.
We’ll explain the origins of flat lighting, its pros and cons, and how to recognize it in the field. Then we’ll cover other key lighting concepts that every photographer should know.
Flat Lighting 101
Flat lighting is light that produces very little contrast. Highlights and shadows blend, giving the image a two‑dimensional, almost lifeless look.
Flat light is the least dramatic of all lighting styles. It’s often caused by broad, direct illumination—whether from an overcast sky, a direct flash, or the noon sun—where the light falls almost evenly across the subject.
Common Causes
Direct flash on the subject’s face, an overcast sky, or midday sun can all create a flat, even look.
Direct Flash
Think of the sterile, flat images in driver’s‑license photos or passport pictures. The on‑camera flash points straight at the subject, washing out contrast.
Experienced shooters avoid this by pointing flash upward or using off‑camera flash to bounce light and create depth.
Overcast Sky
Clouds spread sunlight like a giant softbox, diffusing the light evenly. The result is a soft, flat illumination ideal for portraits.
Midday Sun
When the sun is directly overhead, it can illuminate the subject evenly, flattening contrast. Moving away from the sun or changing angles can break the flatness.
Flat Light: Pros and Cons
Flat light offers a clean, even canvas that’s great for certain applications—fashion, beauty, and large group shots—because it hides imperfections and eliminates competing shadows.
But flat light also reduces depth of field and can make landscapes or architectural scenes feel lifeless.
When Flat Light Works
In beauty and fashion, flat lighting smooths skin, flattens wrinkles, and creates a flawless finish. Group photos benefit from uniform illumination, ensuring every member is evenly lit.
How to Avoid Flat Light
Flat lighting is avoidable. Use these practical tactics to add depth and interest to your images.
Time and Weather
Golden hours—just before sunset or after sunrise—offer warm, directional light with gentle shadows. Blue hour, the brief twilight after sunset, provides a cool, diffused glow.
Midday is often too harsh. Shoot early or late to capture richer tones.
Scout Your Location
Knowing the site’s light source, shade patterns, and reflective surfaces helps you plan gear and composition.
Create Your Own Light
Use an off‑camera speed‑light or a light stand to add fill. Even an on‑camera flash can work if you change angles or add a reflector to bounce light back into the frame.
Reflectors are excellent for filling shadows on a sunny day—position them opposite the light source and adjust the angle.
Compose Strategically
Shift the subject to avoid bright spots in dappled light. Exclude the sky during overcast conditions, or tilt the camera to create contrast.
Understanding Dappled Light
Dappled light appears as speckled patches of brightness—think trees, window blinds, or stained glass. It can be beautiful, but can also create distracting spots on faces or clothing.

Understanding Artificial Light
Artificial light includes lamps, flashes, and overhead fixtures—anything that’s not sunlight.
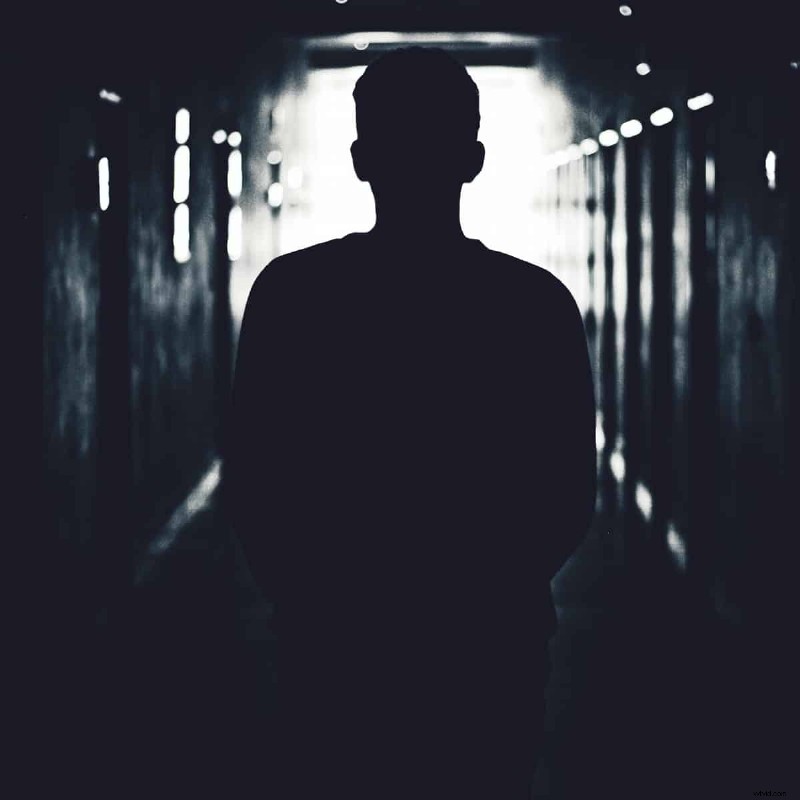
Backlighting
Backlighting occurs when light comes from behind the subject, producing dramatic silhouettes or rim lighting.
Rim Lighting
Rim lighting places a light source slightly behind and to the side, illuminating the edges of the subject and separating it from the background.
Open Shade vs. Deep Shade
Open shade is light reflected from the surrounding environment, producing soft, flattering illumination. Deep shade occurs when very little ambient light reaches the subject, creating darker, more intense shadows.
Golden Hour vs. Blue Hour
Golden hour—sun low, warm tones—creates long, soft shadows. Blue hour—after sunset—offers a cool, gradient sky ideal for cityscapes.
Understanding Light
Mastering light is the foundation of photography. Observe its direction, quality, and the way shadows shift. Use this knowledge to shape the mood and story of your images.
Study the work of others: notice how they use flat light, rim light, or backlight to create depth and emotion.
Ask the right questions—about lighting, gear, and composition—and you’ll be well on your way to becoming a professional.
Additional Resources
Check out our guides on golden hour shooting, rim lighting techniques, and more.