
Photography can be a costly pursuit, but you don't have to break the bank to light your shots. Below are 15 practical, budget‑friendly lighting hacks that have been tested by photographers worldwide.
Each idea uses everyday items—often things you already own—and requires only a few minutes of assembly. Whether you’re shooting portraits, products, or scenes, these DIY solutions will give you the control and quality you need without the high price tag.
1. DIY Bounce Wall From Household Items
Photographers know that hard, direct flash can flatten features. A bounce wall diffuses the light, producing softer, more flattering illumination. With under a dollar, you can build one from items you likely have at home.
- Wire hanger
- Cardboard
- Aluminum foil
- Clothespins
- Duct tape
- Adhesive
- Old tripod or adapter screw
Wrap the cardboard in foil, bend the hanger to create a 45‑degree arm, and secure the foil reflector with a clothespin. Attach the arm to your camera using the screw and tape. Adjust until the light reflects evenly on your subject.
2. Echaroux‑Inspired Burger Box Light
French photographer Philippe Echaroux repurposed a Big Mac box and a flashlight to create a low‑cost, portable light source for iPhone portraits. The trick is to let the box’s reflective interior soften the beam.
Materials (under $5):
- Empty burger box
- Flashlight
- Straw
Cut a small hole in the bottom of the box for the flashlight, and a slotted opening in the lid for the straw. The straw pushes against the bottom to keep the flashlight in place. For extra glow, a thin film of oil from fries can be applied to the top surface, creating a subtle sheen.
3. Pringles Can Snoot for Hair Highlights
A snoot narrows a light beam, ideal for spotlighting hair or creating selective highlights. An empty Pringles can makes a perfect, inexpensive snoot.
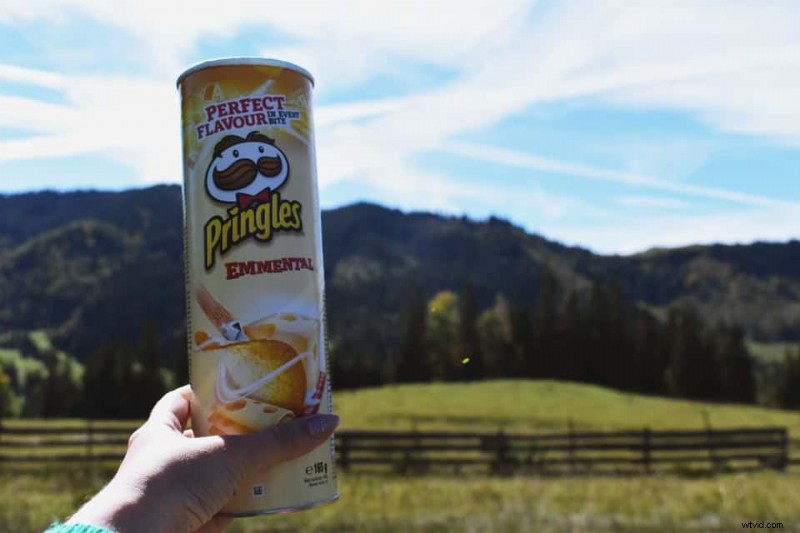
Cut the bottom off the can, tape the flashlight into the top, and point it at your subject. Adjust distance for the desired intensity.
4. Vintage Lens Leak With a Clear Plastic Bag
To add a nostalgic, soft‑blurred effect without post‑processing, drape a clear zip‑lock bag over your lens. The irregular edge produces a gentle light leak.
- Clear bag (zip‑lock works best)
- Scissors
- Markers (optional, for colored leaks)
Cut an uneven opening at the bottom, ensuring the lens remains uncovered. Slide the bag over the lens, then move it during exposure to vary the effect.
5. Milk Jug Flash Diffuser
Hard flash can be mitigated with a simple diffuser. An empty plastic milk jug, cut to fit over the flashgun, spreads light evenly.
- Plastic milk jug
- Scissors
- Scotch tape
Trim the top off the jug, then position the remaining section over the flash. Secure with tape. The diffuser softens the beam, producing warmer, more natural portraits.
6. Balloon Softbox
A white balloon can function as a compact softbox when attached to a flashlight. The curved interior scatters light, reducing harsh shadows.
- White balloon
- Small flashlight
Inflate the balloon and place the flashlight’s head in the neck. Experiment with different balloon sizes for the desired fill and spill. Lighter balloons yield softer light.
7. Printer Paper Flash Diffuser
When you need a quick diffuser, a sheet of plain white printer paper suffices.
- Blank white printer paper
- Scissors
- Tape
Fold the paper over the flash, making two slits on either side to allow the light through. Secure with tape. The result is a gentle, cost‑free diffuser.
8. Colored Light Cylinder
Introduce color into your lighting with a clear plastic bottle filled with colored gels or cellophane.
- Clear plastic bottle
- Flashlight
- Colored gels or cellophane
Insert the color material, then slot the flashlight into the opening. Rotate the bottle to achieve different hues on your subject.
9. Honeycomb Flash Grid
A flash grid limits spill and focuses light on your subject. Construct one with black straws and cardboard.
- Black straws
- Ruler
- Masking tape
- Sharp knife or scissors
- Cardboard
Cut equal lengths, assemble them into a honeycomb pattern, and attach to the flash. Adjust straw length to modify the light spread.
10. DIY Bokeh Cutouts
Control background blur by placing custom cutouts over your lens. Create shapes that suit the mood of your shot.
- Pencil
- Scissors
- Scotch tape
- Black paper
- Box cutter
Measure your lens diameter, add a few millimeters, then cut a circle on thick black cardboard. Carve your chosen shape, tape it over the lens, and capture the desired bokeh.
11. Cardboard Shadow Masks
Generate dramatic shadows with simple cardboard masks. Cut slits, shapes, or patterns to sculpt light.
Use scissors to cut designs, then hold the cardboard over the light source. Add colored cellophane for tinted shadows if desired.
12. White Light Tent for Product Shots
A light tent evenly illuminates subjects and eliminates background distractions. Build one from a cardboard box and white fabric.
- Appropriate‑size cardboard box
- White fabric
- Masking tape
- White Bristol board
- Lamps
- Box cutter
- Measuring tape
Measure and cut four side panels, leaving a 2‑inch border. Attach white fabric to three sides and the top, securing with tape. Place lamps inside to create a diffused, flat light field.
13. Budget Ring Light
Ring lights offer even, flattering illumination for portraits. A DIY version can be assembled for about $25.
- Aluminum foil
- Wax paper
- Zip ties
- LED rope light
- Tape
- Scissors
- Wire wreath
Wrap the LED rope in the wreath, line it with foil and wax paper, then secure with zip ties. Attach the finished ring to the camera lens using a suitable mount. For faster builds, consider an aluminum turkey pan as a beauty dish alternative.
14. Lightsaber‑Style Futuristic Light
Add a playful, sci‑fi vibe with a DIY lightsaber built from a flashlight and paper.
- White paper
- Flashlight
- Scissors
- Scotch tape
- Aluminum foil
Wrap paper around the flashlight tip, extend with additional sheets for length, and cover the end with a paper circle. For brighter illumination, line the tip with foil.
15. Softbox With Professional‑Quality Results
With a few household items, you can create a softbox that rivals commercial models.
- Box cutter
- Glue
- Cardboard
- Aluminum foil
- Binder clips
- Velcro tape
- Shower curtain
Cut four cardboard panels to the desired size, coat them with foil, and secure with clips. Use the shower curtain as a diffuser, ensuring the plastic stays away from bulbs. Attach the panels to form a box, then place a light source inside for evenly spread illumination.
Build Your Low‑Cost Studio Today
These fifteen hacks demonstrate that quality lighting doesn’t have to come with a high price tag. Whether you’re shooting product images, portraits, or creative scenes, the right light can transform your photos. Experiment with these ideas, tweak the designs, and enjoy the creative freedom of a DIY studio.