
Backlighting—when the sun becomes a silhouette‑creating engine—offers photographers a chance to add depth, drama, and a signature glow to their images. While the technique can feel intimidating at first, a few foundational principles and practical adjustments make it approachable for both beginners and seasoned professionals.
1. Position Yourself and Your Subject Correctly
In backlight photography, you face the light source while your subject stands between you and the sun. This arrangement lets the light outline the subject’s edges, creating a halo effect that can be both subtle or dramatic, depending on your creative intent.
2. Shoot in Manual Mode for Full Exposure Control
Manual settings give you the authority to balance the bright backlight with the darker foreground. Aperture choice directly influences the quality of the light: a wide aperture (f/2.8–f/4) yields a soft, dreamy glow, whereas a narrower aperture (f/5.6–f/8) can produce sharp starburst flares.
The lens you use will also affect the result; however, high‑quality results can be achieved with modest gear—my 50mm f/1.8 lens, for instance, delivered stunning flares for just $99.
Recommended Camera Settings
Start with a wide aperture (f/2.8–f/5.6) and a shutter speed between 1/100 s and 1/640 s. Keep ISO low (around 100) to preserve image detail. Slight overexposure is often necessary to counteract the shadowed front of the subject.
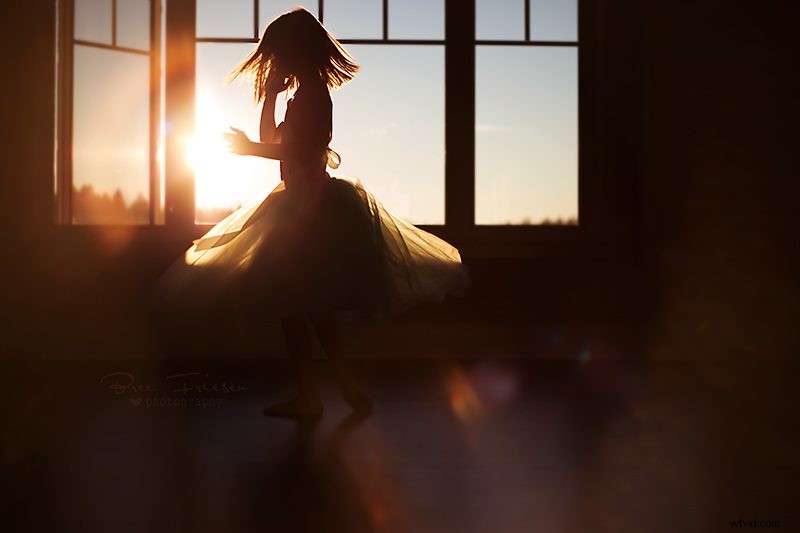
3. Capture the Golden Hour Light
The soft, warm illumination that follows sunrise or precedes sunset—known as golden hour—is ideal for backlighting. Avoid shooting on overcast days or during mid‑afternoon when the sun’s intensity can overwhelm your composition.
4. Master Spot Metering for Accurate Exposure
Spot metering focuses the camera’s light measurement on a tiny area—usually the subject’s eyes. This technique ensures that the darker front of the subject is properly exposed, preventing underexposure while maintaining the luminous back.
5. Use a Reflector to Balance Contrast
A reflector bounces ambient light back onto the subject, softening harsh contrasts and adding a gentle rim light. It also helps maintain a cohesive background, reducing the risk of a washed‑out backdrop.
Practical Techniques and Creative Variations
Place your subject just outside the direct beam, allowing you to expose for the foreground while preserving a luminous background. This positioning yields dimensional lighting and pleasing bokeh.
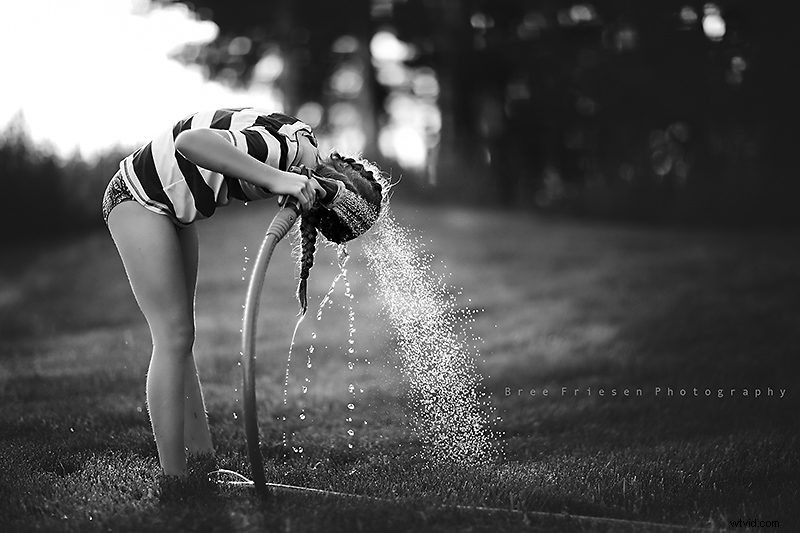
Obscured Backlighting
To avoid a pure silhouette, meter off the subject’s face and then reduce exposure by one or two stops. Introducing foliage or other natural elements between the sun and your subject can soften the backlight, preventing flare and preserving detail.
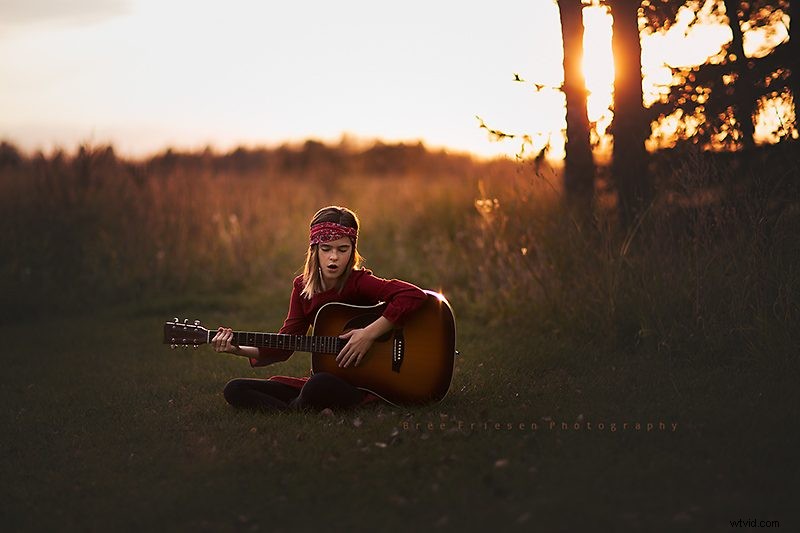
When exposing, aim for a slight underexposure to keep highlights controlled and the background rich. A reflector can further help the subject stand out without blowing out the back.
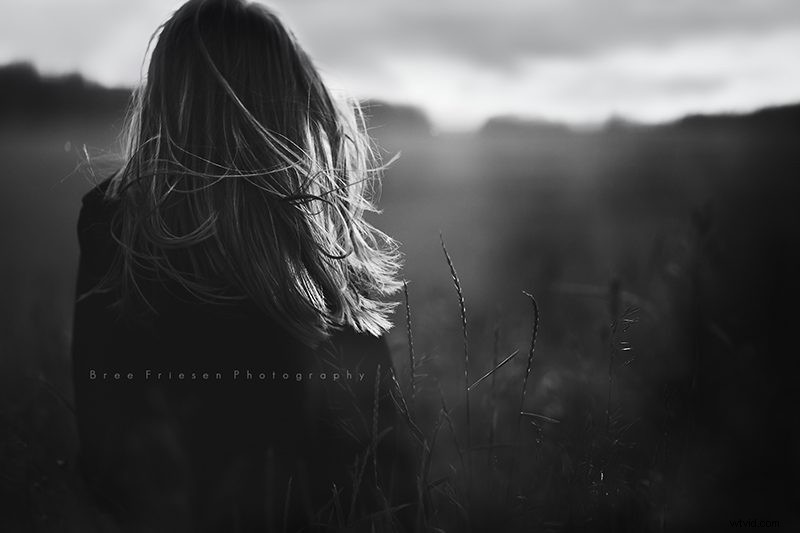
Centering the Sun in Your Frame
Sometimes the story lies in the light itself. In such cases, deliberately underexpose by 3–4 stops to showcase the sun’s warm tones while cutting haze.
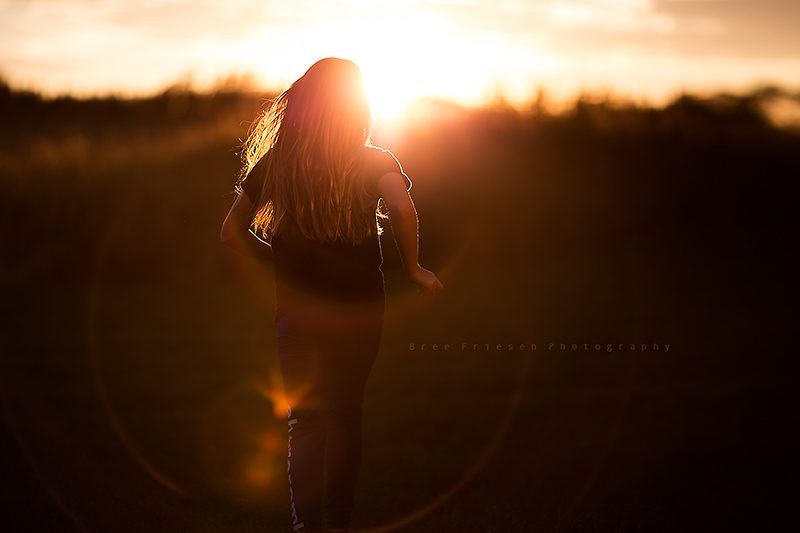
Introduce motion by shooting fast subjects—use a wide aperture (f/1.2) and a higher shutter speed to freeze movement while keeping the backlight’s richness.
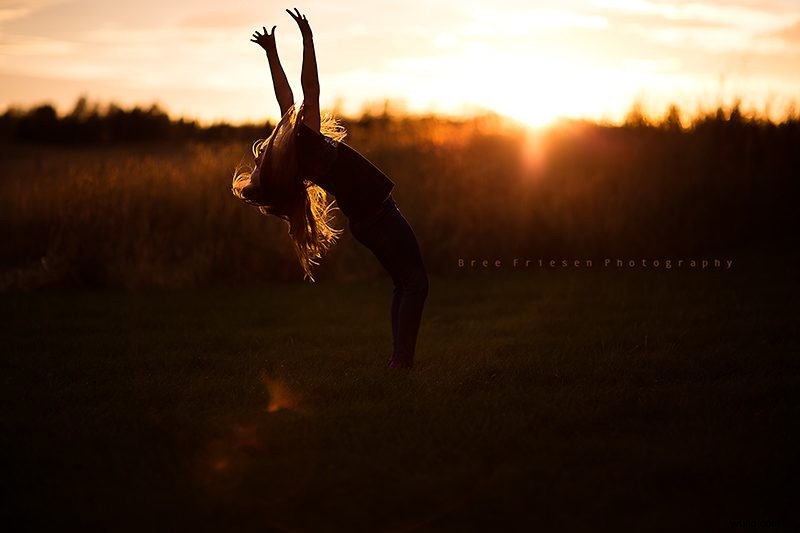
Controlling Lens Flares
When the sun’s brightness threatens to overpower your image, employ a lens hood or an umbrella kit. Adjust the camera’s angle to manage the amount of flare you desire.
Bonus: Artificial Backlighting Indoors
Studio lights can replicate backlighting. Position a strobe 45° behind the subject to create a halo effect on the backdrop, mimicking the natural rim light produced by the sun.
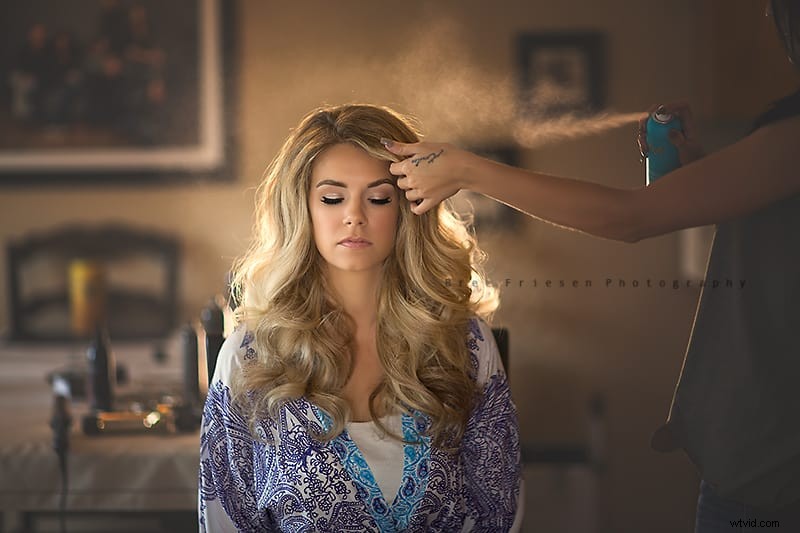
Backlighting offers a versatile way to add character and atmosphere to your photography. Apply these techniques, experiment with lighting angles, and share your results with the community.
Explore More Lighting Mastery
Want to deepen your knowledge of backlighting and other lighting scenarios? Check out our Finding the Light Series.