You can use the Lens Correction filter to remove chromatic aberration in Photoshop.
But you can easily do it manually too. It takes just a few minutes and you’ll learn a few important techniques.
Here’s how to get rid of colour fringing in Photoshop.
How to Remove Chromatic Aberration in Photoshop
This technique shows you how to remove chromatic aberration by using Gaussian Blur, Blending Modes, and Masking. Use this technique combined with the Lens Correction filter for the best result.
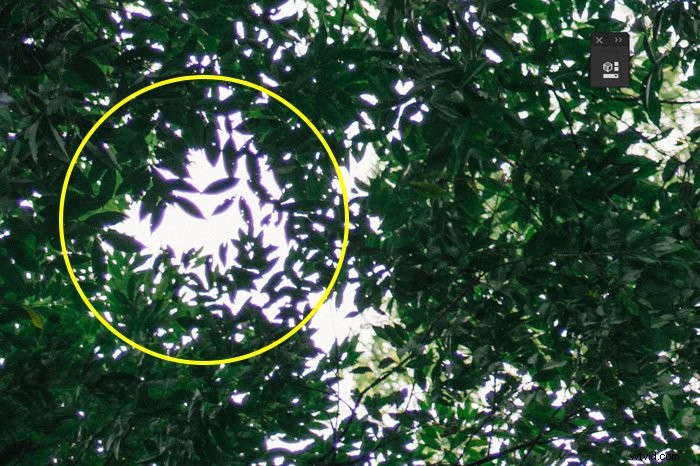
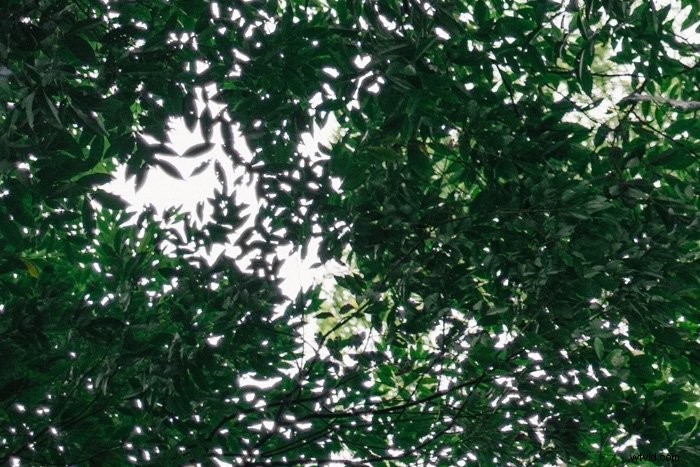
You can see the colour fringing here in this photo of a canopy. In this case, it’s purple-ish.
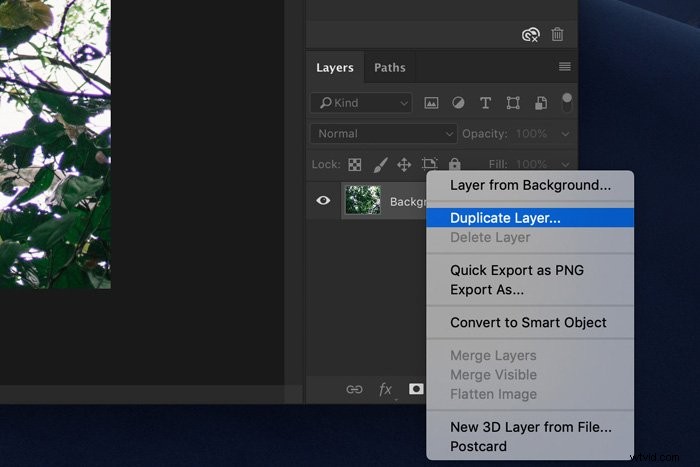
Step 1: Duplicate the Background Layer
Right-click on the background layer and choose “Duplicate Layer…”. A new layer will appear on top of the background layer.
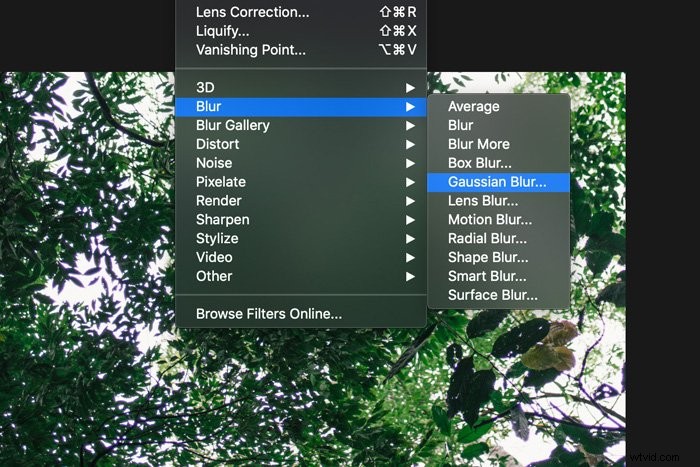
Step 2: Apply Gaussian Blur
Make sure to select the duplicated layer. Go to Filter > Blur and choose “Gaussian Blur…”.
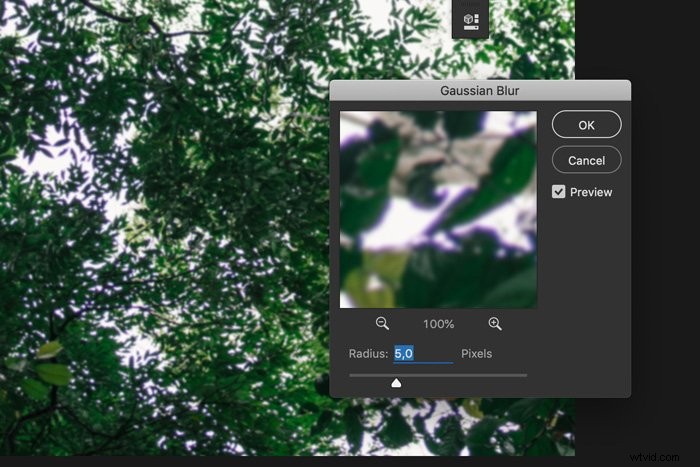
The amount of blur you need to apply depends on your image. For an image that is 1500 pixels wide, it should be something in the range of 5 pixels.
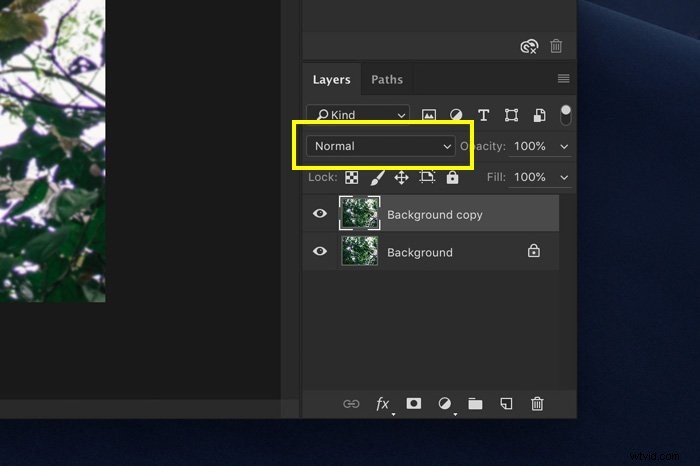
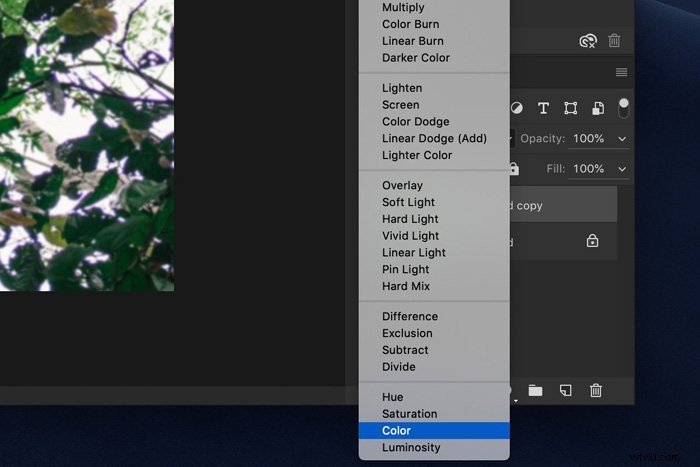
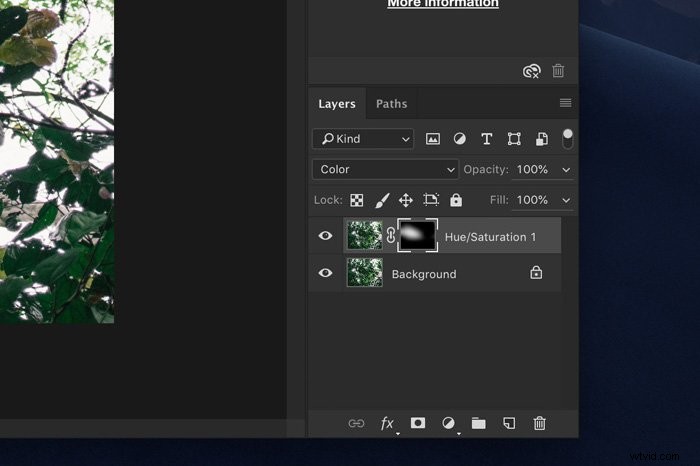
Step 3: Change the Blending Mode
Set the blending mode of the layer to “Color” and in most cases, all or most of the colour fringing should disappear.
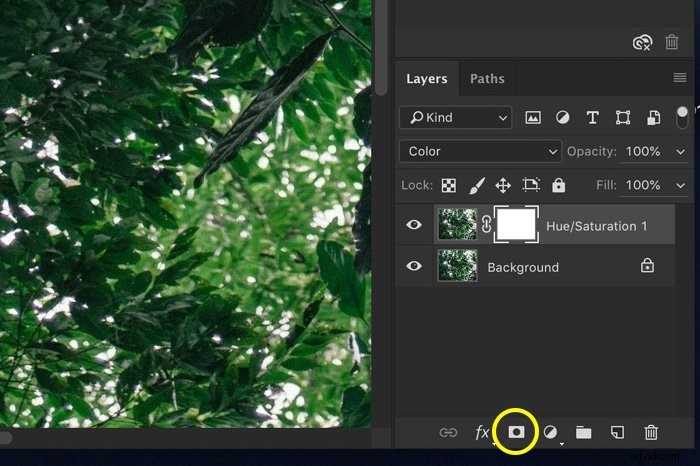
Step 4: Masking
Now, the duplicate layer removes chromatic aberration from the whole image. Also from areas where there is none. So, to avoid unwanted changes we will use the masking technique.
Select the duplicate layer and click on the “Add layer mask” icon. A layer mask thumbnail will appear.
Make sure the thumbnail is selected and then select the Brush tool. Set the colour to black and start painting over the areas of your photo where there’s no chromatic aberration.
You’ll see the layer mask thumbnail change. Black areas are not affected by the layer. White areas are those where the chromatic aberration will be removed. So, you can change between painting with black or white to adjust the mask.
Common Chromatic Aberration Questions
How Do You Correct a Chromatic Aberration?
The easiest way to fix chromatic aberration in Photoshop is with the Lens Correction Filter. This filter can fix chromatic aberration automatically or you can do it manually. Use the different sliders depending on the colours you want to remove.
How Do I Get Rid of Fringing in Photoshop?
You can get rid of unwanted fringing manually or automatically. First, try to use the Lens Correction filter. If that doesn’t work, you can try to remove it manually by using Gaussian Blur and Blending Modes.
How Do You Make Chromatic Aberration in Photoshop?
Usually, people want to get rid of chromatic aberration but you can also create the effect yourself. The technique involves using an overlay of different colour channels. Then, changing the blending mode.
What Does Remove Chromatic Aberration Mean?
Chromatic aberration is the unwanted distortion of colours that you sometimes notice on high contrast edges of objects in your photos. It happens when the light of certain wavelengths gets bent.
Editing programs allow you to remove these unwanted coloured fringes.
Conclusion
Some camera lenses create more chromatic aberration than others. Usually, more expensive lenses have a special coating to avoid it. Luckily, when shooting with a cheap lens, you can easily remove chromatic aberration in Photoshop.
The Lens Correction filter does a great job but it’s just as easy to do it yourself.