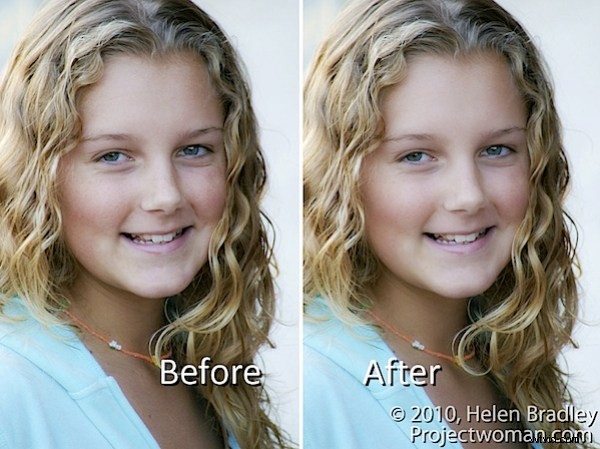
You may already know that it is possible to sharpen an image using the High Pass Filter. But did you know it’s possible to use the filter to soften an image?
To see this at work, start with an image open on the screen.
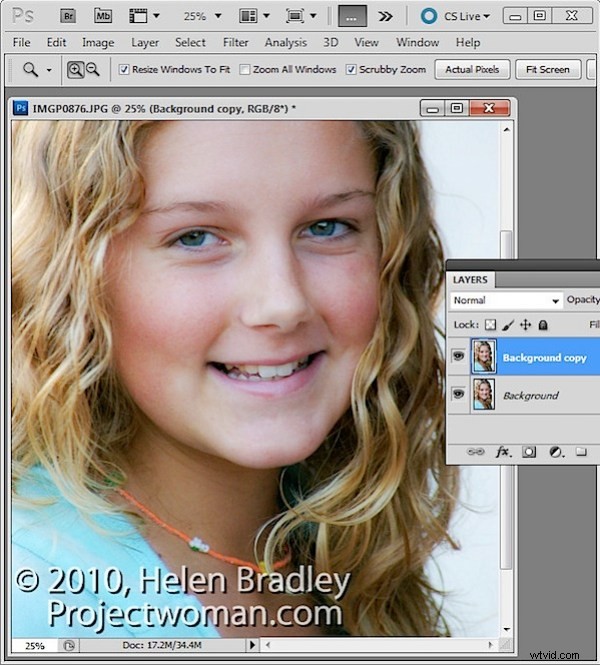
Duplicate the image background layer or if you have an image that has adjustments in it, create a flattened version of the image on a new layer at the top of the layer stack. To do this target the topmost layer and choose Layer > New > Layer.
Target this new layer and press Ctrl + Alt + Shift + E (Command + Option + Shift + E on the Mac) to create a flattened version of the image on this new layer.
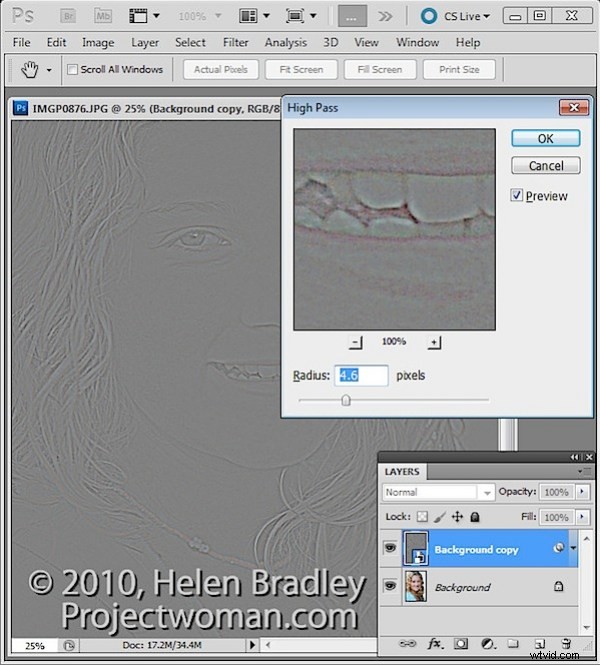
You will apply the High Pass Filter to this layer.
To do this, you can convert the layer to a Smart Object by choosing Filter > Convert for Smart Filters.
If you’re working on a version of Photoshop earlier than CS4, you can still use this process without converting the layer to a Smart Object.
Choose Filter > Other > High Pass and set the High Pass filter Radius to a value that shows gray and white lines on the image. Stop short of the image showing too much color. The larger the radius value, the more the softening effect although too large a Radius will be counter-productive. Click Ok to apply the filter to the image.
In the Layers palette, set the Blend Mode of the top layer to Soft Light.
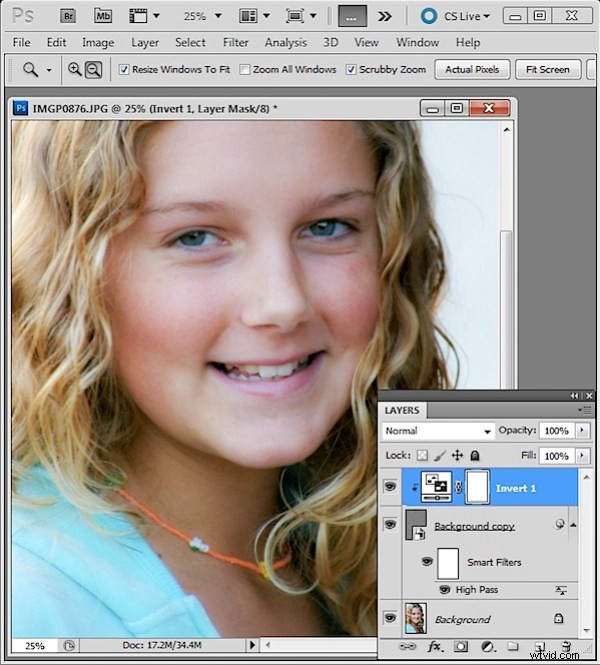
To soften the image, select the High Pass filter layer and choose Layer > New Adjustment Layer > Invert. You’ll need to create a Clipping Group between the Adjustment Layer and the High Pass Filter layer by selecting the Adjustment Layer and choose Layer > Create Clipping Mask.
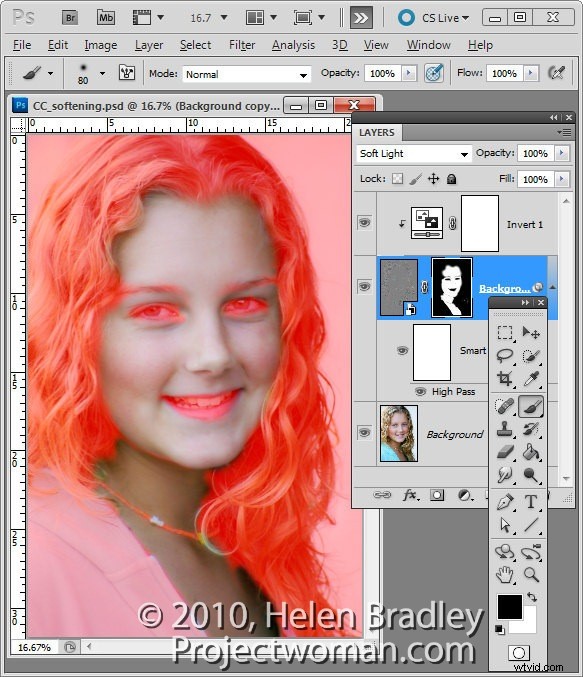
Create a black filled mask on the High Pass Filter layer by Alt + Clicking on the Add a Layer Mask button at the foot of the Layer palette (Option + Click on the Mac).
Set the Foreground color to white and paint on the mask with a soft round brush in the areas that you want to soften the image such as the skin tones here. This image shows the masked area – you won’t see this as you work.
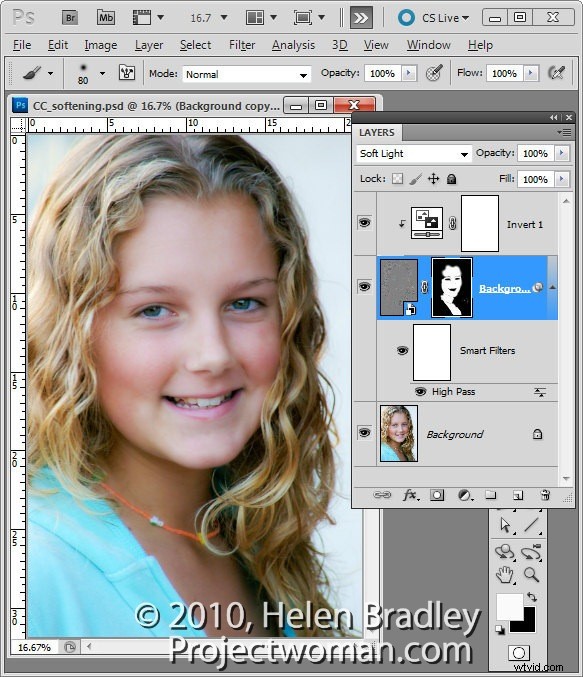
If you created a Smart Object the High Pass Filter can be adjusted by double clicking on the filter in the Layers palette and adjust the Radius value.
You can use a different blending mode on the masked layer such as Overlay if that gives results you like better and you can also change the opacity of the layer to reduce the intensity of the effect.