In a recent post I talked about using an image watermark in Lightroom to apply to your images. This post I’ll show you how to create the watermark image to use.
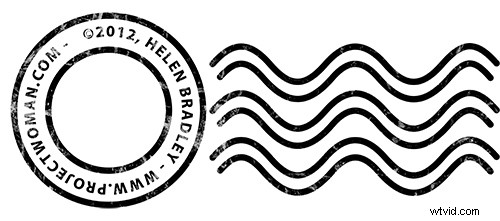
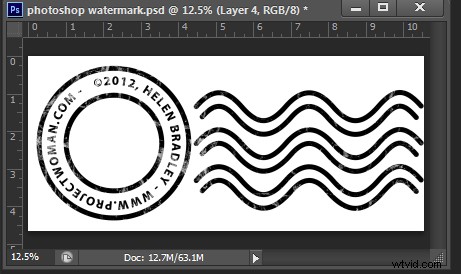
This watermark has two concentric circles with text between them and a set of wavy lines making it reminiscent of a post office stamp cancellation. The watermark also has a slightly grunge look.
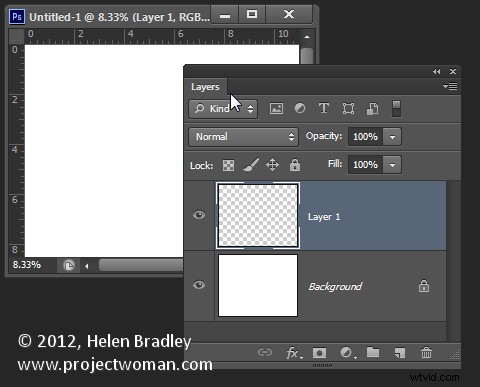
To make it, start in Photoshop with a letter size image. I set mine to landscape orientation with a white background. This will make it easy to create a black watermark and I will be able to see it as I work.
Add a new layer by choosing Layer > New > Layer. This is a transparent layer on which you’ll place the circles.
Start with the Ellipsis Tool which shares a position in the Tools with the Rectangle tool – it is a shape tool – don’t use the Elliptical Marquee Tool.
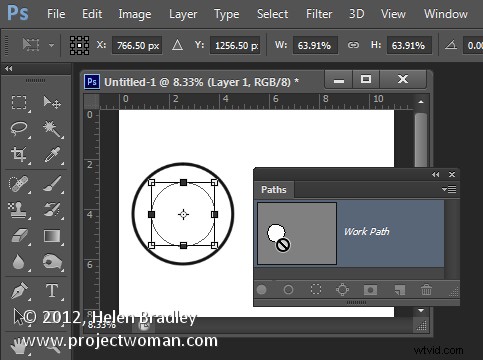
Make sure that the option on the Tool Option bar is set to Path and hold Shift as you drag a circle on the screen.
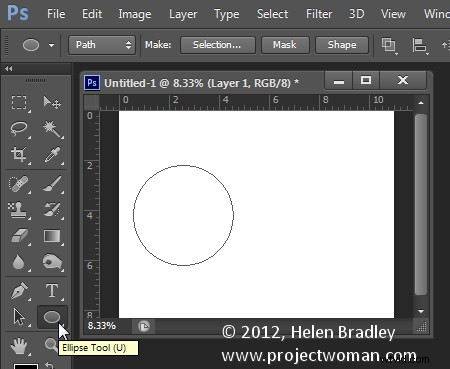
When the circle is in position choose Window > Paths to view the Paths palette.
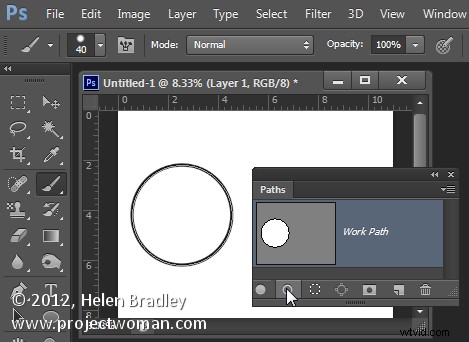
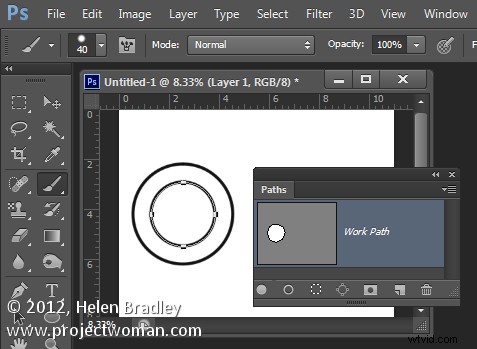
Select the Brush tool and select a brush. I used a Hard Round brush sized down to around 40 pixels.
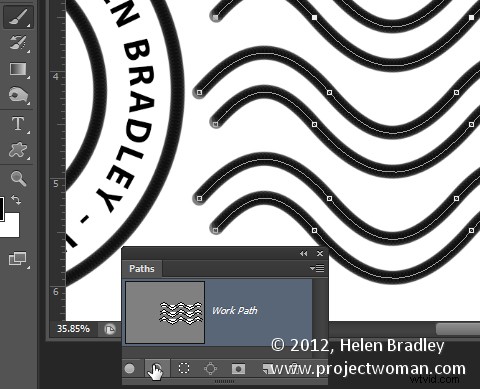
Set the foreground color to black, click the Work Path in the Paths palette to select it and then click the Stroke Path with Brush icon at the foot of the Paths palette. This strokes the path with the current brush.
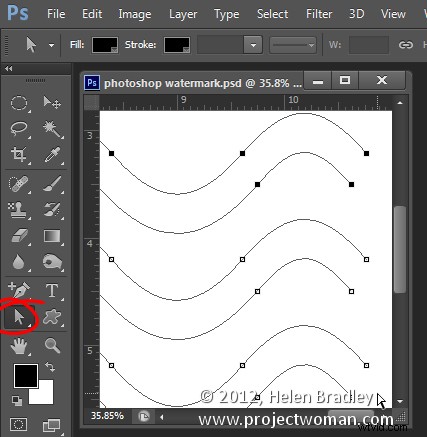
Click the Path Selection Tool which shares a position in the Tools palette with the Direct Selection Tool. Click on the path and it will select the entire path.
If the transformation handles do not appear press Ctrl + T (Command + T on the Mac). Hold Shift and Alt (Shift and Option on the Mac) and drag inwards to create a circle which is concentric with the previous circle.
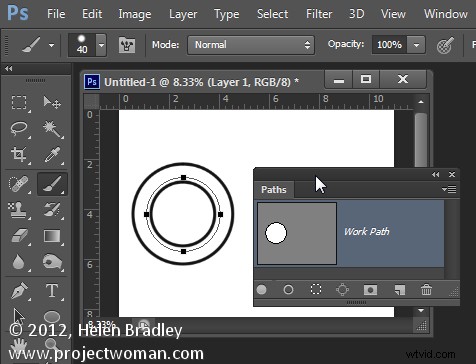
Repeat the process of selecting the Brush, click on the path so it is selected and click to Stroke Path with Brush.
Click the Path Selection Tool and, with this smaller circle selected, press Ctrl + T (Command + T on the Mac). Hold Shift and Alt (Shift and Option on the Mac) and drag a little outwards to create a circle path for typing the text along.
Select the Text tool and hold the mouse over this third path.
Look for the text tool to show as an I-beam pointer with a bent line through it – this tells you Photoshop will align the text along the path.
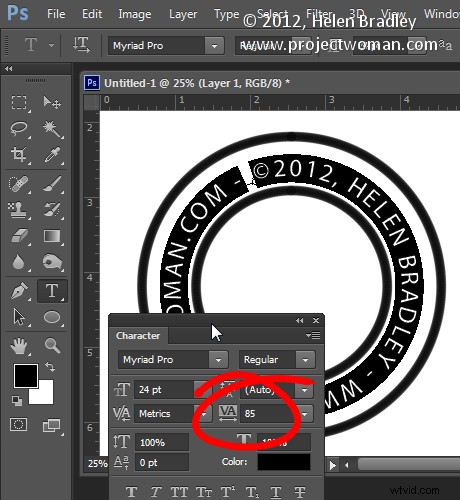
Click once to anchor the Text tool to the path. Select the text color – in my case I chose black – and select the font and font size – I used Myriad Pro – 24 points. Type the text to use – I typed:
© 2012, Helen Bradley – projectwoman.com –
To enter © hold Alt and type 0169.
?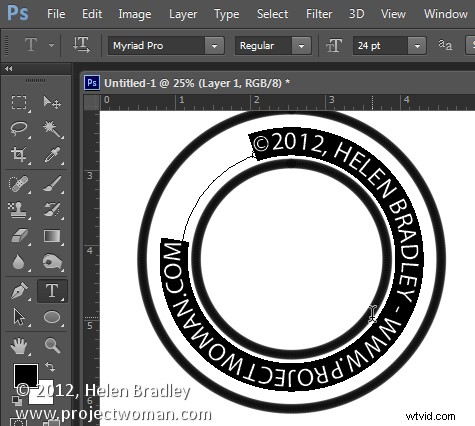
With the text selected display the Character palette by choosing Window > Character and adjust the tracking to expand the text so it wraps all the way around the shape.
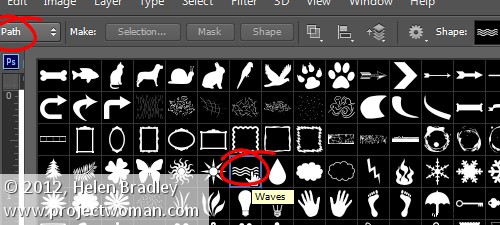
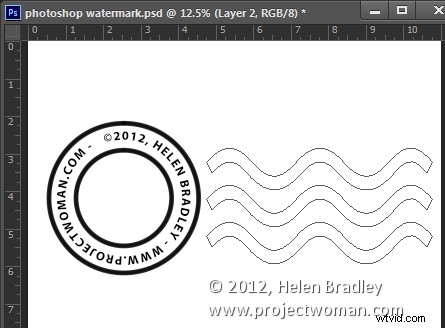
You can draw your own lines for the cancellation lines using the Custom Shape Tool. First create a new layer then select the Wave shape and on the Tool Options bar make sure that it is set to Path.
Drag to make your curved lines.
Select the Add Anchor Point Tool (it shares a position with the Pen tool) and click once in the middle of each end of the path to add a point.
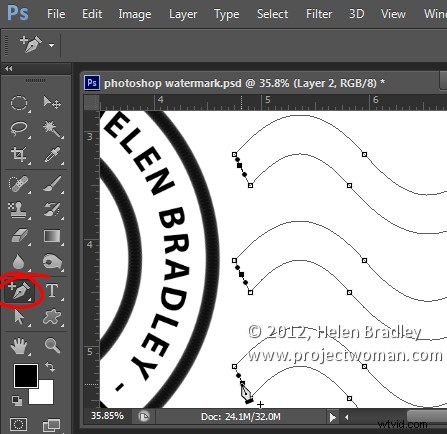
Target the Direct Selection Tool, click one at a time on the Anchor points you just added and press Delete – this breaks the 3 paths in half to make 6 paths. When the Anchor is selected it will show as a dark filled square.
Select your Brush and black paint and select the path in the Paths palette and click the Stroke Path with Brush icon.
Once you’ve done this you can add a grunge effect.
Start by hiding the background layer, target the top layer and press Control + Alt + Shift + E to create a flattened layer with transparency. Hide all layers but this top one.
If the lines aren’t dark enough duplicate this layer a few times and they will darken. Then merge all these duplicated layers
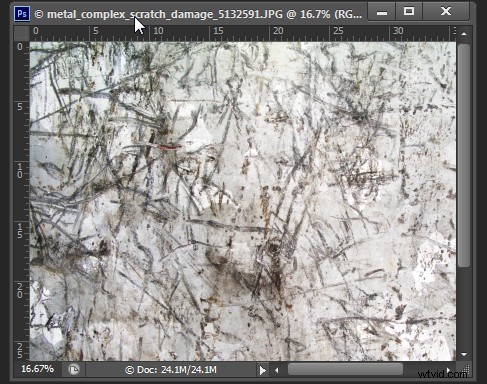
To add the grunge effect click Add a Layer Mask icon at the foot of the layers palette to add a mask to the layer. Locate an interesting texture image to use such as this one from www.mayang.com/textures.
Make it the same size as your image by choosing Image > Resize, deselect the Constrain Proportions checkbox and click Window and click your copyright image file to use its dimensions. Click Ok.
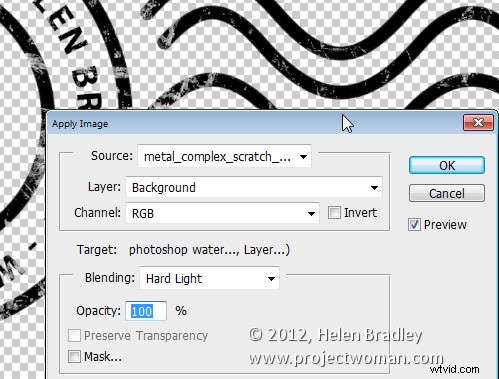
Now return to your Copyright image, click the mask to target it and choose Image > Apply Image. From the Source box select the texture image (it won’t appear in the list if it isn’t the right size), and then set the other options to suit so you get a distressed look to your copyright symbol. Click Ok.
Add a new layer and press Control + Alt + Shift + E to create a flattened version of the image on this layer but maintaining its transparency. Make all other layers invisible and crop the image close around your shape.
Then choose File > Save As and save it as a .PNG image to use in Photoshop or Lightroom as a copyright overlay.
If you select the top layer and press Control + I you’ll invert it to make a white version of the copyright image that you can then save as a second .png file.
Make sure to also save your file as a .psd file if you think you might need to make changes to it – for example, to change the date – a .png file is flattened so it won’t be easy to edit – a .psd file will be much easier to update.