
Identity plates are one of the best kept secrets in Lightroom. There are lots of ways that you can use Identity Plates in Lightroom not only to customize the interface as I discussed in this post but also customize your print, web and slideshow applications.
In this post, I’ll show you how to create and use identity plates to create custom title and ending slides in the Lightroom Slideshow module.
Create a slideshow
For a slideshow, it is a good idea to start by placing all the images in a collection – then select the collection and switch to the Slideshow module.
From the toolbar choose All Filmstrip Photos to set up the slideshow with all those images.
From the Template Browser choose the Default template. Chose a background color by opening the Backdrop Panel and choose Background Color and sample a color to use.
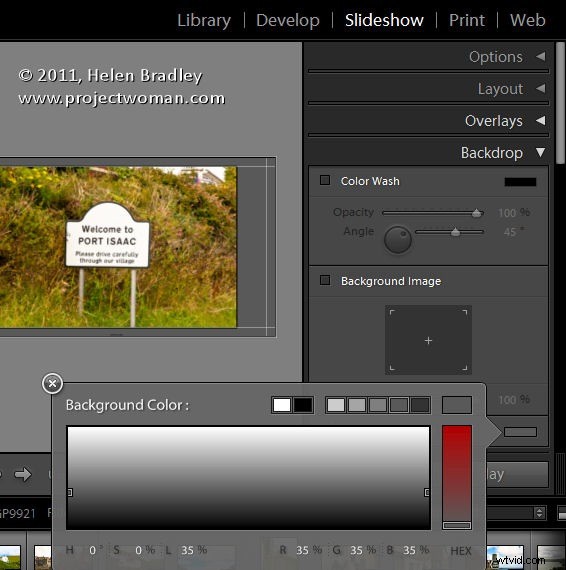
You can add a background color with or without a color wash. You can also set a background image – for example use an image from your slideshow with a reduced opacity as the background.
Here I have settled for a plain dark gray background.
From the Layout panel select Show Guides and make sure Link All is selected and then drag in on the guides so you have some space around the images.
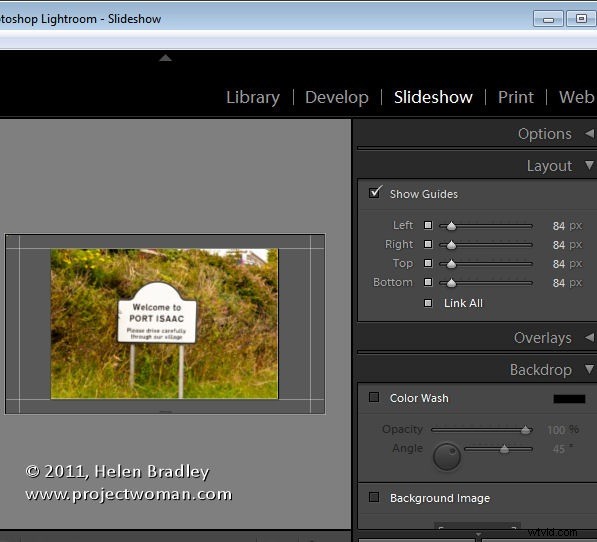
By unlinking the guides, you can set one guide to be smaller than the others – I like to make the top margin smaller than the others to push the images higher on the screen.
Use your Identity Plate
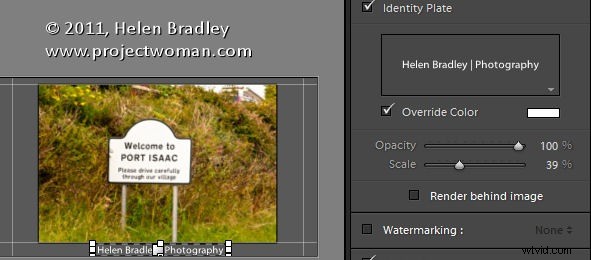
The first place you can use an identity plate is in the Overlays panel. This Identity Plate will sit on each slide and it will show as the slideshow plays. For this, I like to use a plain text identity plate so make sure Identity Plate is checked and then click the down-pointing arrow and select an identity plate that you’ve already created.
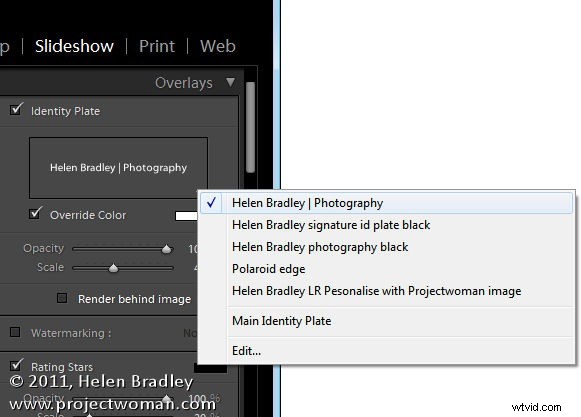
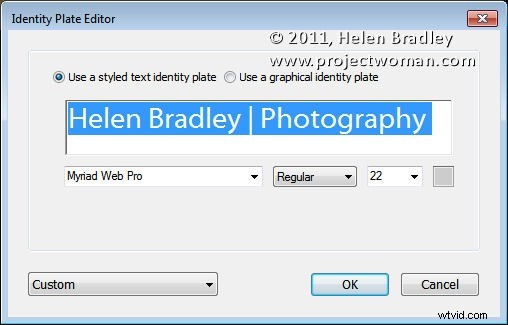
Alternatively, click Edit and type identity plate information into the box and then select it and select a font, font size and color. When you’ve done this, click the Custom button, click Save as and give your identity plate a name.
It doesn’t matter what color you have selected for the Identity Plate text because you can select the Override Color checkbox and select an alternative color for your text identity plate. Adjust the scale to a large value so that you can see the identity plate text on the screen, drag it into position and then fine-tune the scale and opacity to suit.
Identity Plate for a Title
Another place you can use an Identity Plate is the Titles panel. Here you can add an Intro and Ending screen to your slideshow. While you could use a simple identity plate configured for the purpose, you can also use an image.
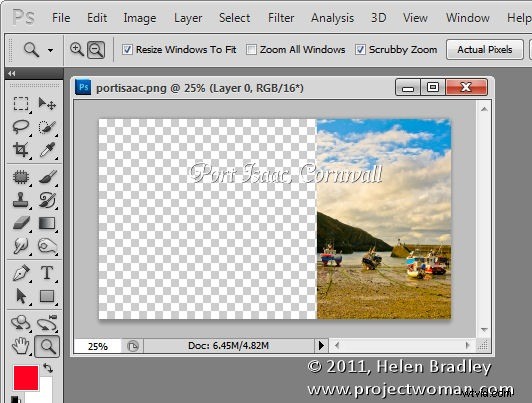
Here I have taken one of the images from the slideshow into Photoshop by right clicking it and choose Edit in Photoshop.
I cropped a portion of the image and used it to create an interesting starting slide for the slideshow. Here I added some text to the image to introduce the slide show. Where possible, it’s a good idea to leave as much of the image transparent as possible so you keep the file size small.
Size the image to approximate the size of the slideshow window – I used 1408 x 800 pixels.
Save the image in Photoshop as a PNG file so it retains its transparency. Later you can control the background color for the title slide by selecting a color from the Intro screen color selector rather than having the color already in the Identity Plate image.
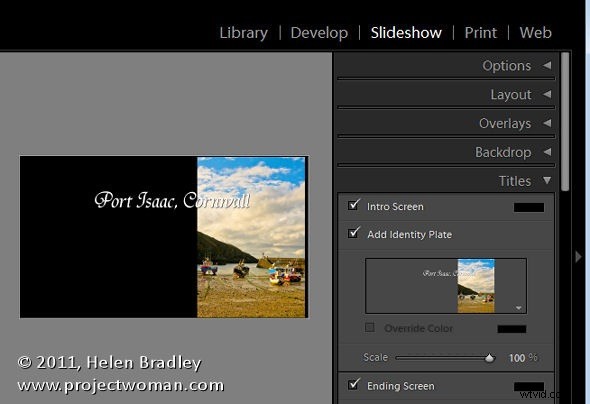
Now, back in Lightroom, in the Title panel click Add Identity Plate and select Edit and this time select Use a Graphical Identity Plate. Click Locate file and either drag and drop the image into the window or find the image on disk. Click Ok to load it as an identity plate – you may be prompted that it is very big – click Use Anyway to continue.
The image will appear for a second or two on the title slide and it will then disappear from the main screen but you will see it in the Titles panel. It will probably be too small so adjust the Scale slider to increase its size.
You can go ahead and create a similar graphical identity plate if desired for the ending screen.
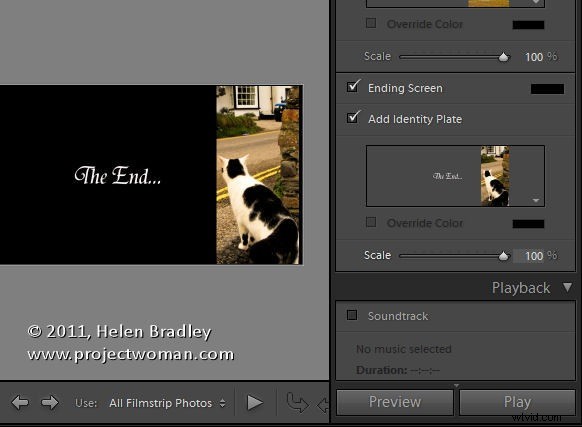
By creating a second Photoshop image in the same way and importing it as a Graphical Identity Plate you can have a different and custom ending screen for your slideshow.
To view the slides and your new titles, click the first image in the slideshow and click the Play button.