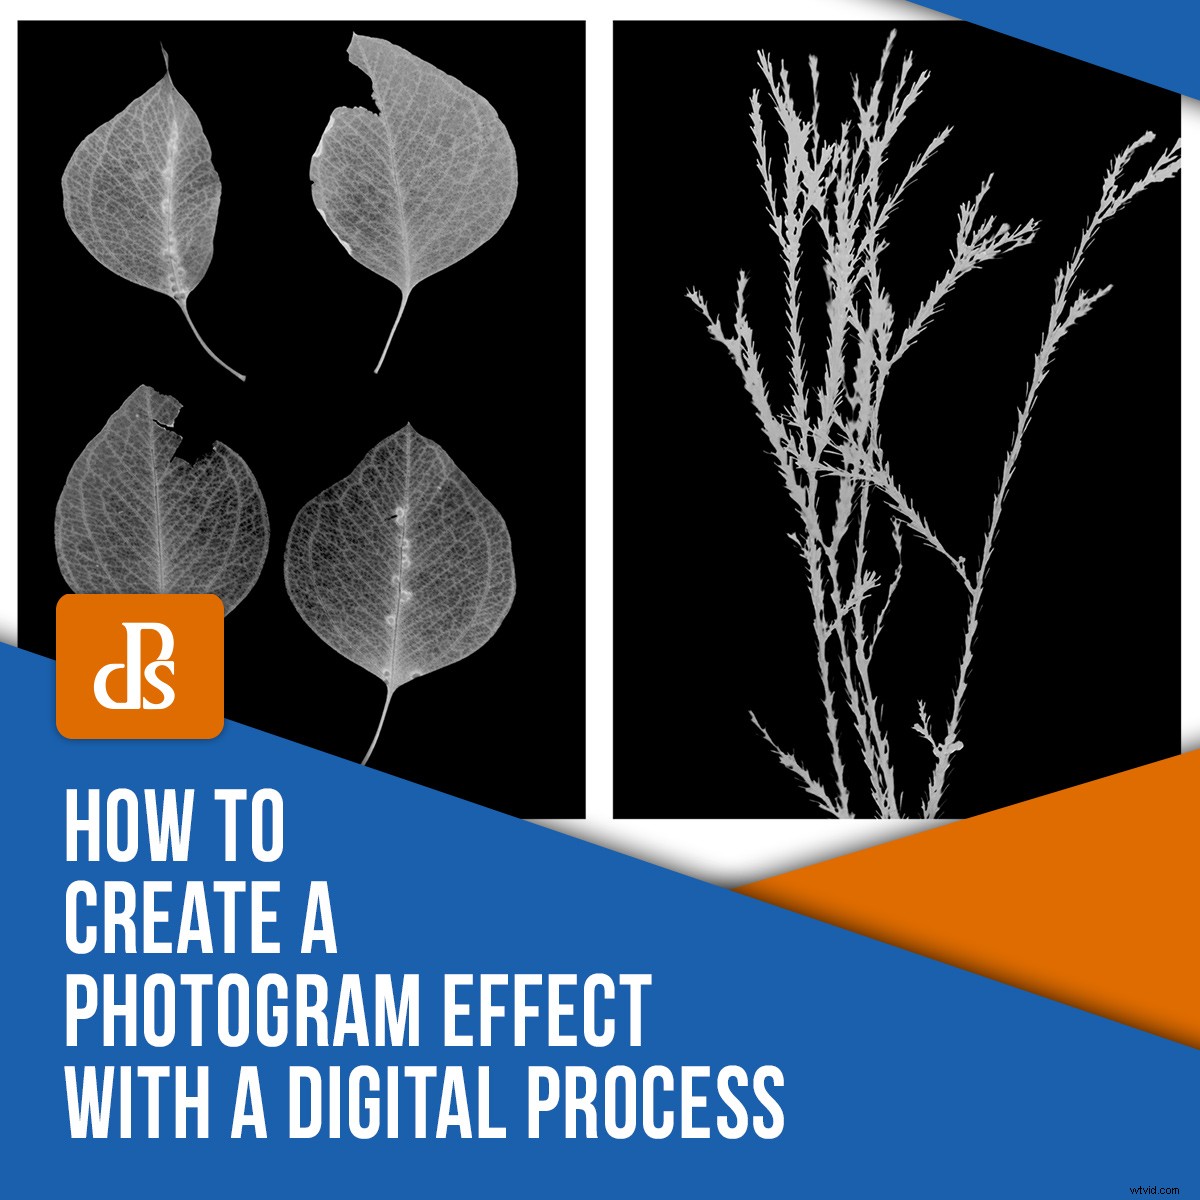
One of the first photographic processes I learned was how to make a photogram. Since then, I’ve often wondered if a digital process could adequately mimic the appearance of the finished photogram aesthetic. The difference between the original and digital processes means that the results of any digital technique can’t really be called a photogram as such (I’ll call it a photogram effect). Nevertheless, there are digital processes that do hearken back to the appearance of the photogram.
In this article, I’ll walk you through my method to make a photogram effect with a digital camera, a laptop/tablet, a bit of Photoshopping, and a handful of objects.
What is a Photogram?
A photogram is a photographic image made without the use of a camera. The photogram process usually involves placing objects directly onto a photosensitive medium like photo-paper and exposing the arrangement to light. The result is a negative rendering of the objects, creating delicate studies of the interplay between light and various degrees of transparency.
The photogram technique was famously used by Man Ray in his explorations of rayographs. Other artists like László Moholy-Nagy, Pablo Picasso and Imogen Cunningham also experimented with the distinctive photogram format.
How to Create a Digital Photogram Effect
To create your photogram effect, there are a few things you will need.
You will need a:
- dark(ish) room
- tablet or laptop
- digital camera
- piece of white paper (A4 approx)
- selection of objects of different transparencies
- tripod (optional)
Setting up
Creating a photogram effect requires a little preparation. On the laptop or tablet, open a plain white image and display it full-screen. You can make a plain white image by saving an unedited white canvas from Photoshop or Paint etc and viewing it full-screen in a photo-viewer. For greater impact, turn up the brightness of your laptop or tablet screen too.
Once your laptop or tablet is displaying a plain white background, position the screen so that it lies flat and face-up on a level surface. Place the sheet of white paper over the screen.
Position an object or a selection of objects on the paper. You can arrange them as neatly or as randomly as you like – there is no hard-and-fast rule!
Once your have arranged your objects, turn off the lights, close the curtains, do what you can to darken your surroundings. You don’t need complete darkness to create a photogram effect, but working in darker conditions does make the effect a little more pronounced.
Taking the shot
Next, it’s time to start taking photographs. If you want to use a tripod, get set up so the camera is positioned squarely over the laptop or tablet.
In terms of camera settings, I set my camera to manual at f/4 at around 1/80th of a second. For this project, I set my ISO to 1600 and I also adjusted the exposure compensation to +2. These settings may differ depending on your setup. To mimic the photogram effect, you want detail in the transparent areas of an object and considerable shadows in opaque areas. It can be difficult to get the balance right first go, so don’t be afraid to experiment with your camera settings.
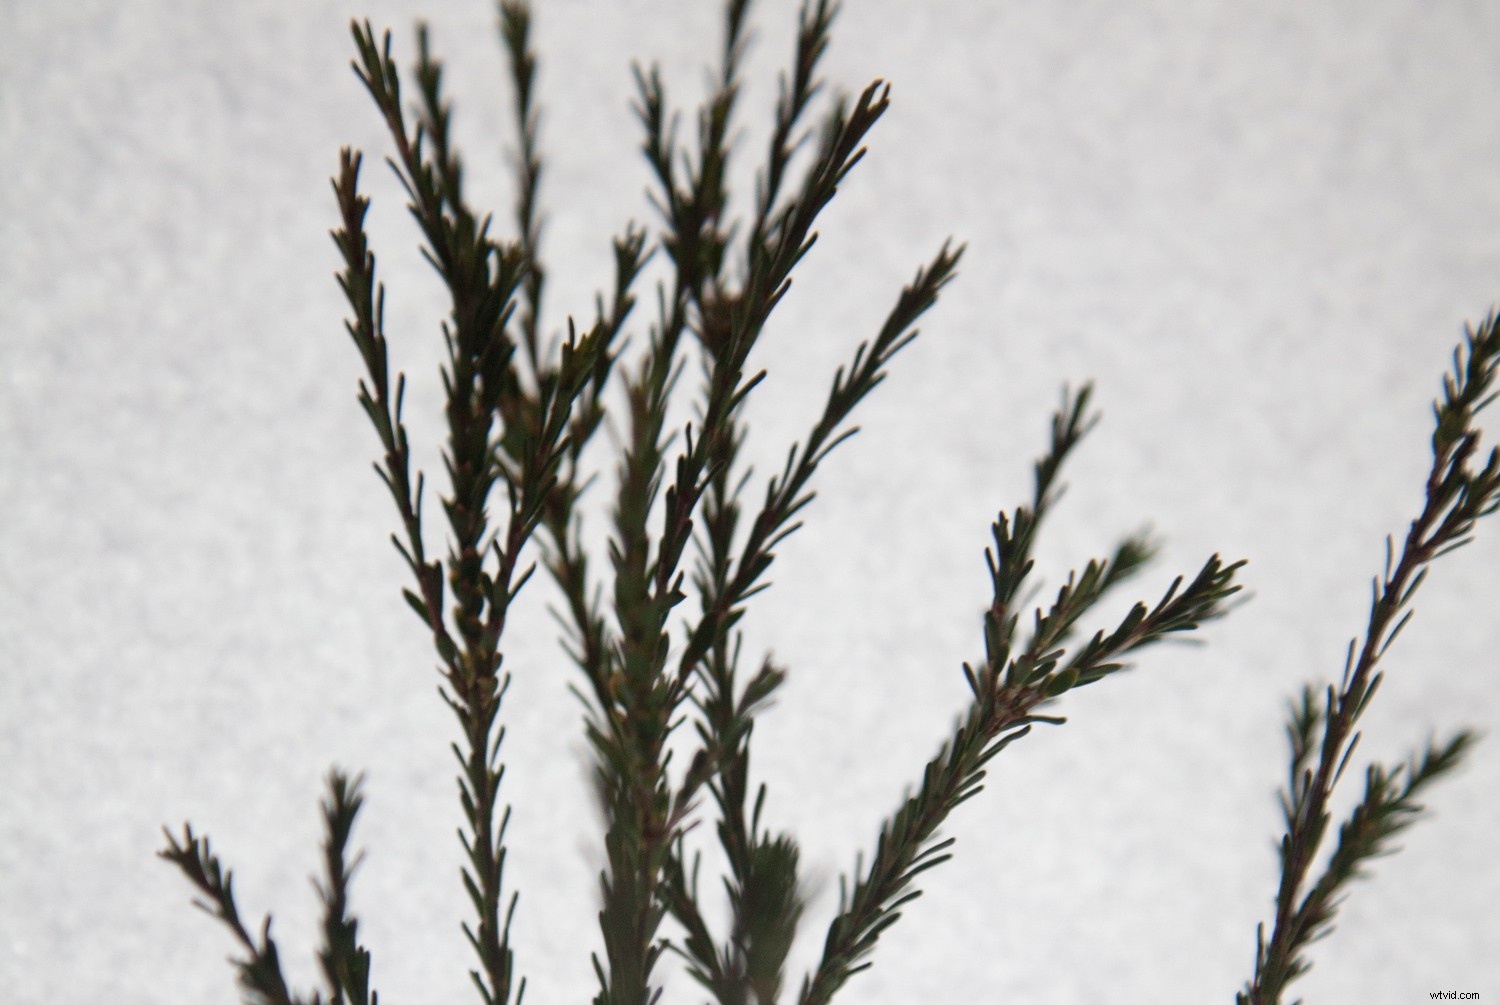
If you are hand-holding, aim your camera so it is square with the dimensions of the laptop or tablet screen. Set your focus and take a shot (don’t worry if some areas are out of focus, this can add to the effect).
The intriguing part about this process is that the results may not immediately grab you. The paper may look blotchy, the shadows blocky, the edges of the computer/tablet screen might be visible etc…but don’t give up! Just aim to capture detail in the transparent areas. It’s in the post-production that the photogram effect really comes to life.
Post-production
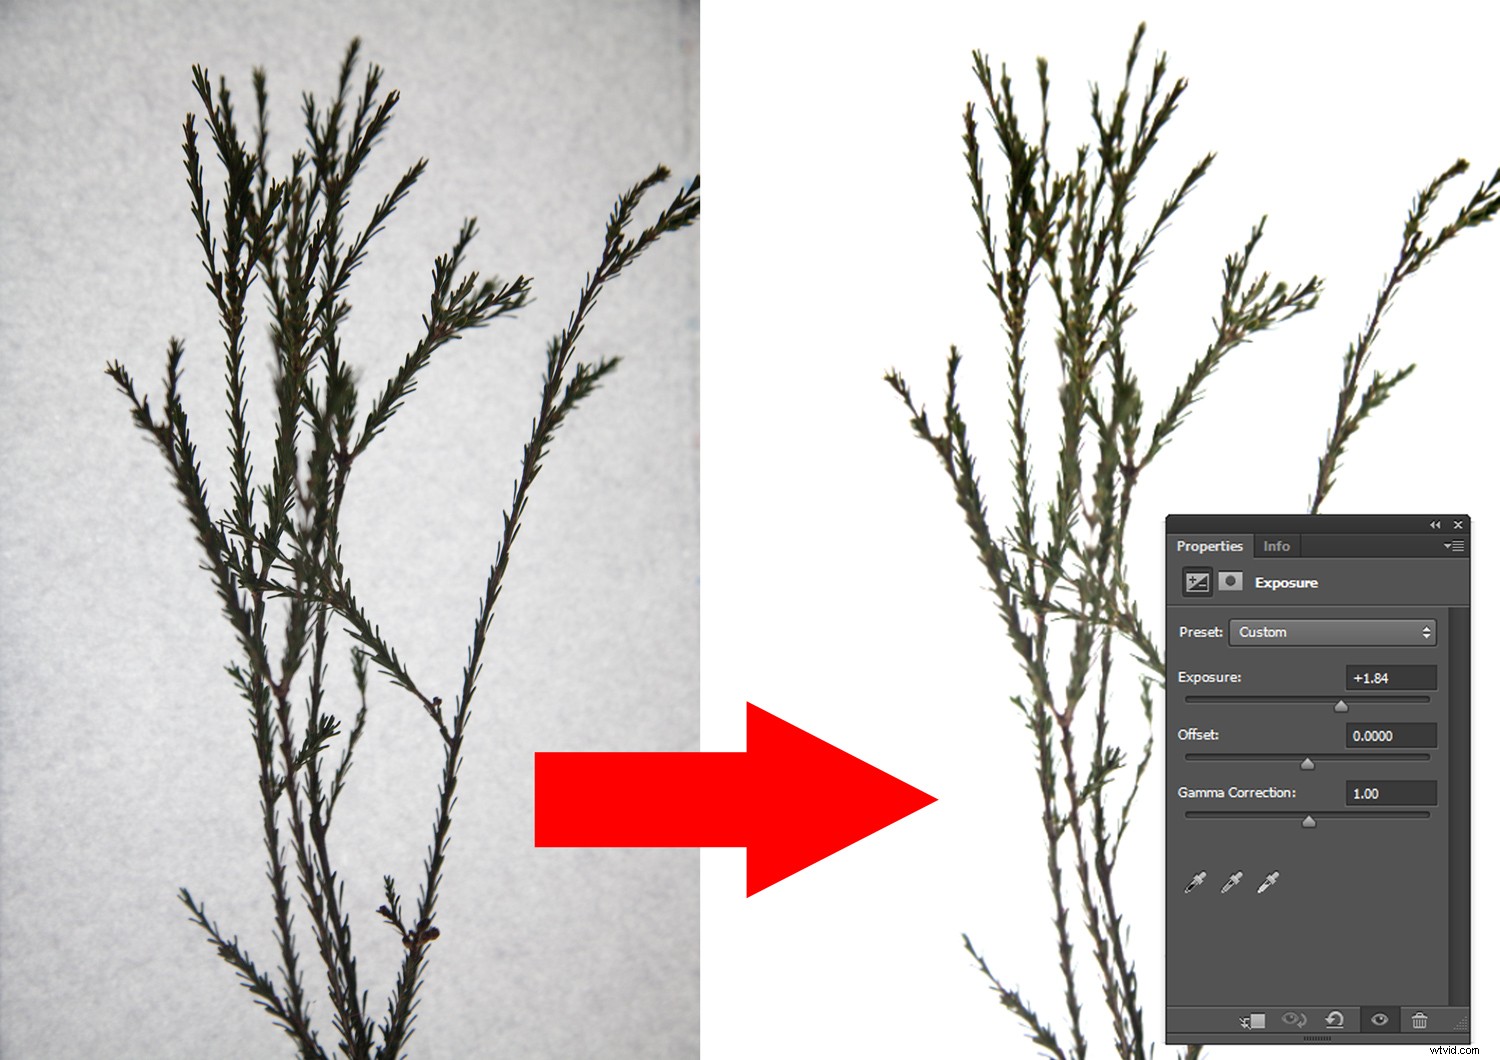
Once you have shot a range of images, its time to Photoshop them. First, open an image and click on the Exposure Adjustment Layer. Set the exposure so that the background in the image is completely white. This will brighten your subject too. You can also do some cropping to eliminate any remnants of the laptop/tablet screen etc.
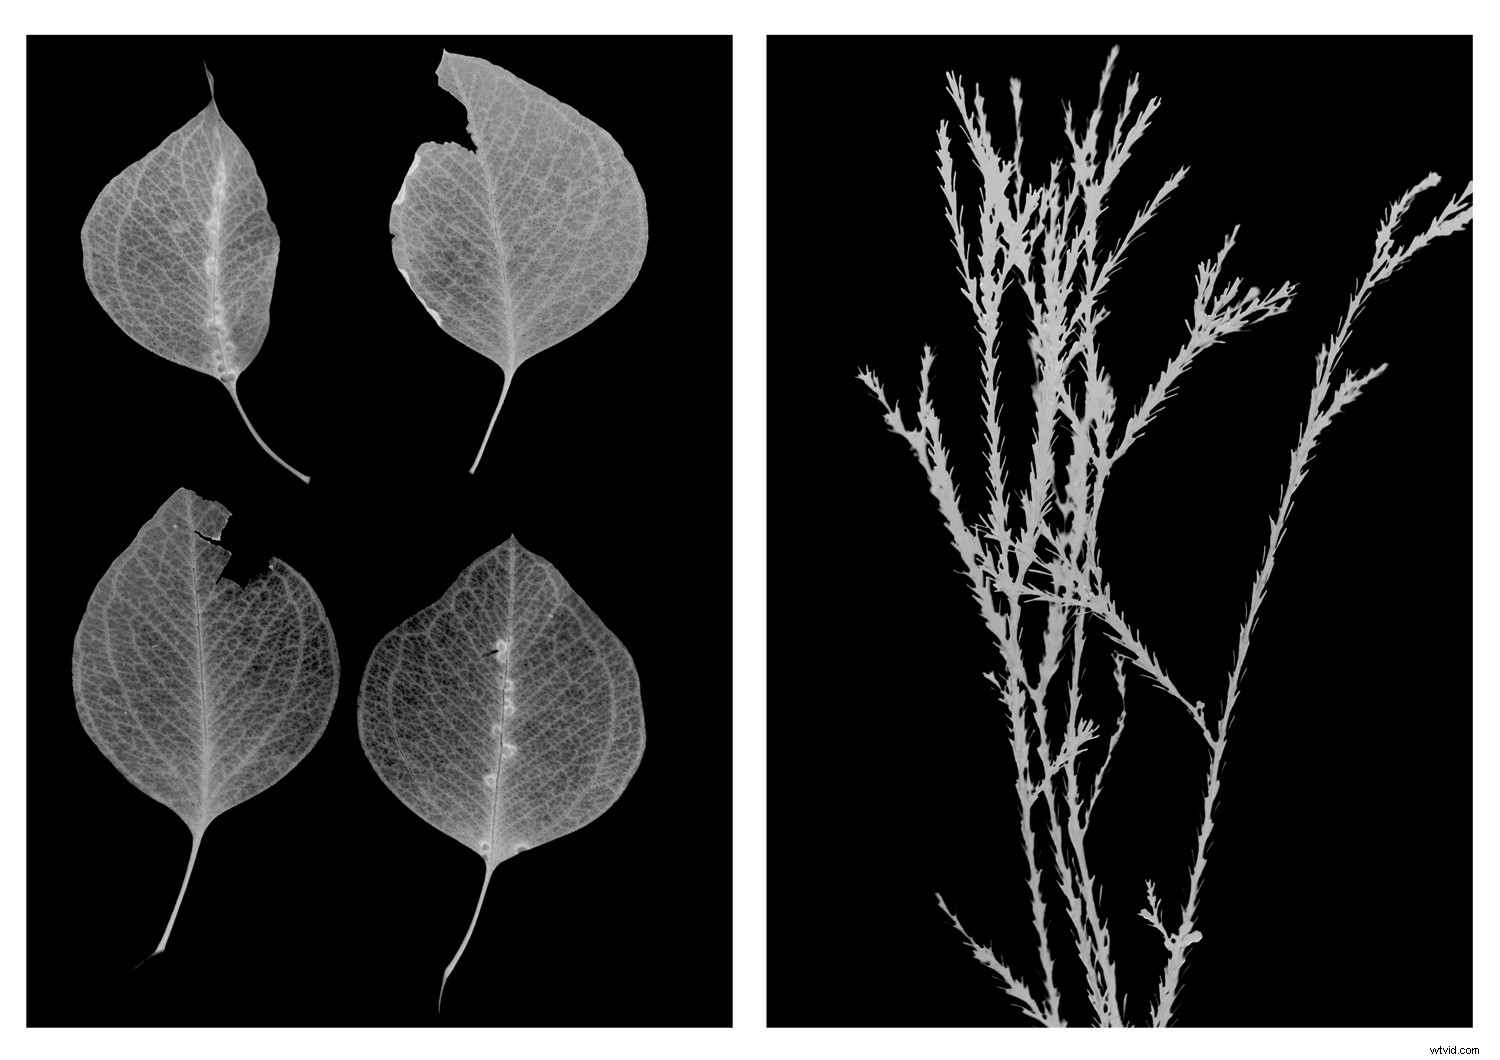
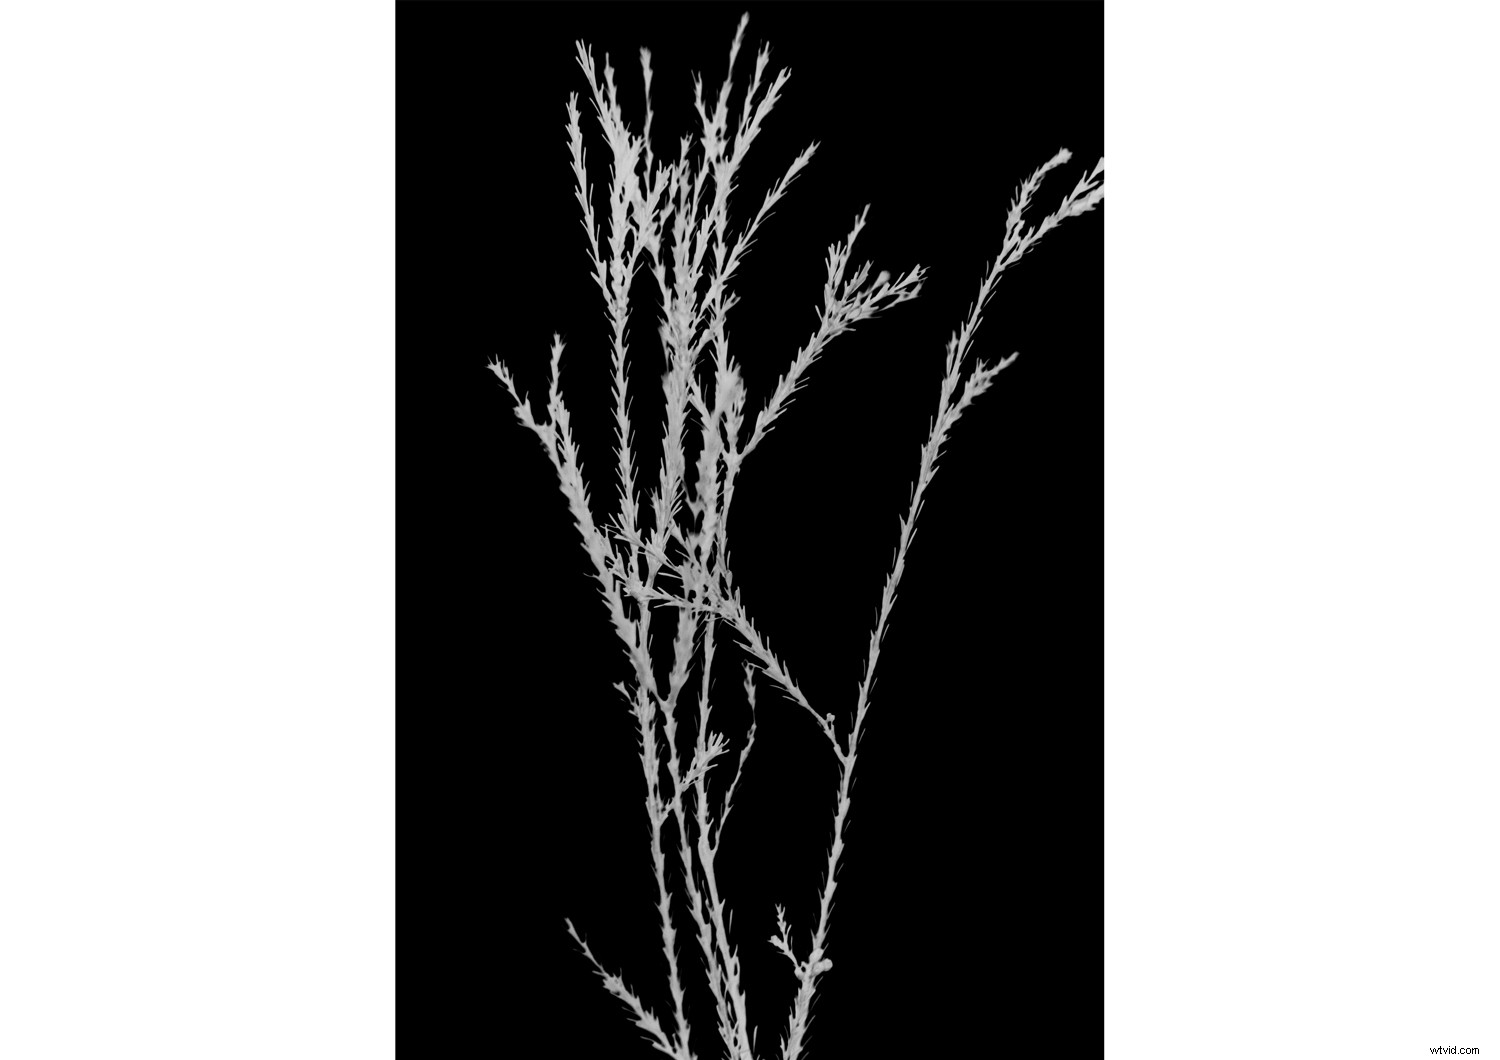
Next, click on the Invert Adjustment Layer to invert your image. Then, select the Black and White Adjustment Layer. The result will look something like this…
You can experiment further with your image by adjusting the Black and White Adjustment Layer settings and/or presets, or experimenting with a Curves Adjustment Layer to increase or decrease contrast.
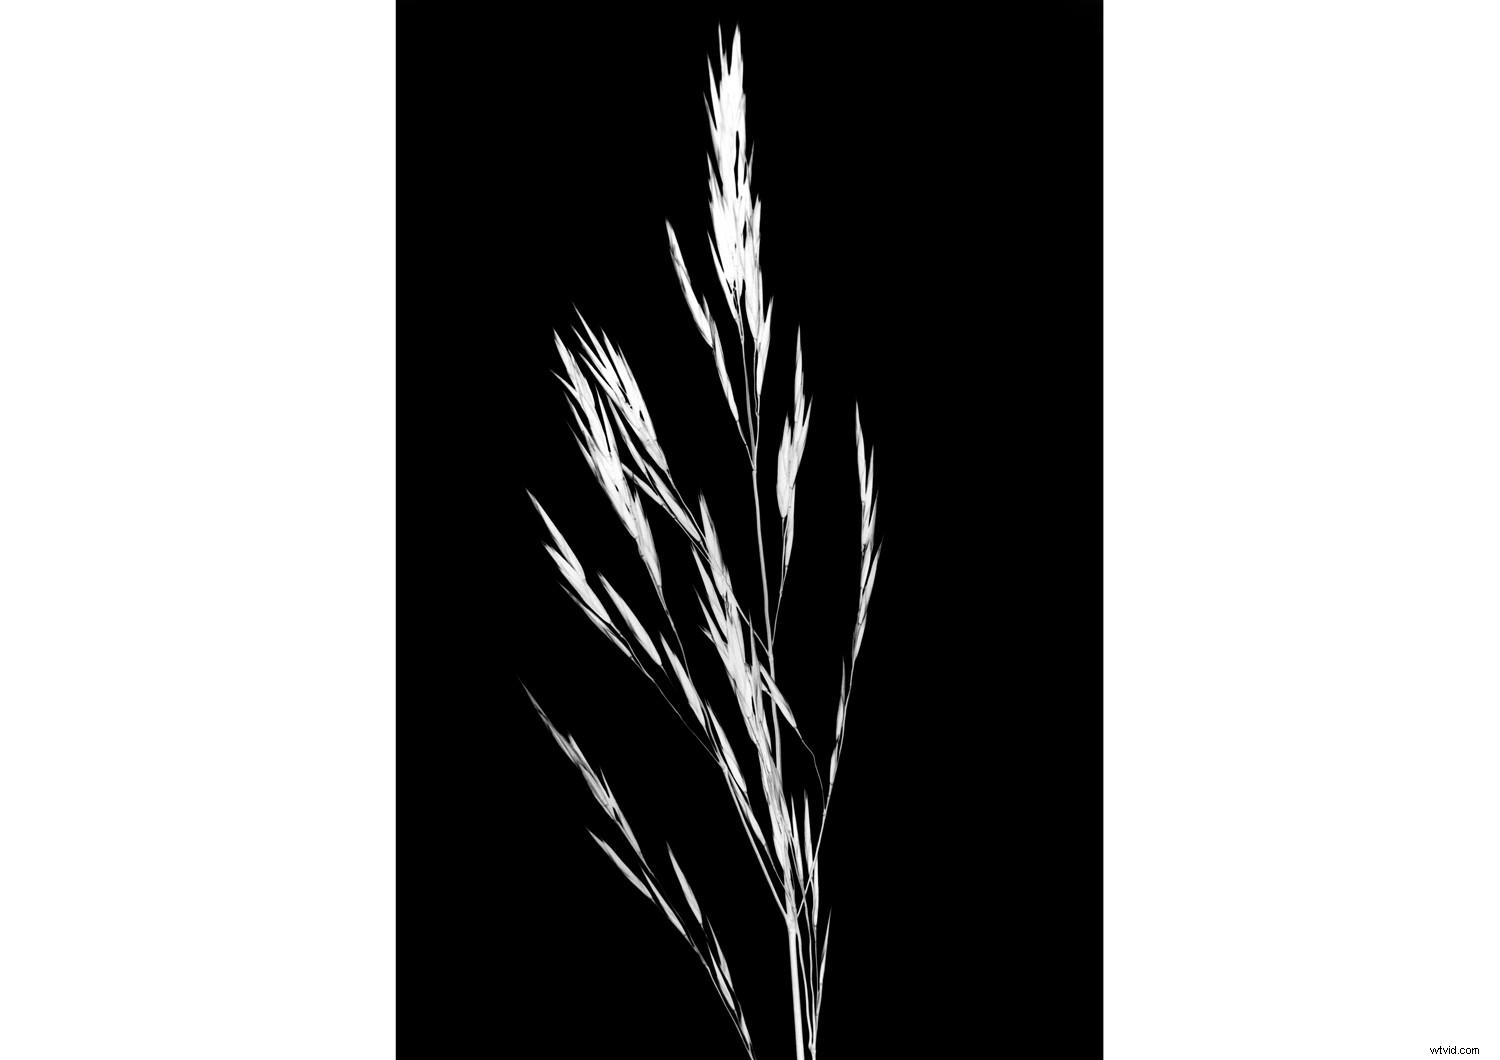
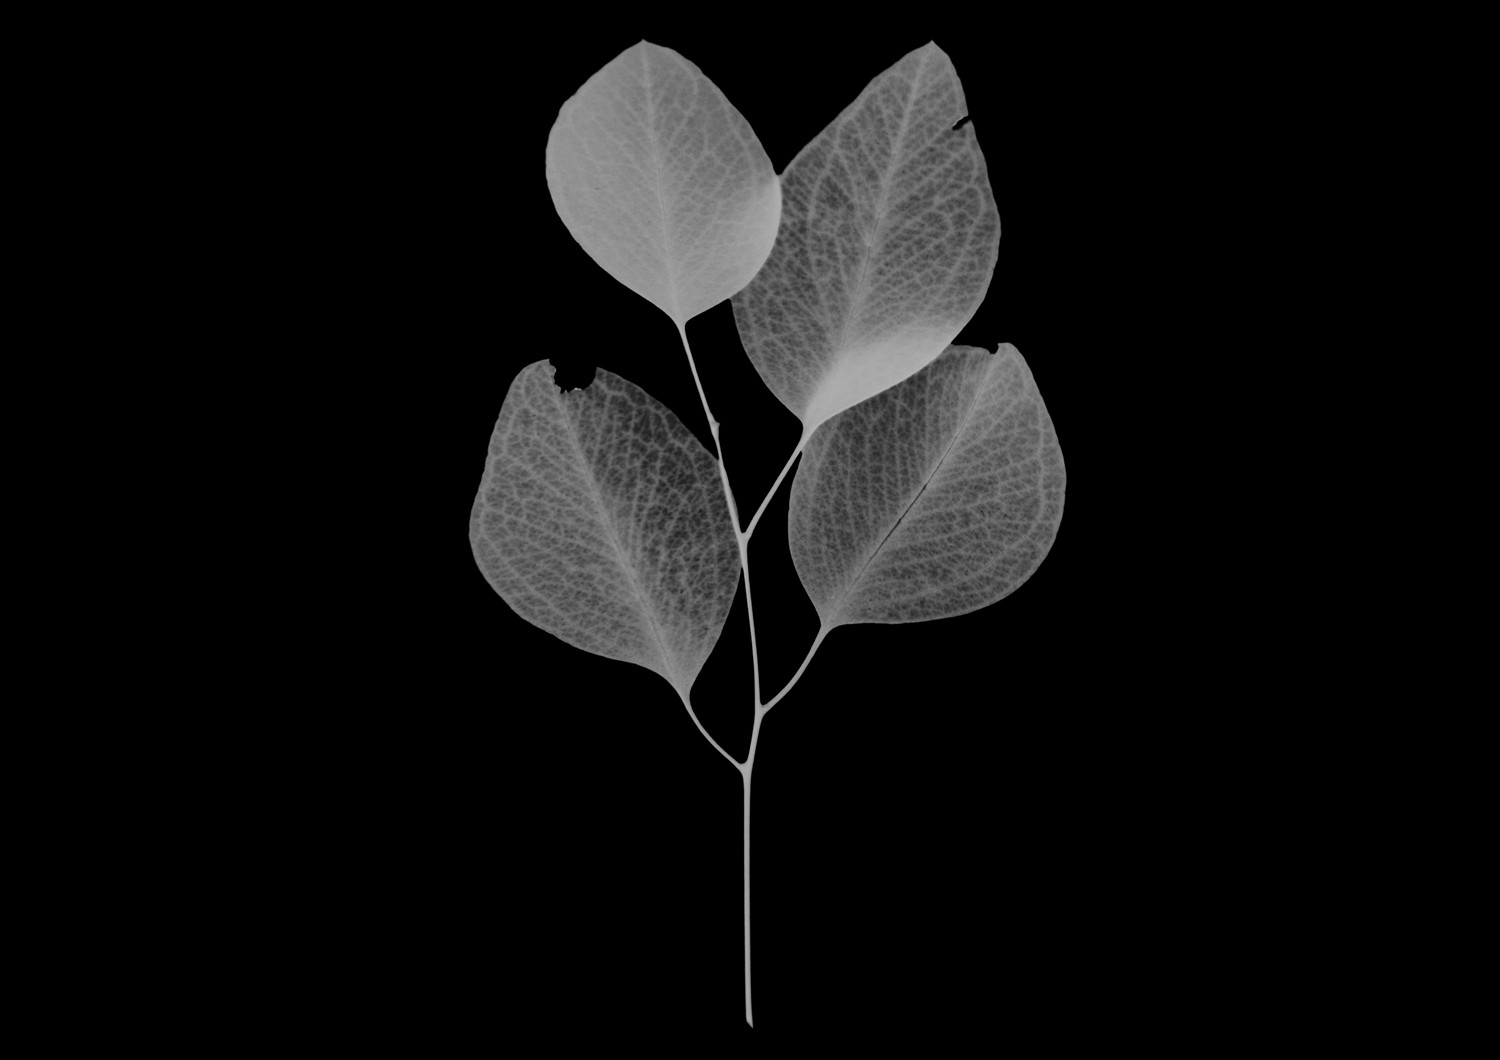
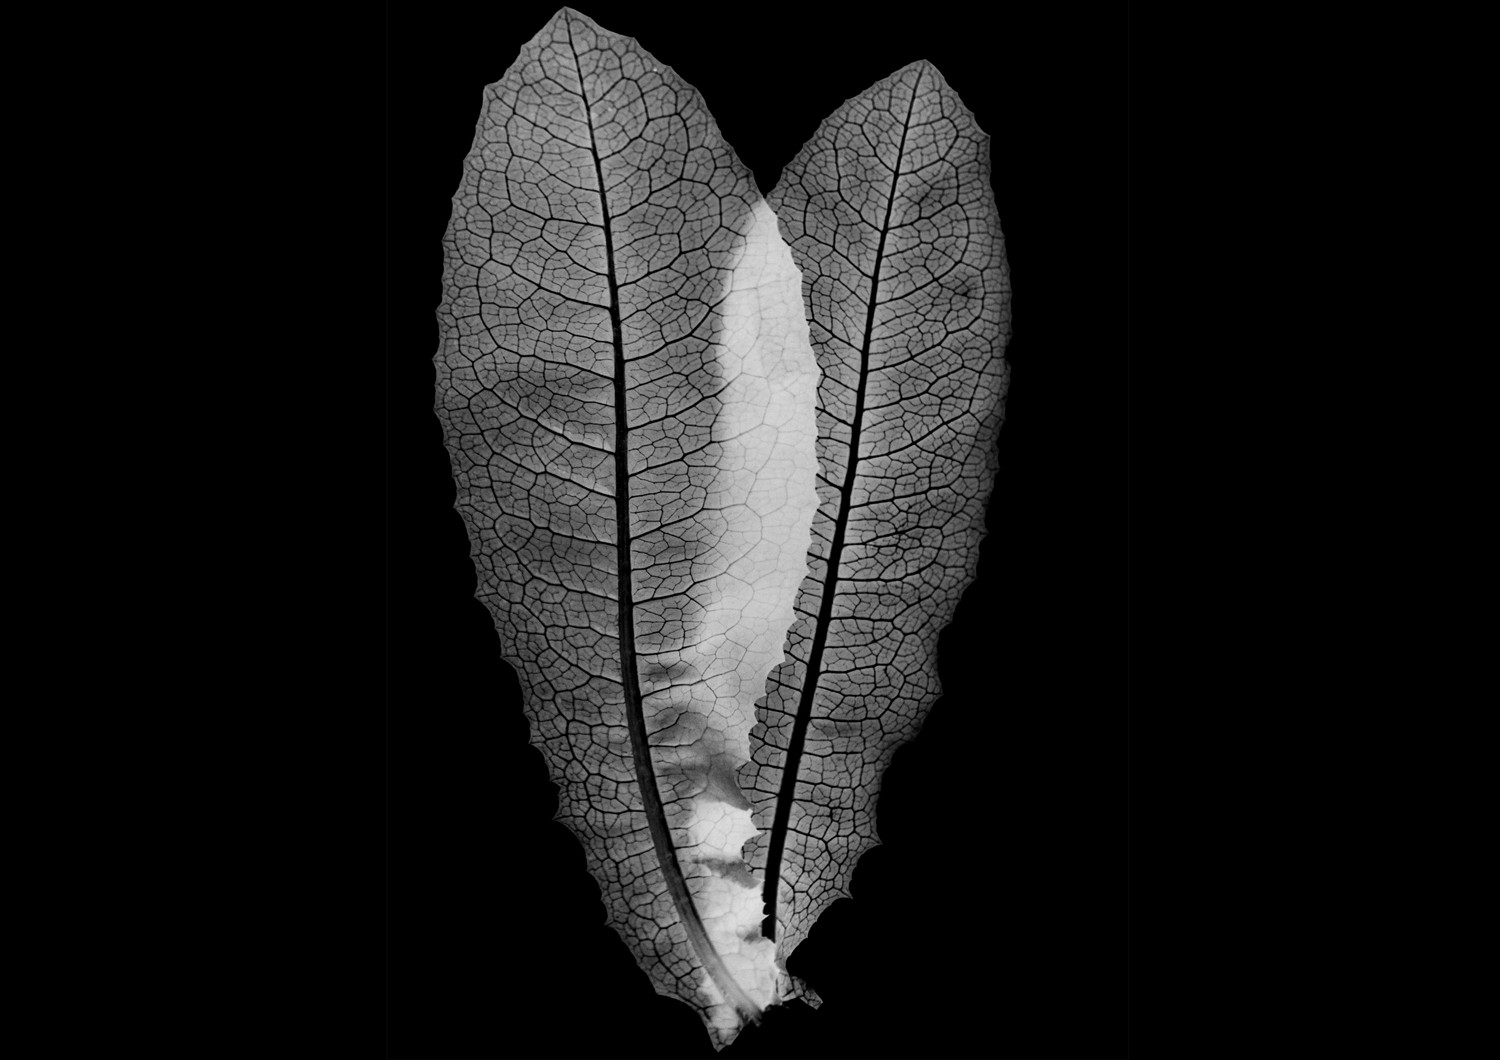
Here are a few more examples I made by collecting plants around the local area, photographing them on my laptop screen and processing them with Photoshop:

Conclusion
And there you have it! While it isn’t a genuine photogram, this photogram effect sure is reminiscent of the old analog processes I did in the darkroom.
Show us your photogram effects in the comments!