
Ready to preview a new look before stepping into the salon? Changing hair color in Photoshop lets you experiment with styles, hues, and trends instantly—saving time and money while giving you a realistic preview.
Although the outcome looks effortless, achieving a natural‑looking result requires a solid grasp of a few key Photoshop tools. This guide walks you through each stage, from the first adjustment layer to the final fine‑tuning, so you can transform hair color like a seasoned retoucher.
Create an Adjustment Layer
Open your image and add a Hue/Saturation adjustment layer. Locate the small half‑filled circle at the bottom of the Layers panel, click it, and choose Hue/Saturation…. This layer lets you tweak colors selectively—perfect for hair.
Enable Colorize
In the Hue/Saturation dialog, tick the Colorize checkbox. This mode prepares the layer for a full‑color change. Above the checkbox, you’ll find the Hue, Saturation, and Lightness sliders that control the new shade.
Set the Desired Hair Color
Adjust the sliders in this order:
- Hue – shifts the base color.
- Saturation – intensifies or softens the hue.
- Lightness – darkens or lightens the entire image.
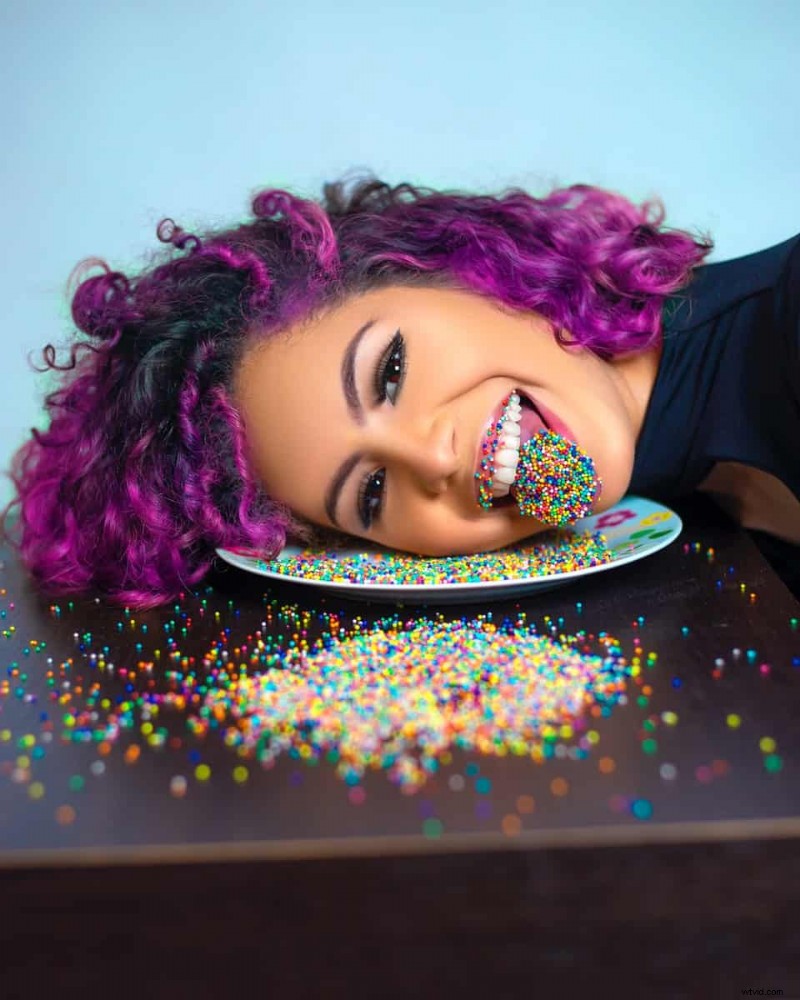
Mask the Layer to Preserve Non‑Hair Areas
Adjustment layers come with a white mask by default. Click the mask thumbnail (the rectangle next to the layer name) and fill it with black using the Paint Bucket tool or by pressing Ctrl+Backspace (Windows) / Cmd+Delete (macOS). The photo will revert to its original colors, leaving the adjustment layer inactive.
Reveal the New Color on Hair Only
Select the Brush Tool, set the foreground color to white, and carefully paint over the hair. Use a small, soft brush for fine details and adjust opacity for subtle blending. This paints the white mask area, activating the color change just where you paint.
Tip: For strands that blend into the background, lower the brush opacity to keep the transition smooth.
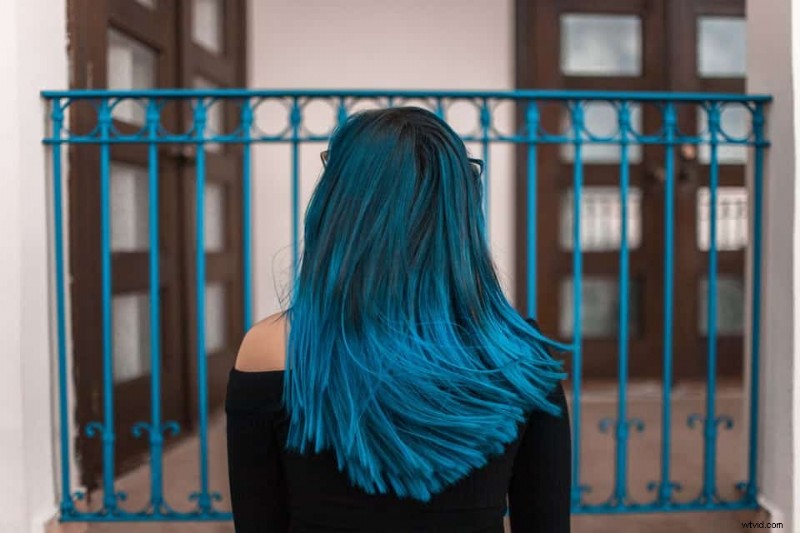
Fine‑Tune with Opacity and Blend Mode
Reduce the adjustment layer’s Opacity for a more natural, subtle hue, or increase it for a dramatic effect. Experiment with the Blend Mode drop‑down—options like Soft Light or Overlay often enhance realism.
Refine Edges with Select and Mask
To perfect hair boundaries, make a hair selection, then choose Select > Select and Mask…. Adjust the Radius and Smooth sliders to soften edges, and enable Output To: Layer Mask for seamless integration.
Create Multi‑Colored Streaks
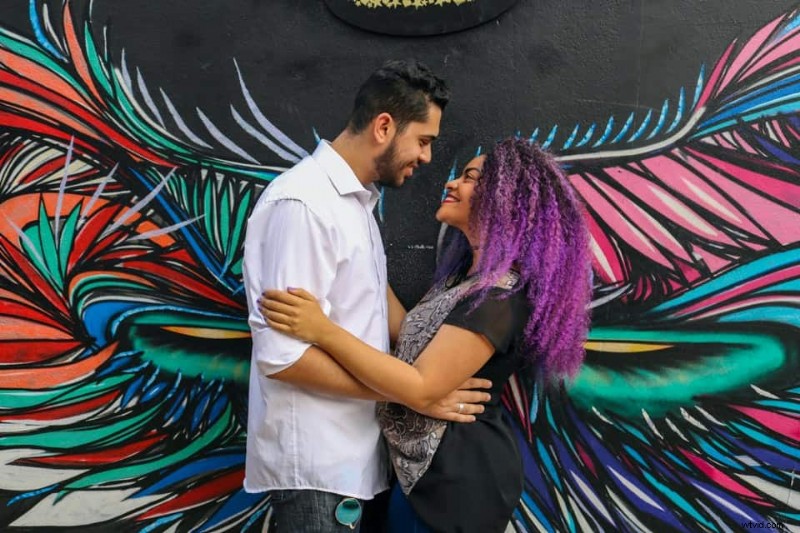
For creative streaks, duplicate the Hue/Saturation layer for each color. Mask each layer, then paint the streak areas with white. Adjust sliders per layer to set distinct hues, and use the Blend Mode to blend them naturally.
Darkening and Lightening Hair
To darken, lower the Lightness slider to the left; to lighten, move it to the right. Follow the same masking steps to limit changes to hair only.
With these techniques, you can confidently experiment with any hair color—whether subtle balayage or bold neon—while keeping the rest of the image untouched.