
Autonomous Sensory Meridian Response (ASMR) is a gentle, tingling sensation that starts at the scalp and moves down the neck and spine, triggered by low‑frequency sounds that calm the mind.
Many people use ASMR to unwind and even fall asleep. The response varies with each sound, but whispers spoken close to the ear are among the most soothing.
ASMR has opened up a creative niche: thousands of creators—known as ASMRtists—upload their own recordings to YouTube every day.
Want to join them but unsure about equipment costs? Start with your iPhone. With the right settings and a few inexpensive accessories, you can produce high‑quality ASMR content that looks and sounds professional.
- Part 1. Record ASMR videos on iPhone without a pro camera.
- Part 2. Wired headphones give better audio than AirPods.
- Part 3. Edit your first ASMR video with Filmora for iPhone.
Part 1. Record ASMR Videos on iPhone Without a Pro Camera
Let your creativity flow before investing in gear. Use your iPhone’s built‑in tools and a few work‑around tricks to achieve studio‑level results.
Step 1. Choose a Recording Method
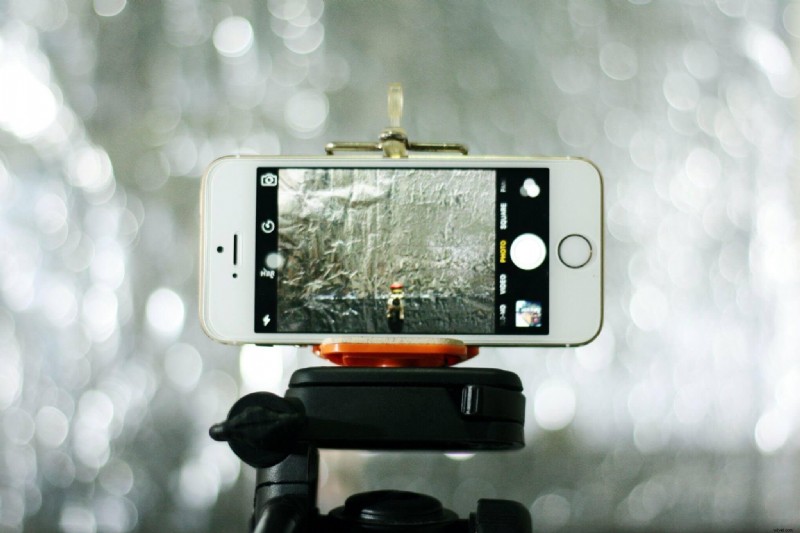
Decide whether you want to appear on camera. If you do, shoot the video and audio separately: record the footage with a tripod to keep the image steady, and capture audio with a dedicated microphone. If you prefer a silent video, record audio only and overlay a still image or a muted clip later.
Step 2. Enable 4K Video Settings
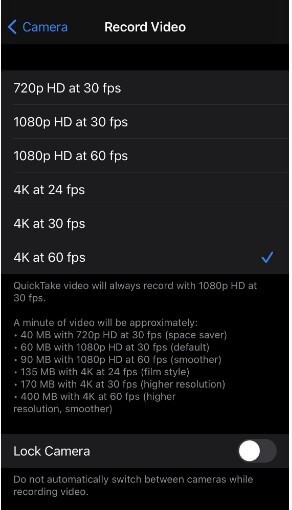
YouTube accepts 4K uploads, which outperforms standard HD. On most iPhones, selecting "120 fps at 1080p" in the Camera app’s settings automatically switches the device to 4K mode. This gives you the highest possible resolution for your ASMR video.
For front‑camera recordings, 4K is available on iPhone 11 and newer. If you have an older model, choose the best resolution the device supports.
Step 3. Optimize the iPhone Microphone
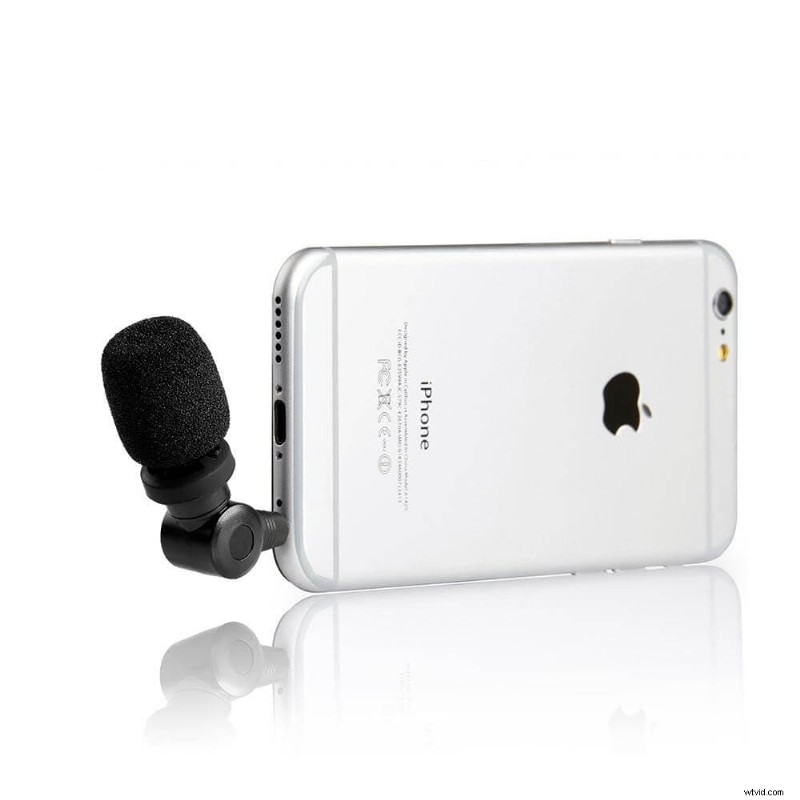
ASMR thrives on binaural, 3‑D audio. To capture this, use an external audio interface connected via a lightning adapter, rather than the iPhone’s built‑in mic or earphone jack. Keep a short distance between the sound source and the microphone to avoid distortion.
External microphones capture the subtle directional cues that create the immersive ASMR experience.
Step 4. Edit with an iPhone‑Friendly App
Post‑production is key to a smooth, relaxing final product. Wondershare Filmora for iPhone offers intuitive tools for cutting, stabilizing footage, and aligning audio—perfect for beginners and seasoned creators alike.
Once edited, your video is ready to upload to YouTube or share on social platforms.
Instantly record, edit and share every beautiful moment in life.
Install Filmora for Mobile (formerly FilmoraGo) Now!
Part 2. Wired Headphones Beat AirPods for ASMR Recording
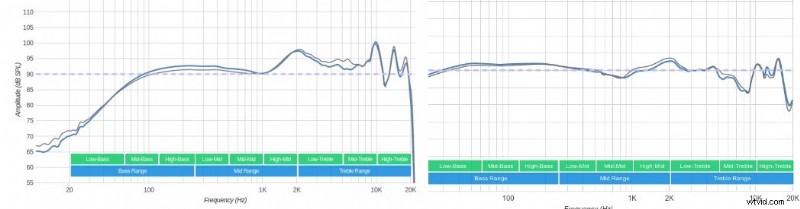
AirPods excel at delivering rich bass, but this can exaggerate low‑frequency sounds and introduce harshness with plosive words or scraping noises. Wired headphones provide a more balanced, flat response, preserving the delicate nuances that make ASMR soothing.
Part 3. Edit Your First ASMR Video with Filmora for iPhone
Filmora’s mobile version lets you trim, stabilize, add subtitles, and adjust audio levels—all on the go. Its user‑friendly interface ensures that even novices can produce polished ASMR videos.
Download Filmora for iPhone here:
Instantly record, edit and share every beautiful moment in life.
Install Filmora for Mobile (formerly FilmoraGo) Now!
Final Word
To create ASMR that relaxes your audience, focus on video stability, high resolution, and clear audio. Record video and audio separately if that best suits your style, and always preview the final mix on wired headphones to catch any unwanted frequencies.
Use Filmora for iPhone to polish your footage quickly, and you’ll have a shareable ASMR video in minutes.