
Creating a panoramic image by stitching multiple photos is a staple technique for landscape and architecture photographers. Adobe Lightroom offers a built‑in Panorama Merge tool that turns a series of overlapping shots into a single, professional‑looking panorama with minimal effort. Below is a detailed, expert‑crafted walkthrough to help you achieve flawless results every time.
Step 1: Capture a Series of Overlapping Shots
Begin with a steady, well‑planned capture session:
- Use a tripod to maintain alignment and avoid motion blur.
- Set your camera to manual mode and lock exposure (ISO, shutter speed, aperture) and white balance across all shots to guarantee consistent brightness and color.
- Keep the focal length the same for every frame.
- Shoot vertically (portrait orientation) to give Lightroom more overlap to work with.
- Overlap each frame by roughly one‑third of its width.
Step 2: Import the Images into Lightroom

Insert the camera’s memory card or connect the device directly to your computer. In the Lightroom import dialog, choose your source and select all relevant images. Importing them as a batch keeps the workflow clean and reduces the risk of missing a frame.
Step 3: Prepare Your Photos for Merging
Select the thumbnails of the images you wish to stitch. If your files are not in RAW format, develop them now. Ensure that any development settings—clarity, contrast, color tone—are uniform across the set. This consistency is crucial for a seamless panorama.
Step 4: Merge the Selected Images into a Panorama
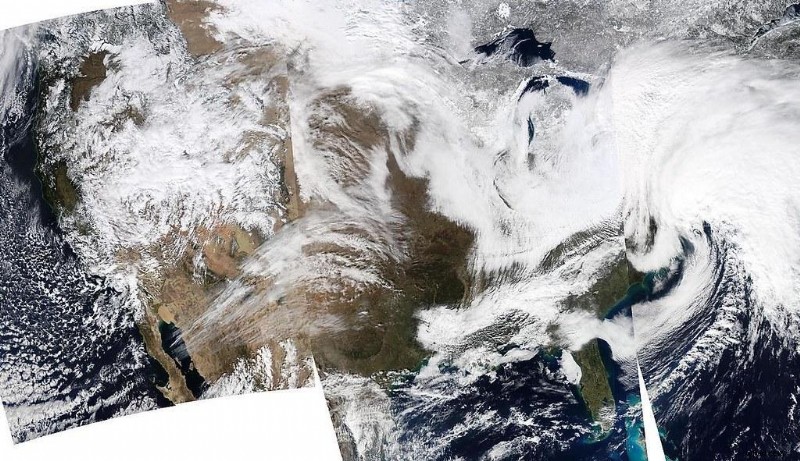
Right‑click the chosen images and choose “Merge to Panorama…”. In the dialog that appears, pick the panorama type that best fits your subject:
- Spherical – ideal for wide‑angle or full‑view scenes.
- Perspective – the classic flat layout that emphasizes the central area.
- Cylindrical – preserves vertical lines while still offering panoramic breadth.
Enable Auto Crop to eliminate extraneous white space, and consider Boundary Warp to fill gaps along the edges. Once satisfied, click Merge to generate the panorama.
Step 5: Fine‑Tune the Final Panorama
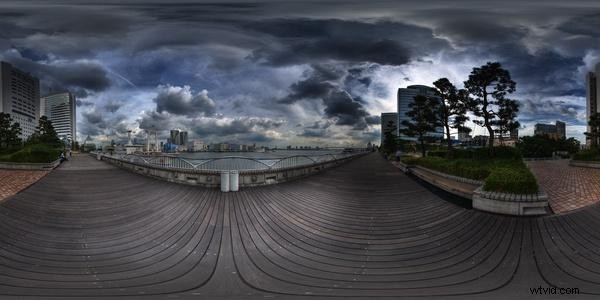
After the merge, Lightroom presents the panorama as a DNG RAW file, preserving all development settings. Adjust global parameters—exposure, contrast, saturation, clarity—directly on the stitched image to ensure a uniform look. When you’re ready, export the file in your preferred format (JPEG, TIFF, PNG) and resolution.
Pro tip: Save the merged image as a Lightroom preset or catalog entry so you can revisit it for future edits or to create additional variations.
When Panorama Merge May Not Be Ideal
Lightroom’s merge tool is excellent for straightforward panoramas, but it lacks advanced controls such as masking, vignette smoothing, or horizon adjustment. If your project requires fine‑grained manipulation, consider stitching in a dedicated HDR or panoramic application before bringing the result back into Lightroom for final polish.
File Formats Compatible with Lightroom
- JPEG, PNG, TIFF, DNG, RAW, PSD, TIFF
Frequently Asked Questions

Why can’t Lightroom merge my images?
- Try selecting a different panorama type.
- Ensure all photos share the same resolution and focal length.
- Verify that the overlap is consistent and sufficient.
Can I stitch panoramas on Lightroom mobile?
Currently, panorama stitching is available only on the desktop version of Lightroom CC or Lightroom 6.
Wrap‑Up
With Lightroom’s Panorama Merge, you can quickly transform a series of overlapping shots into a single, seamless image—perfect for showcasing sweeping vistas, cityscapes, or architectural details. Practice the steps above, and you’ll be able to add professional‑grade panoramas to your portfolio in minutes.
Ready to elevate your photo editing? Discover how to add that extra “wow” factor without Photoshop—just three clicks—using our Polished Lightroom Adjustment Brushes Presets Collection. Join 54,000 photographers and enjoy an 80% discount today!